Pages

Friday, February 24, 2017

A set of Butterfly cards!


Happy Friday everyone,

I have couple of cards to share with you. I placed my very first order with Concord and 9th couple of weeks ago. I have been looking at their designs for  a while now and love their innovative approach to stamps and dies. This release I could not resist the Butterfly Beauty stamp set and the Say Hello stamp set and dies. So the sets came home yesterday. I inked them up this morning and had fun making these two cards. Lord, I love that watercolour butterfly image. So beautiful when stamped with ink. The image gives you the watercolour look to the butterfly and texture as well. I had so much fun inking up the stamp with lots of colours. But the Hero Arts Neon Ombre Green to Blue was my favourite of all.  Both my cards today feature Hero Arts Neon Green to Blue ink with the Butterfly Beauty stamp set. Here is the first card.

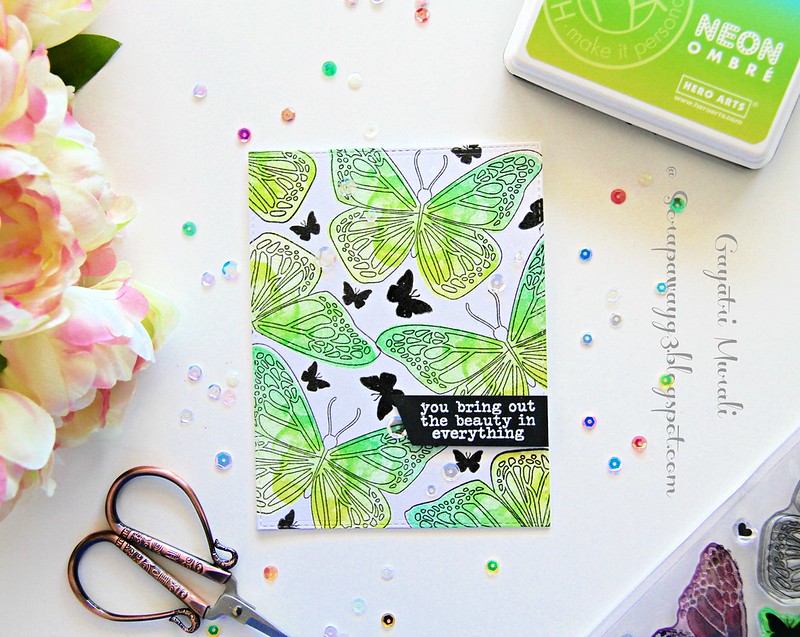
Butterfly card 1

Instructions:

1. I stamped the watercolour background butterfly stamp using the HA Neon Ombre ink randomly on a white card stock panel covering the entire panel.

2. Then I stamped the outline butterfly image using Versafine Onyx Black ink over the background images and heat embossed them all.

3. Then I used the smaller solid butterflies from the stamp set to stamp in black ink and heat embossed the images as well.

4. The sentiment is white heat embossed on a strip of black cardstock and adhered to the panel.

5. The panel is adhered to the white card base and embellished with sequins from Pretty Pink Posh.

Here are couple of closeups of the card.

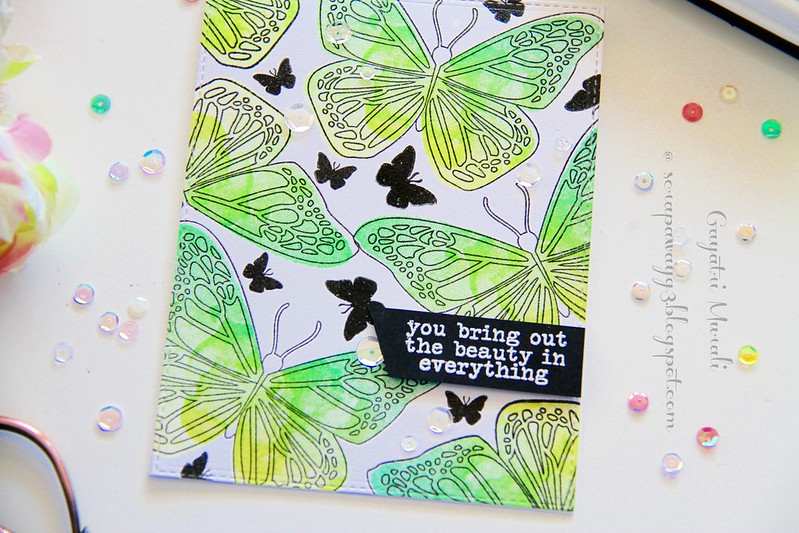
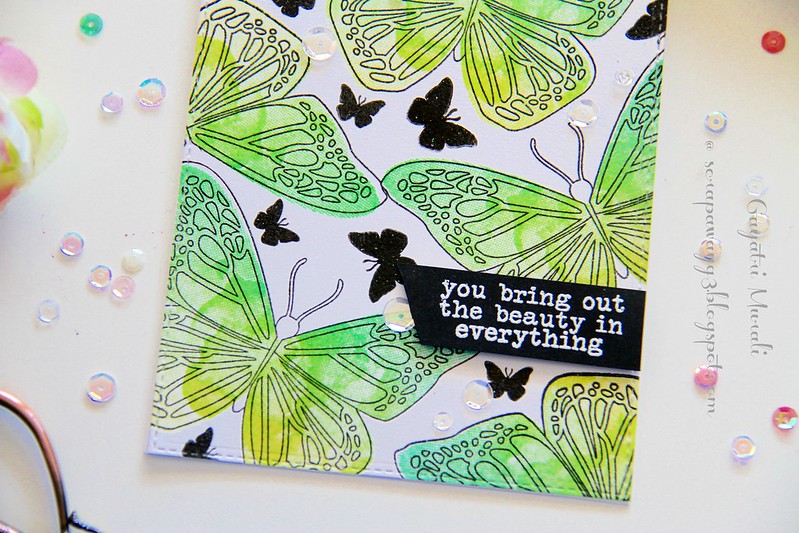
Butterfly card 1 closeup1

Butterfly card 1 closeup

I love the bright neon green and blues colours, texture from the stamp and watercolour effect on the card. The background butterfly stamp is like a jackpot. Its got everything without having to put any effort.

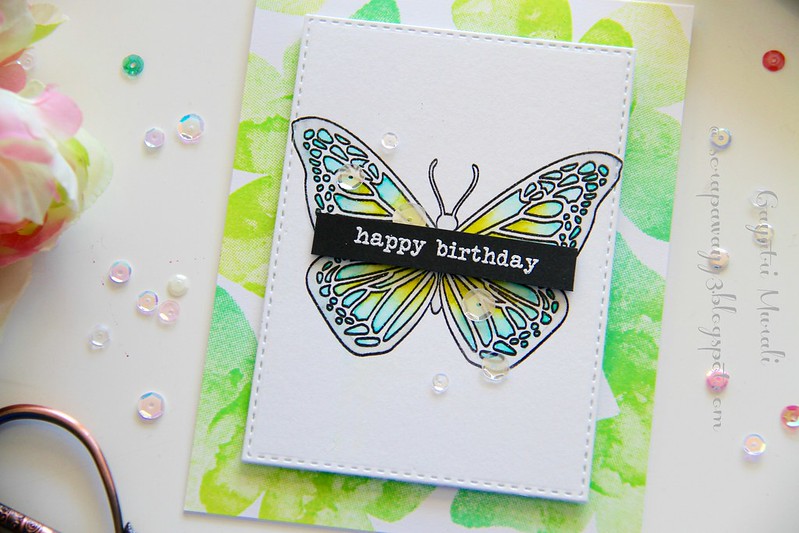
For my second card, I used this background butterfly stamp for the background of the card and the outline image as the focal point.
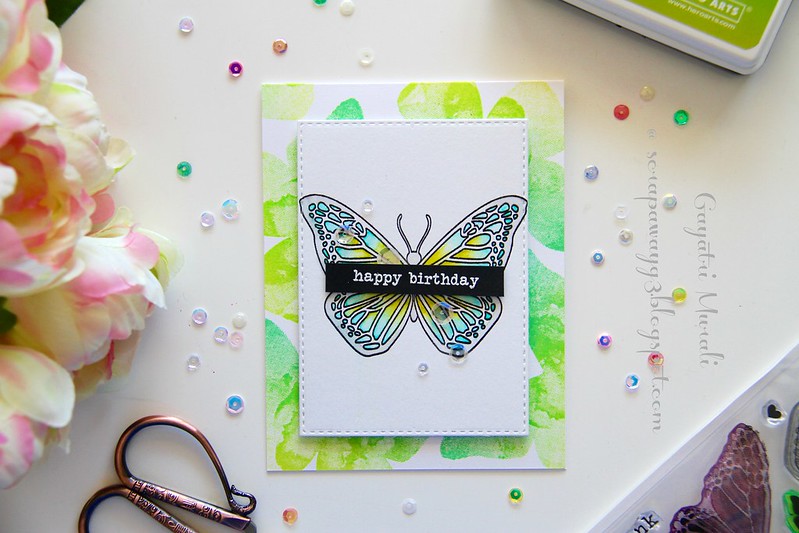
Butterfly card 2

Instructions:

1. On the card front, I stamped the background butterfly image using the HA neon ombre ink.

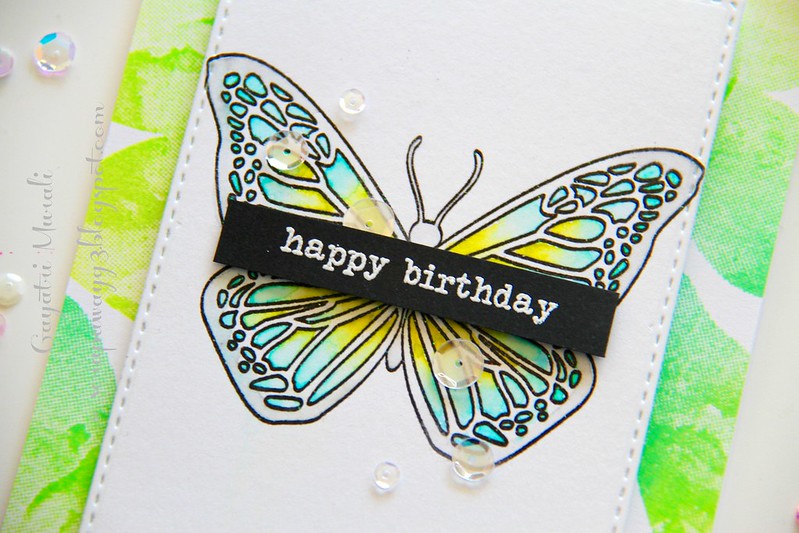
2. On a watercolour paper, I black heat embossed the outline butterfly image and watercoloured using blue, green and grey Zig clean colour pens.

3. I die cut the watercolour panel using the second largest stitched rectangle die from Simon Says Stamp.

4. I adhered this panel on the card front using foam adhesives.

5. The sentiment is white heat embossed on a strip of black cardstock, trimmed and adhered on the centre of the focal butterfly using foam adhesives.

6. Finally embellished with a few Sparkly Clear sequins from Pretty Pink Posh.

As always couple of closeups of the card.

Butterfly card 2 closeup1


Butterfly card 2 closeup

I really love Concord and 9th designs. I know a lot of designers love the company. But I had to see it myself. It took me long to make an order with them and play with their design. I am glad I did. I have the dies and another bundle to play with over the weekend. Another favourite stamp company to my list.

Thanks for stopping by my blog today.
My blog signature

Wednesday, February 22, 2017

Simon Says Anything Goes!


wed-newchallenge-header

Hi all and welcome to another week on the Simon Says Stamp Wednesday Challenge
Thank you for joining us for the Fantastic Florals Challenge and we hope you will all join us again this week too.
We will be back soon with the name of the lucky winner of the $50 Voucher
This week the challenge is
Anything Goes
It’s time to get out your craft supplies and create whatever takes your fancy!
This week we are showcasing our very own Simon Says Stamp Exclusive Products this week. You don’t have to use them for the challenge but if you have them we would love to see them used.
As always Simon Says Stamp will be giving away $50 voucher to shop at the fabulous Simon Says Stamp Store
50dollar_voucher_600px
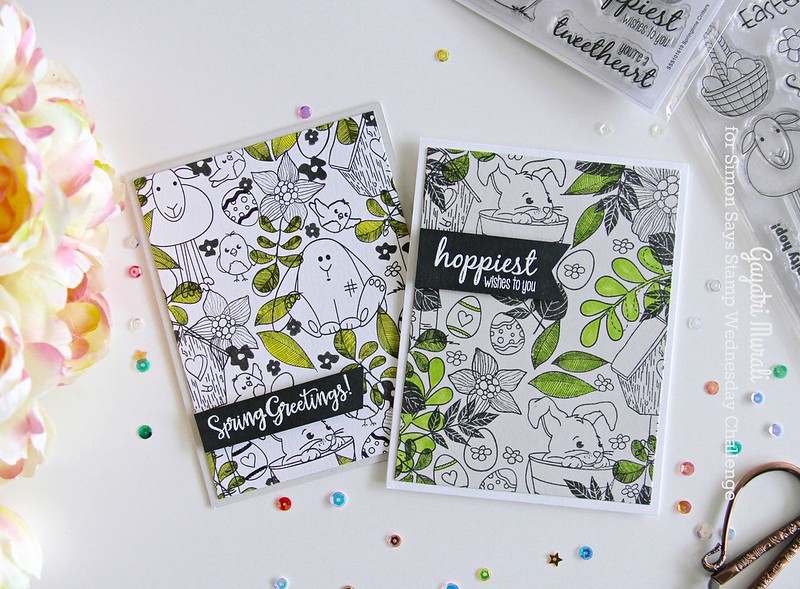
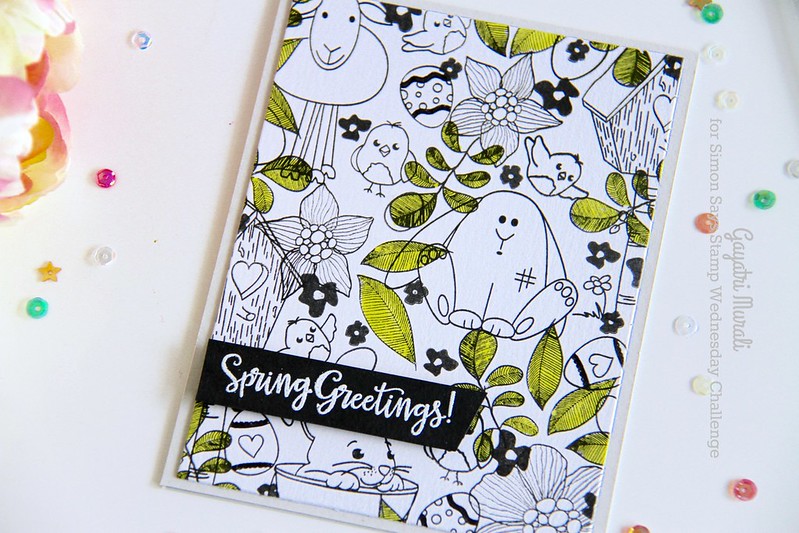
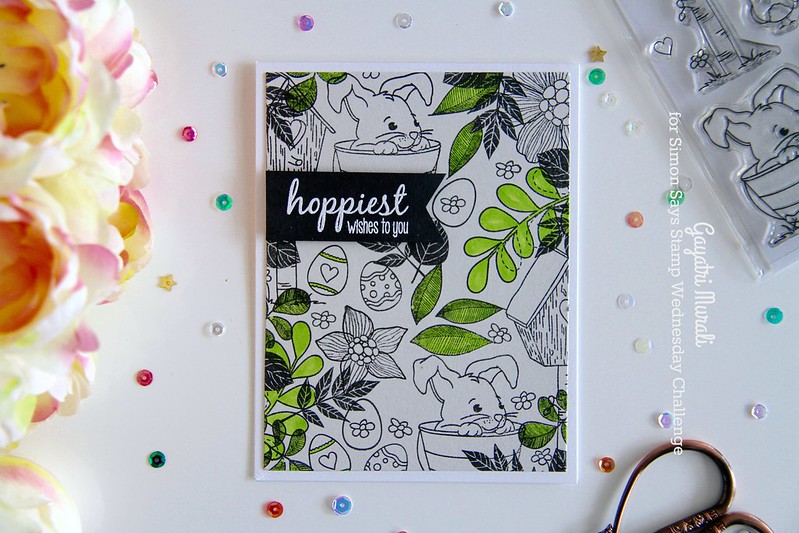
I decided to experiment design aspect with this challenge. I wanted to make stationary style cards by stamping and creating my own patterns. And the theme for the cards are Easter. Yes I made a set of two cards.
SSS anything goes
I used a few stamp sets from Simon Says Stamp on these cards. Considering the Easter theme, I wanted florals, easter images and some solid images. I picked Melody's Easter, Springtime Critters, Winter Flowers, Nutty About You, Blooming Day and Summer Garden stamp sets.

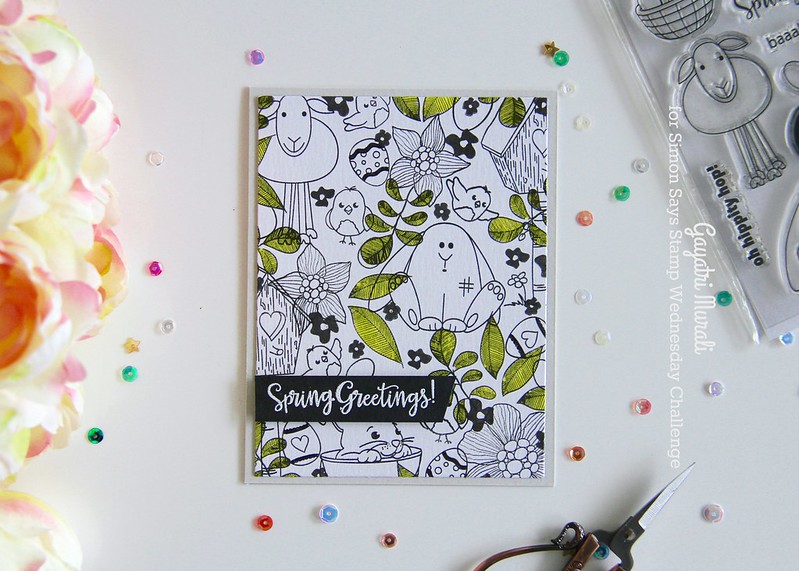
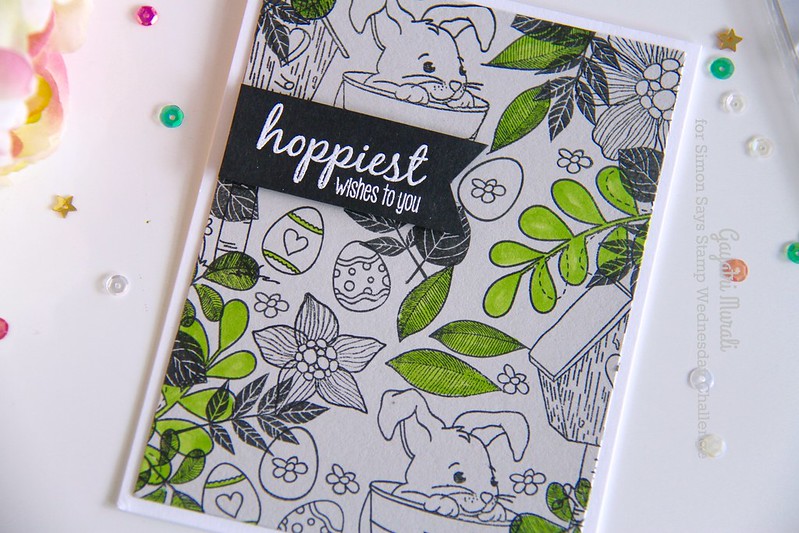
I used one white panel and one Fog card stock panel to stamp the images. Started with the largest image, I stamped clusters of images covering the entire panel leaving a few blank spaces. Most images are outline images but I also stamped some solid images. Most of the images are stamped overlapping each other. So there is no method to the madness. I kept stamping until I was happy with how the panels looked. I only coloured the leaves only using YG23 copic marker.

Then I trimmed the panels using the second largest die from Hero Arts Infinity rectangle die set. I adhered the white panel on fog card base and fog panel on white card base using foam adhesive. Sentiment is white heat embossed on a strip of black card stock and adhered as shown. No embellishments on the card as they are stationary styled card.

Here are the photos of the cards and their closeups.
Spring Greetings!

Spring Greetings card closeup1

Hoppiest wishes to you card

Hoppiest wishes to you card closeup1
All the supplies used to make the cards are listed below.

So now it’s YOUR turn.  Happy Crafting
Do you use Instagram ?  If so please add  #ssswchallenge to your challenge entry uploads so we can see them on there too !
There are fabulous Give Aways and inspiration from fabulous designers on a daily basis over on the Simon Says Stamp Blog , if you haven’t subscribed by email you may want to so you don’t miss out.

Simon Says Stamp
You have until Wed  8am Ohio time. 1pm UK time, 2 pm CET to join in
New creations only, please don’t link projects published before the start of the challenge, Only 5 new creations will be eligible in the prize draw
word-verif
Card Supplies:


Thanks for stopping by my blog today.
My blog signature

Sunday, February 19, 2017

Have a Magical Day - Tutorial!

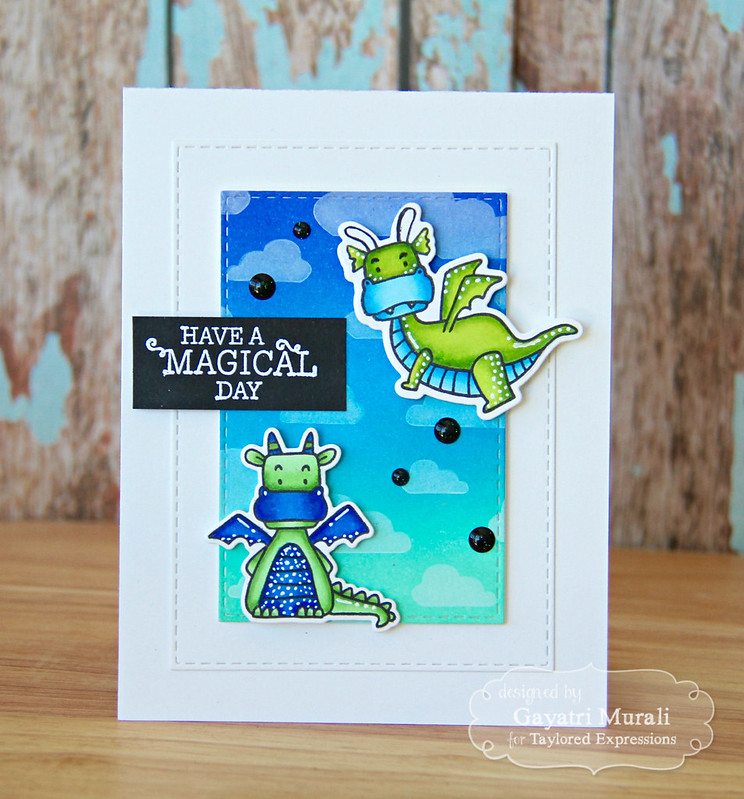
Happy Sunday everyone! I have a card tutorial to share today. This card is made using Taylored Expressions stamp set called Magical Days stamp and die combo. I made this card for the release in the month of Janurary 2017. 

GAYATRIMagicalday1TUE

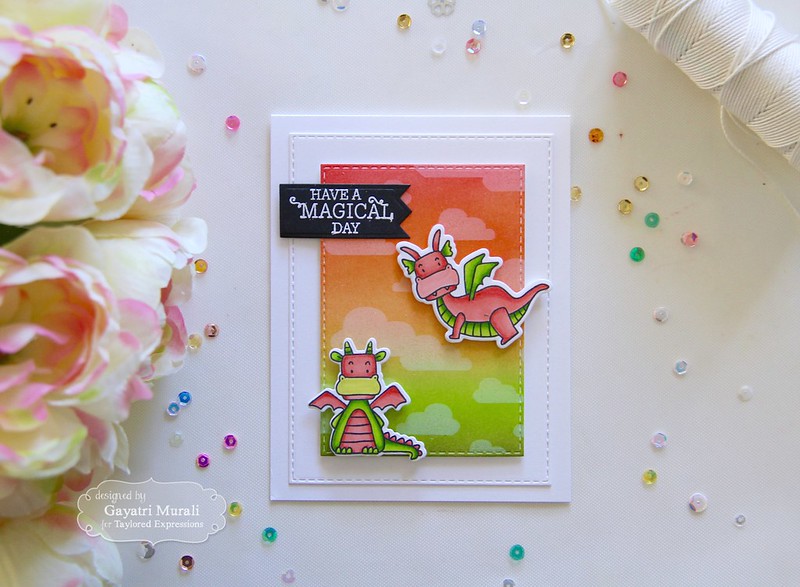
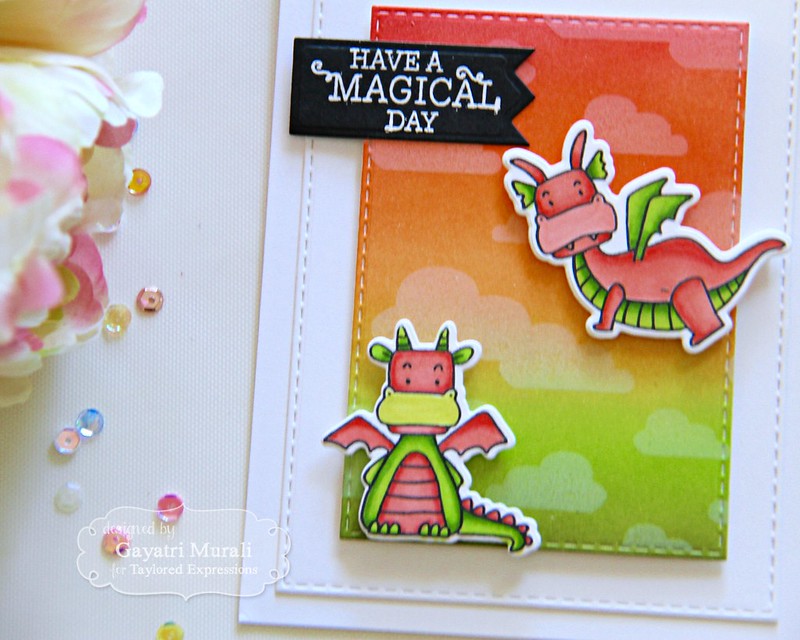
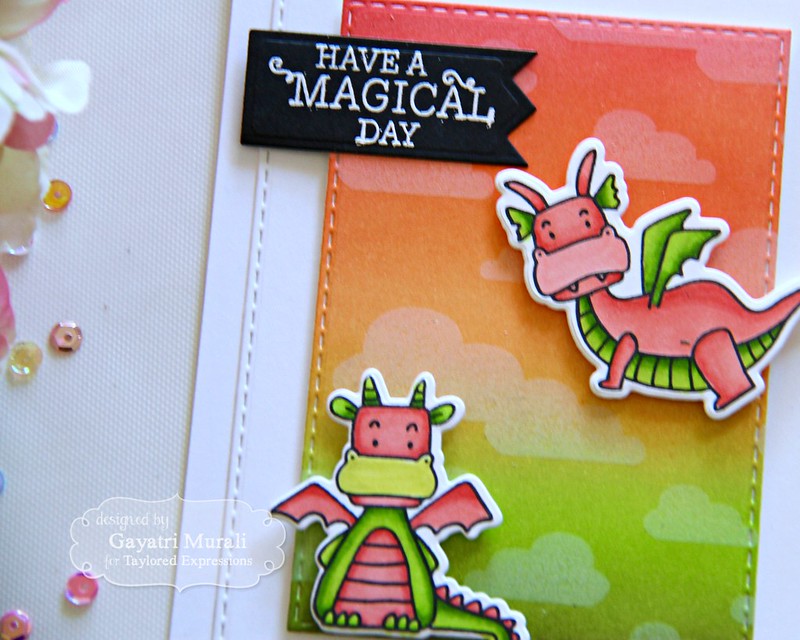
I received a request for a tutorial for this card. Sorry it took me so long to make it. It is here now. I decided to use the same process but change a little to make another card. I changed the colour, less details, less embellishments and slightly bigger panels. Here is the new card.

Magical day card1

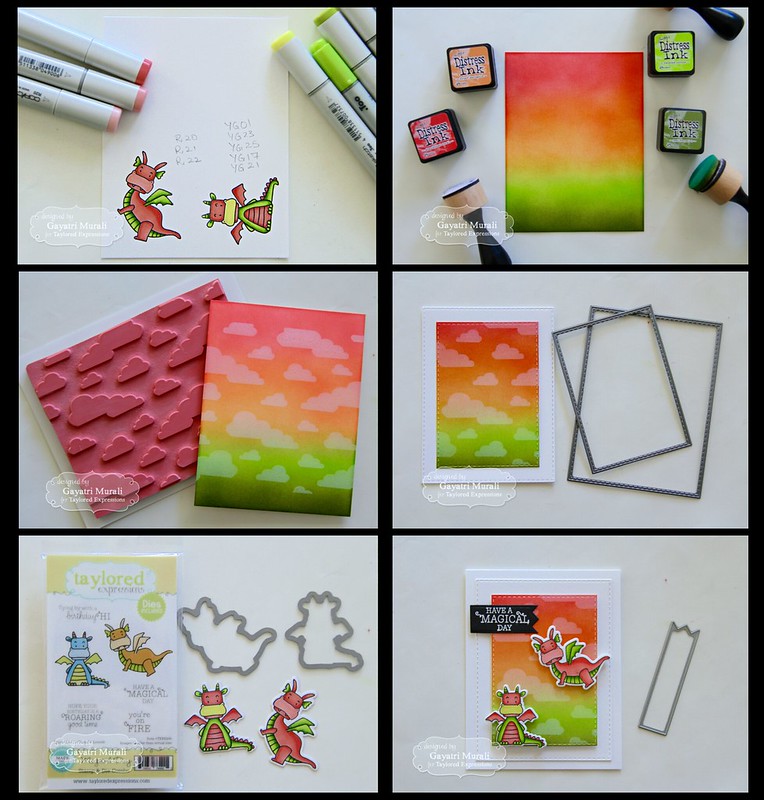
So here is the pictorial tutorial of this card.

Magical day tutorial

Instructions:

1. I stamped and coloured the dragons from Magical Days stamp and die combo using copic markers. I used R20, R21, R22, YG01, YG21, YG17, YG23 and YG25.

2. For the background, I sponged distress inks - Abandoned Coral, Dried Marigold, Twisted Citron and Peeled Paint. I loooove the colours together. One of my favourite colour combo.

3. I stamped the Cloud Nine background stamp on the sponged panel using Taylored Expressions Sugar Cube white pigment ink.

4. I die cut this panel using the third largest stitched rectangle die and another white panel using the largest stitched rectangle die from Stitched Rectangle Stacklets.

5. I die cut the dragons using the coordinating dies and white heat embossed the sentiment on Oreo cardstock which I then die cut using the smallest banner die from Banner Stacklets 4.

6. To assemble the card, I adhered the sponged panel on the white panel using foam adhesive, the dragons on the sponged panel using foam adhesives as well.

7. The completed panel on the Sugar Cube card base flush and sentiment flush on the sponged panel.

8. I did not add enamel dots on this card. You can add Taylored Expressions Oreo enamel shapes is you wish.

-magical day card

Here are some closeup photos of the card.

Magical day card closeup


Magical day closeup2


Below is a list of all the supplies I used to make this card.

Card supplies:


Thanks for stopping by my blog today. Enjoy the rest of the weekend.
My blog signature