Welcome back to Day #3 of Winnie & Walter new release.
Here is Day #1 and Day #2 of the new release in case you missed it.
Today we are premiering two more stamp sets call Happy Christmas and The Big, the Bold and Merry. And I am so happy to introduce Cutaways :) Yes! Winnie & Walter are introducing dies. Yay! I was thrilled when I heard it and am sure you are also very thrilled. The dies are all words dies coordinating with The Big, the Bold series. So awesome to have the brush words in the stamp sets as dies.
My first project here is using the Happy Christmas stamp set.
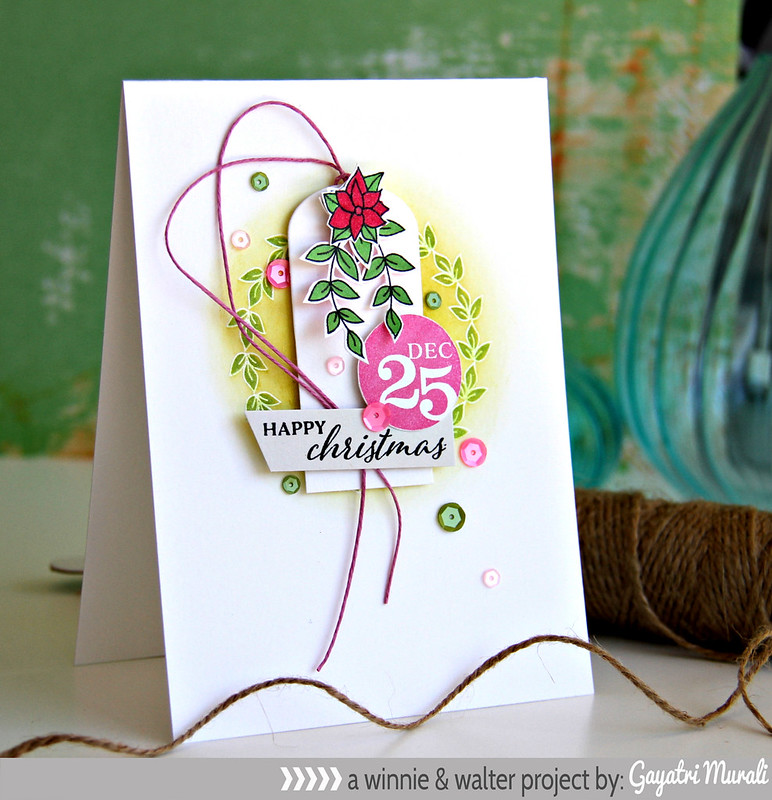
I simply love this stamp set because there are so many Christmas elements and sentiment. This one set is enough if you are on a low budget. But there are so many such sets in this release, it is hard to choose one lol! Anyway, I white heat embossed the wreath on the centre of the card front. Then sponged Crushed Olive and Shabby Shutters distress ink. Then coloured the leaves with Shabby Shutter distress ink and brushed with Green Wink of Stella to add shimmer. I then stamped the leaves using Memento black ink and coloured using green copics. I then hand cut the leaves. I did the same process for the flowers using pink and green colour. I also stamped the dec 25 using Bubblegum ink from Hero Arts and hand cut it out.
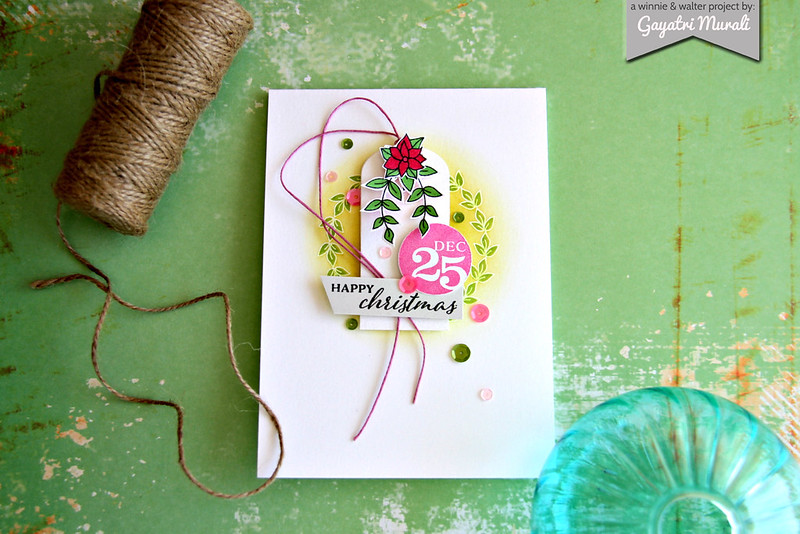
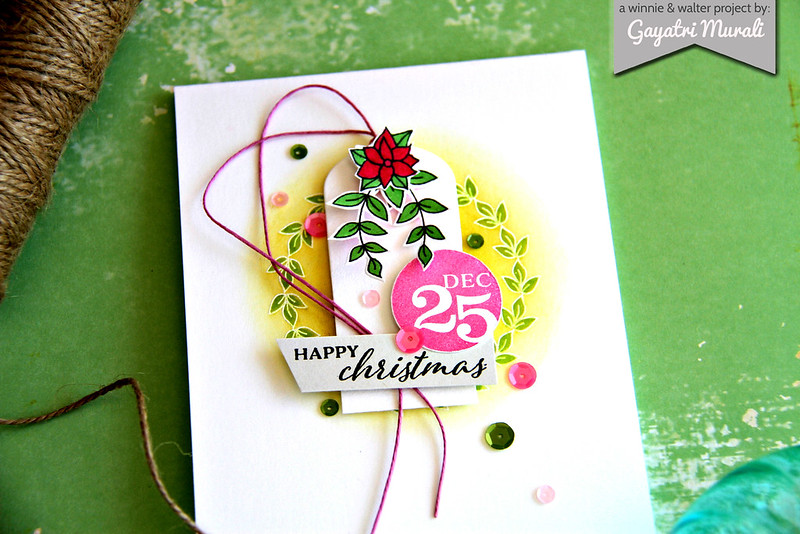
I die cut a tag partially on a long strip of cardstock then trimmed to get a longer tag. I used pink twine to tie, clustered the leaves and poinsettia and adhered using foam on top of the tag. I then stamped the sentiment on a strip of grey cardstock, cut at an angle. I adhered this to the tag using foam adhesives and then the dec 25 circular stamped image also using foam adhesives. Finally embellished using Pretty Pink Posh's Mossy Green, Pink Blush and Pink Peonies sequins. Here is a closeup!
For the second project, I have used the Cutaways along with Happy Christmas stamp set. Here is my project.
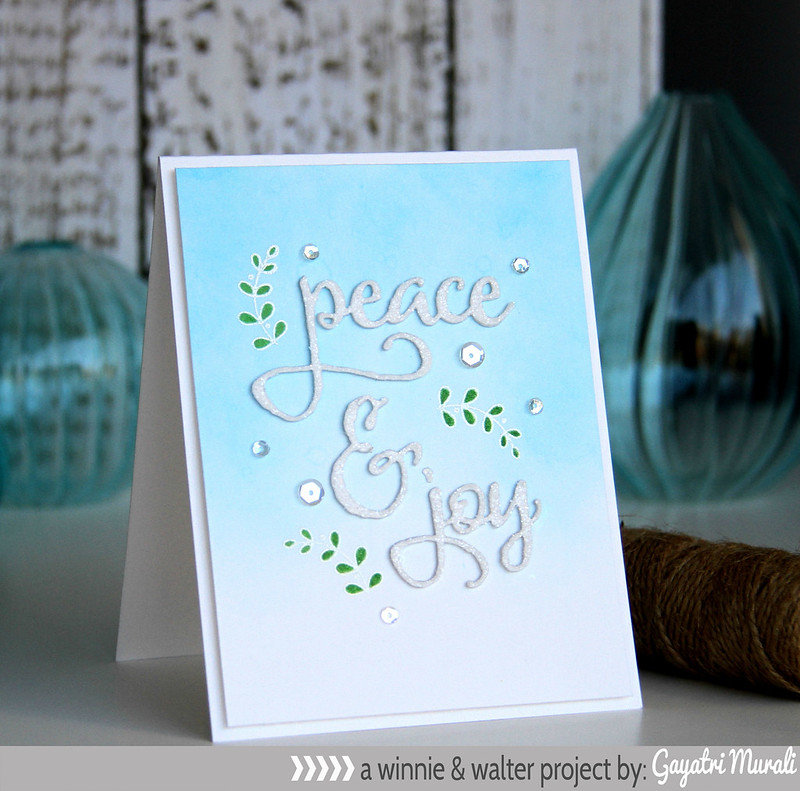
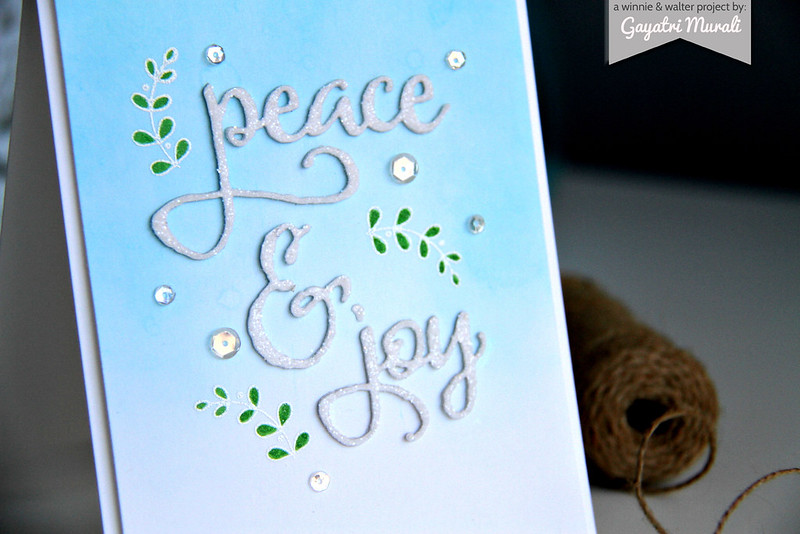
I have die cut three pieces of Peace, & and Joy using The Big, the Bold and Merry Cutaways. Stacked and glued them. Then applied some glue on the top layer and added some Rock Candy Stickles. I love the look of the coarse glitter on the die cut.
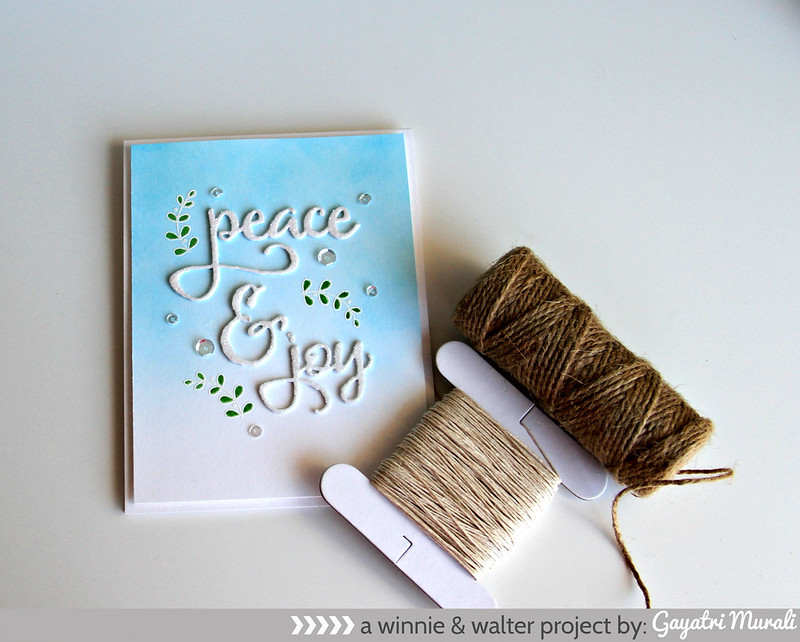
I adhered the die cut words on the card panel. Love the dimension the stacked diecut and the texture the glitter gives. I then white heat embossed the leaves. Sponged blue ink on the panel fading away towards the bottom. Coloured the leaves with green Wink of Stella. Finally added some Sparkly clear sequins from Pretty Pink Posh. Here is a closeup of the card.
The Winnie & Walter blog has the rest of the Winnie & Walter talent projects for you to get inspired:
Comment on Winnie & Walter post for a chance to win the new stamp sets premiered today by 12:01 a.m. (central standard time) October 31, 2014. One comment will be chosen at random.
See you tomorrow!

Such pretty cards i love the soft delicate feel they both have. :)
ReplyDeleteKate xx
Those are lovely. I like the colors and design on the first one - the wreath, leaves, tag...all of it, it's beautiful! The second one is so soft and serene, very pretty.
ReplyDeleteThese are such gorgeous creations, Gayatri! I love them so much!
ReplyDeleteBeautiful cards! The tag card is absolutely stunning!
ReplyDeleteso beautiful! love the first one!!!
ReplyDeleteWow, I'm madly in love with your light and airy collage-style card! You do a wonderful job on those collages that are usually shabby-chic, but make them so fresh and bright. I loved your Halloween collage on the w&w blog too. Great style, Gayatri!
ReplyDeletePretty cards. Love the way you did the background on the 2nd card.
ReplyDeleteJust love the dies. Can't wait to see them. Looks like my credit card is going to be getting a bashing with the new products. Your cards are both awesome Gayatri
ReplyDeleteThese are so beautiful! I just loove the first one. Beautiful!!!
ReplyDeleteOh, my... fantastic cards, Gayatri. The first one is jaw dropping beautiful!
ReplyDeleteWow, don't know how I missed yours when I did the hop.... LOVE
ReplyDeleteBeautiful, Gayatri!. Love the trendy Christmas "cluster" and fabulous inking :-)
ReplyDelete