Thursday, February 13, 2014

CAS(E) this Sketch #64


Second post for today. Here is my first post.

It is Thursday and that means we have a new sketch for you at CAS(E) this Sketch Challenge Blog. This new sketch is by N@ Ali. Here is the sketch for you.


Here is my take on the sketch.
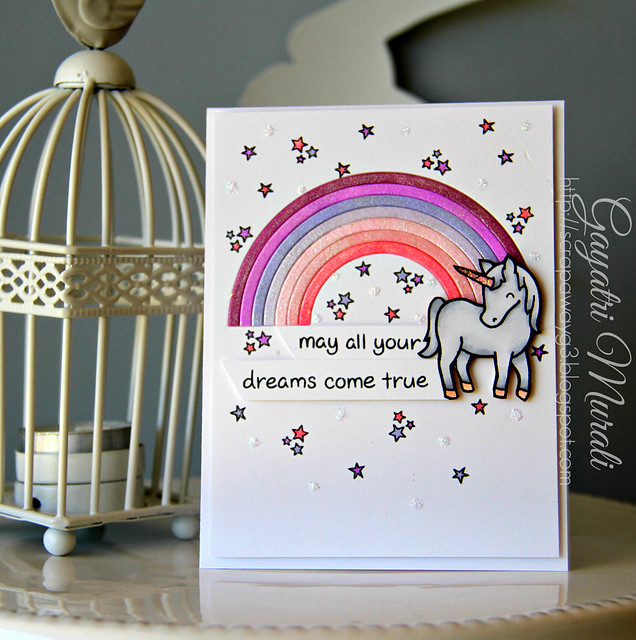
Rainbow and Unicorn card

I am in love with this card. I love the colours. Rainbow and unicorn makes it magical :) When my daughter was about 5 years old, she LOVED purple colour a lot. We asked her what colour makes a chess board? She replied purple and white! We corrected her to Black and White. She was not happy with it. She said, "Well my chess board is purple and white"  A lot of these memories came back to me while working on the purple cards. lol! I showed it to my daughter when she came back from school and she loved it (still likes purple colour wink!). She wants to keep it for herself but framed. It will no longer be a card. I will trim the card front and frame it. Will share it once I get the right frame for it and get it all done. 

After watching Jennifer McGuire's videos on inlaying the diecuts, I wanted to try it. The rainbow is diecut on the white panel, then coloured using copics. I have added adhesive sheet behind the negative card panel and embeded the coloured rainbow back in place. To add some stardust, I coloured the rainbow with Wink of Stella shimmer. The unicorn is from Critters Ever After Lawn Fawn which I coloured and fuzzy cut out. It is mounted using foam adhesives. The same stamp set has the stars which I have stamped and coloured with copics. I stamped the sentiment on a strips of white cardstock which is cut at a diagonal. Adhered them using foam adhesives as well. Finally added some Diamond Stickles glitter glue blobs randomly.
Here is a close up!

Rainbow and Unicorn card

Hope you like my magical card.
Check out CAS(E) this Sketch Challenge Blog for more design team and guest design team projects using this sketch. Come and play along the sketch.


Thank You!


Hey everybody,

It is going to rain purple in my blog not just this post but for the next two post. lol! 
 I played along Runaway Inspired Challenge #53 today.


Purple and Black stood out to me from the picture. So here is my take on the challenge.

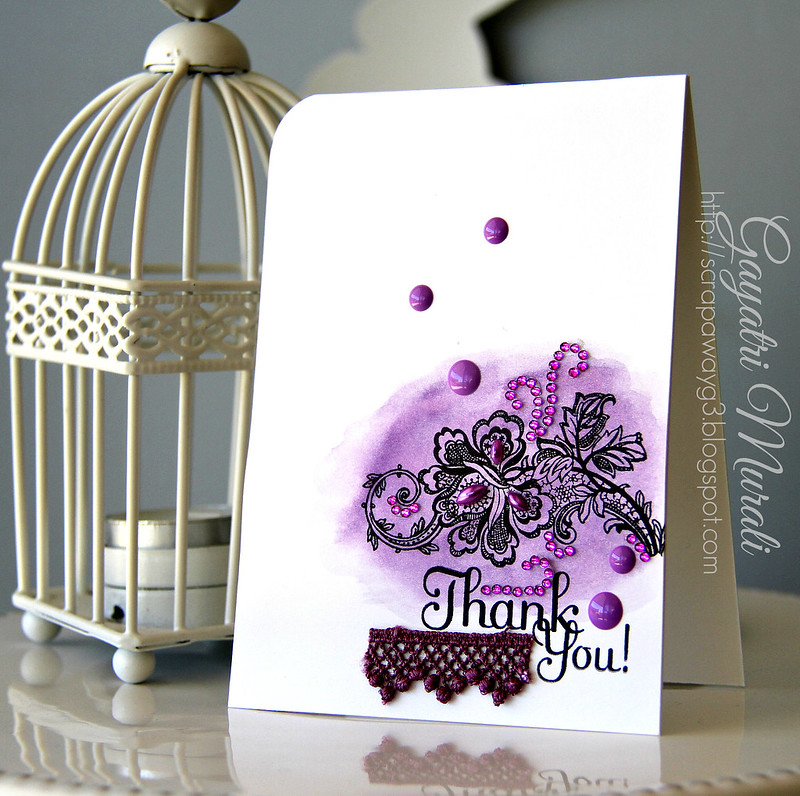
Thank you card

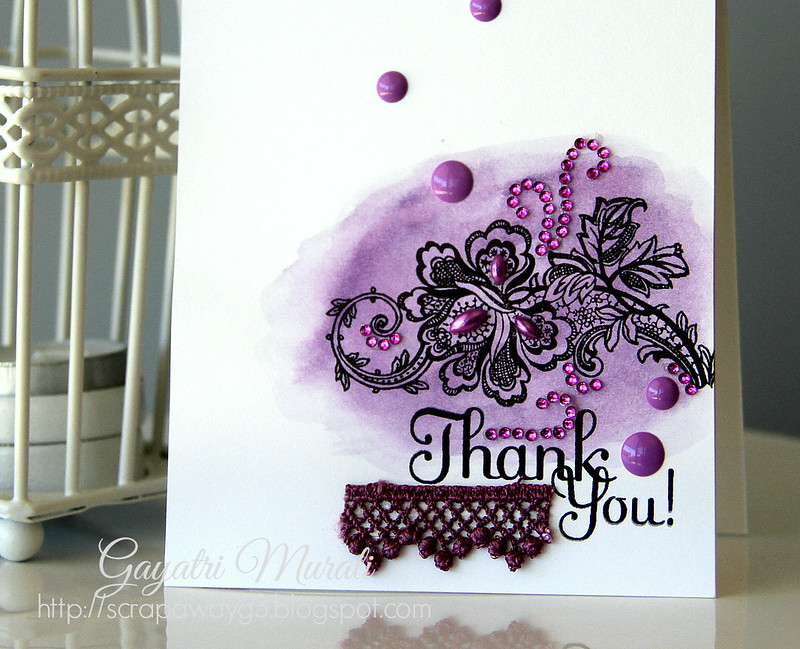
Watercolouring is the flavour of the month for me. So I could not resist doing another water colouring on my card. lol! I then stamped the image using Archival Jet Black Ink. The image and the sentiment is from the same stamp set from Hero Arts. It is a simple card but the embellishments add glamour and finishes off the card. I had  this lace and rhinestone border from Prima Marketing for a really long time. I decided to trim them and use it on my card. And also give sequins some rest and use enamel dots instead. Here is a closeup.

Thank you card closeup!

Thanks for stopping by!
 Please visit later today for another purple card.


Wednesday, February 12, 2014

Thinking of you....


Good evening everybody,

Third post for today. If you are looking for MFT New Product Launch Post - CLICK HERE. If you are looking for my secret valentine card - CLICK HERE.

I received my Simon Says Stamp February card kit. I played with the kit and made this card.

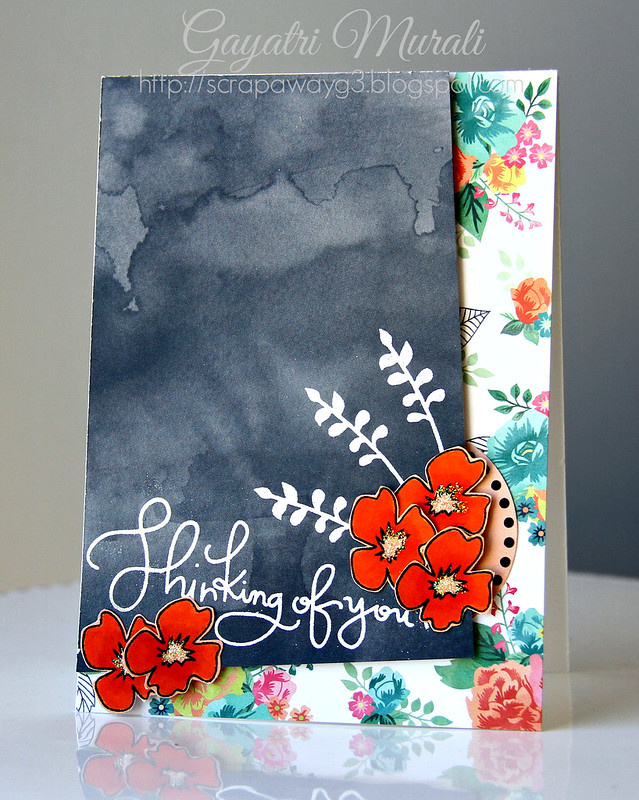
Thinking of you card

I loved the floral pattern papers and the watercolour paper in the kit. I combined and coordinated both of them along with some stamping, heat embossing and fuzzy cutting to make my card. I didn't plan anything, just went with the flow, relaxed and enjoyed the process of making a card. I think I needed it after couple of stressful days. Thats it from me today and on this post. :)

Thanks for stopping by!


My Favorite Things Product Launch

Welcome to My Favorite Things New Product Launch


All the new products are available from My Favorite Things Shop right now. Happy Shopping!

I have two similar cards using two different techniques to share with you today.
Here is the first card.

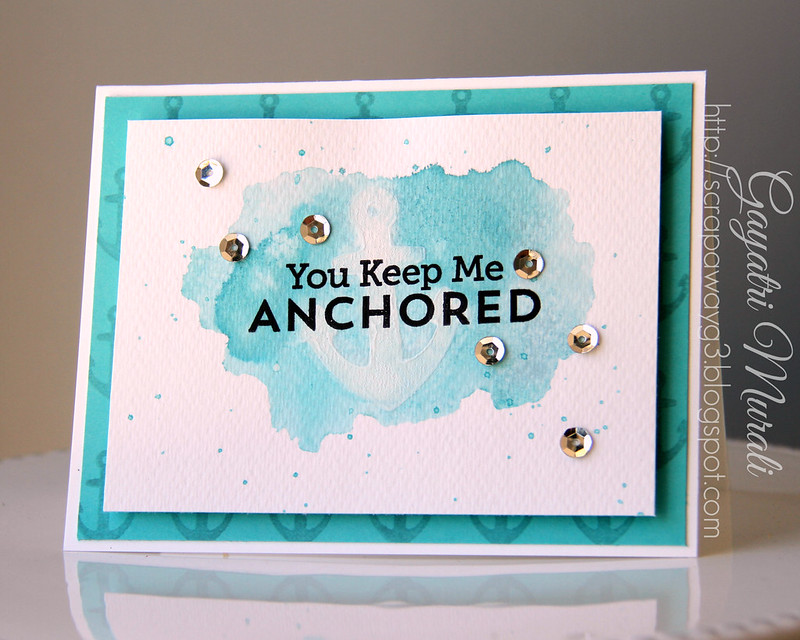
Anchored card

For this card, I have used water colour paper. I stamped the anchor stamp from Go Overboard using gesso. Dried it with heat gun. Then used the Water colour Backdrops stamp to ink Berrylicious ink, then misted with water and stamped on the wate rcolour paper making sure the anchor is at the centre. I repeated this couple of times each time offsetting a little. I also spattered the same ink. Used the heat gun to dry. Once dry, I stamped the sentiment again from Go Overboard stamp set using Archival Jet Black Ink. This looked beautiful. I trimmed the paper, adhered on top of the Berrylicious card stock panel which is stamped with anchors using Berrylicious ink. This is then adhered to the card base. I have used some gorgeous silver sequins to accent. I love subtle anchor on the background and the water colour effect using the Water colour backdrop stamp. Love it.

This second card looks similar to the first one but this card involves some ironing. Yes, I used my iron on this card. Here is the card first.

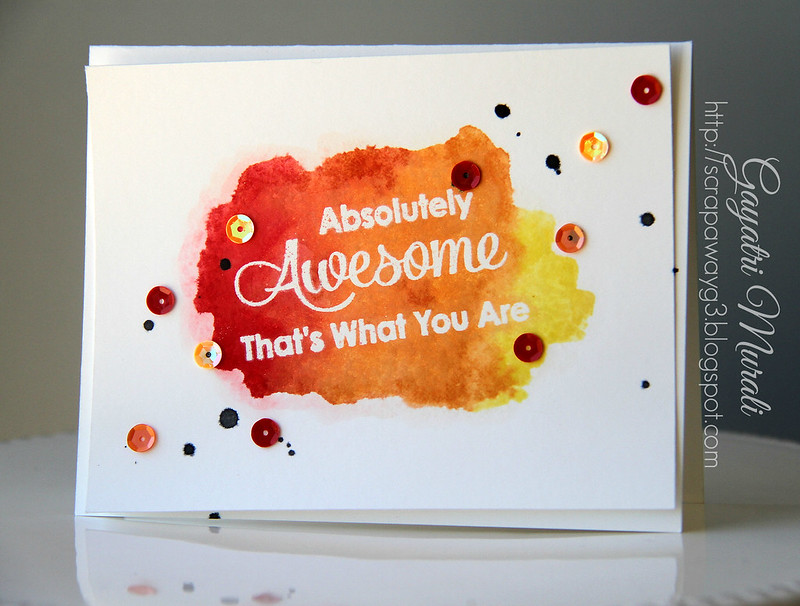
Awesome Card

This is not my technique. Jennifer McGuire has a video on this technique. I tried it on my card and it worked. I first white heat embossed the sentiment from Simply Fabulous Sayings on the panel. Then inked the Watercolour Backdrop stamp with red, orange and yellow inks from MFT, misted with water and stamped. I also used a wet brush to soften the edges. Once this is completely dry, I placed a white printer paper on top of the panel and ironed. Non steam setting and medium to high heat will heat up the embossing and stick to the printer paper. Repeat the ironing couple of times by placing fresh side of the printer paper. Let your panel cool down. When you run your fingers on the panel, you cannot feel the heat embossed texture on the sentiment. You still have the crisp sentiment with the watercolour background like it has been printed. Super cool huh! I then spattered some black Mr. Huey and added some sequins. Adhered this panel at an angle on to the card base. 

That's it from me today. Please visit MFT blog to see all the new products and also get inspired by design team products. Happy Shopping!

See you later this week with the Release Rewind projects.


Happy I Love You Day!


Good Morning!

I am part of a great design team at Curtain Call Inspirational Challenge. We not only design our projects for the challenge, comment and vote, we also have fun. We did secret Santa during Christmas. sent out to a randomly selected DT a Christmas craft package. And when we received it, we made a project using the goodies and shared it on out blog. It was so much fun that we did secret valentine as well. My secret admirer is Tracey McNeely. She sent me some really beautiful pattern papers, dies from Lil' Inkers Design, die cut, glitter paper.... and so many embellishments. Lots of goodies. Thank you so much Tracey :)

I had so many ideas using the goodies that I had difficulty putting them all on one card. So here is my first card using the secret valentine goodies from Tracey.

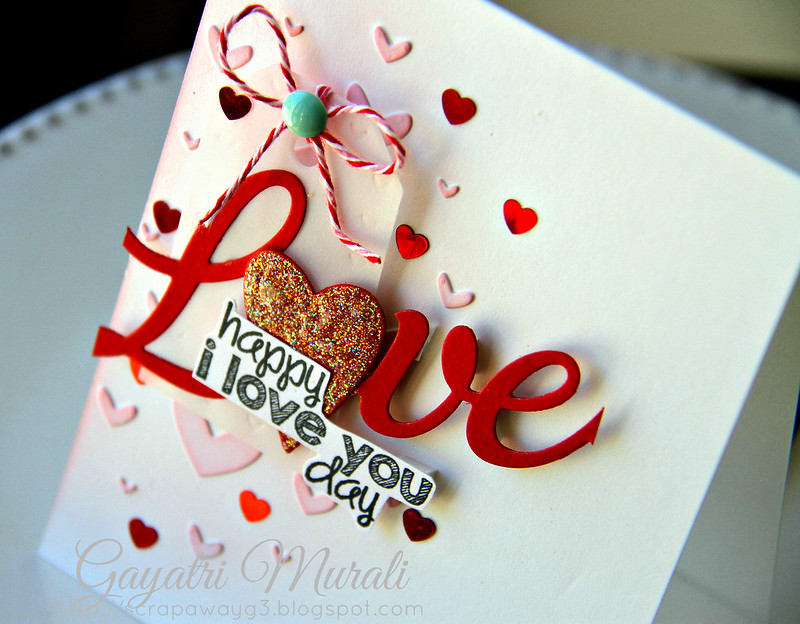
I love you day

I love all the teeny tiny hearts from the heart border die cuts. I wanted to use them. So I glued them on my card front giving the embossing paste on stencil look. I then sponged some beautiful pink ink around it.  Then layered the gorgeous vellum tag upon which I layered LOVE cut out of Framed Love die cut. Added a red heart shape on "O" of LOVE die cut.  Tracey sent me a few stamped sentiment which I fuzzy cut out and layered. Who does not love the red heart sequins from Pretty Pink Posh, right? I have added a few of them to give the glamour to my card. Applied diamond stickles on the heart shape. I did a bow using the gorgeous double colour twine on the vellum tag and added a blue enamel dot. Here is a closeup!

I love you day closeup!

I will certainly have one more card coming soon :)

Thanks for stopping by!