Saturday, May 16, 2015

Neon Beautiful!


Hello everyone!

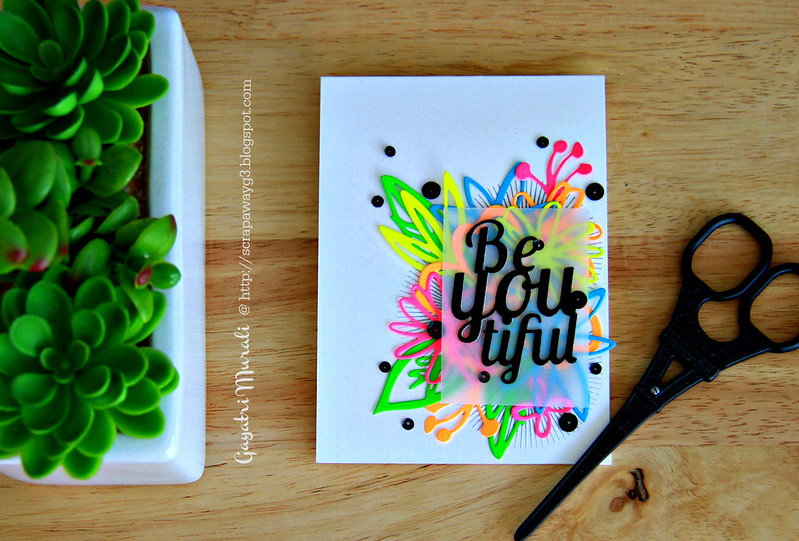
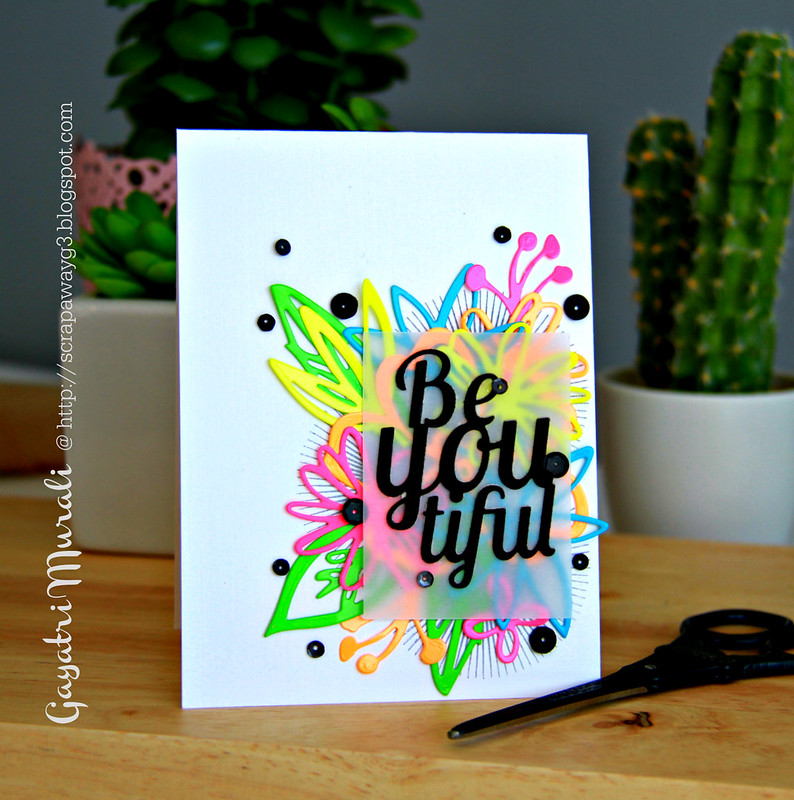
I have a beautiful neon card to share with you today. I have been wanting to play with Essentials By Ellen new release Wild Garden and Be You-Tiful dies. Finally found sometime this morning to play with it. I combined Essentials By Ellen dies with Avery Elle stamp set to play the Mix it Up challenge.

Banner-MIX-it

Here is my card for the challenge.

Be Youtiful card

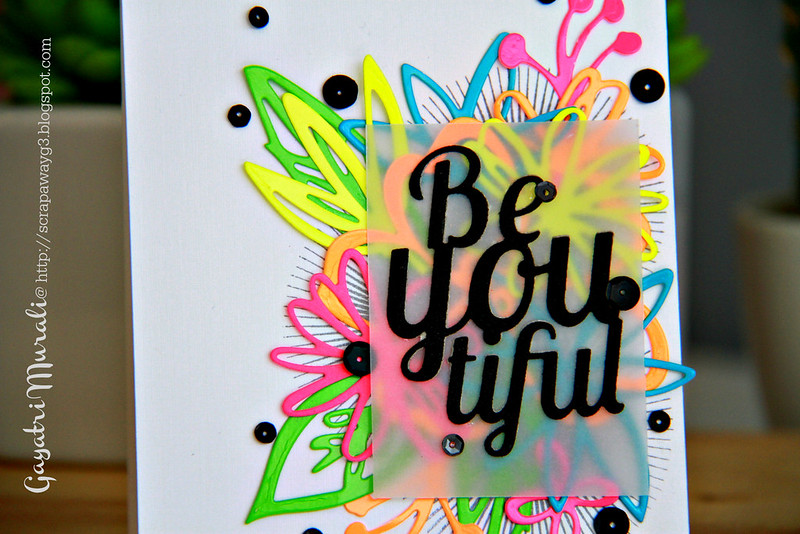
I die cut the flowers, leaves from Wild garden die set using neon cardstock. I love the high contrast of neon colours against white background. Then I stamped the starbust stamp from Avery Elle called Bright Days stamp set on the card front using Memento Lux Flannel Gray pigment ink three times. Then layered and glued the neon die cuts.  I die cut the Be You-Tiful die using black glitter paper and adhered on a rectangle vellum cardstock. I layered this vellum cardstock on the neon cluster. 

Be You tiful closeup

Finally I have used Pretty Pink Posh's Onyx and Charcoal sequins to add more black to tie with the sentiment colour.

Be Youtiful flat1

You know I love high contrast. So I LOVE this card. Just love it! Hope you do too :)

Thanks for visiting my blog today.

My blog signature

Thursday, May 14, 2015

Pretty Pink Posh May Release Blog Hop.

Hiya everyone!

Welcome to Pretty Pink Posh's May release blog hop.

As you know, there are two new set of dies released beginning of this month. They are called Stitched Banner 2 dies and Stitched Borders 3 dies. And some beautiful sequin mixes called Enchanted Garden mixes and kit. And some really pretty iridescent sequins called Sunshine Glow, Peridot Mist, Lavender Moon and Strawberry Burst.

Today, we are doing a blog hop showcasing the new products.


You should have come from the gorgeous and talented Yuki Yoshioka's blog in the hop. But if you are here first, then don't worry I will give you the list of designers towards the end of the post.

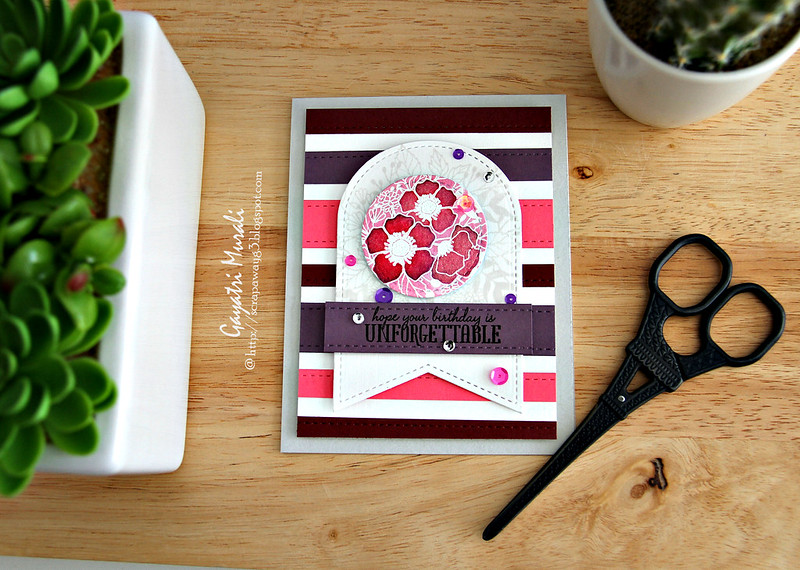
Here is my card using dies from both the sets.

PPP may release 1

Here is how my card came about. I chose the colours from the Enchanted Garden sequins mix. Then I wanted a layout for the card. Joni has started a new sketch challenge at Wplus9 and so I picked her sketch as the layout for my card. 


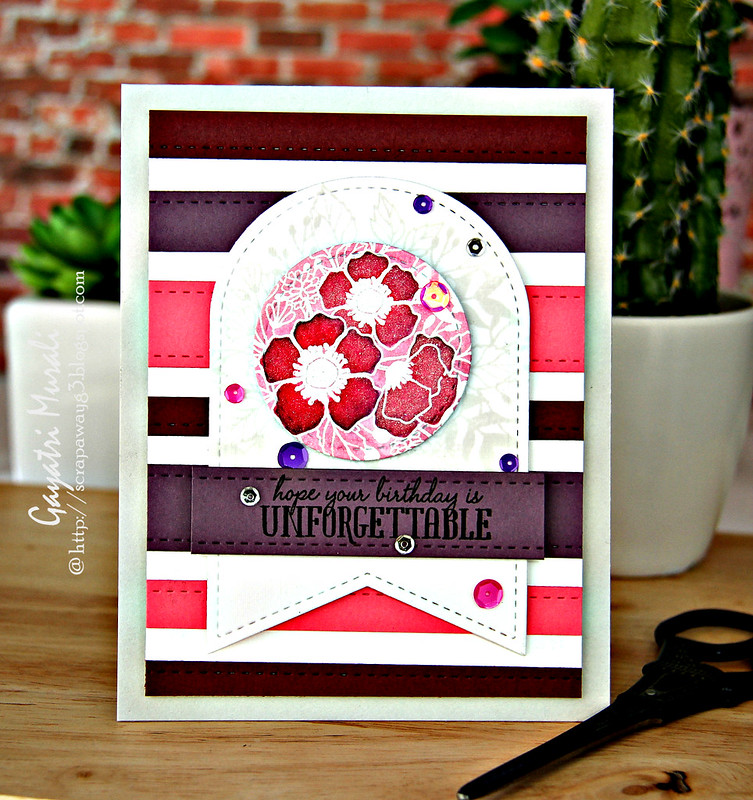
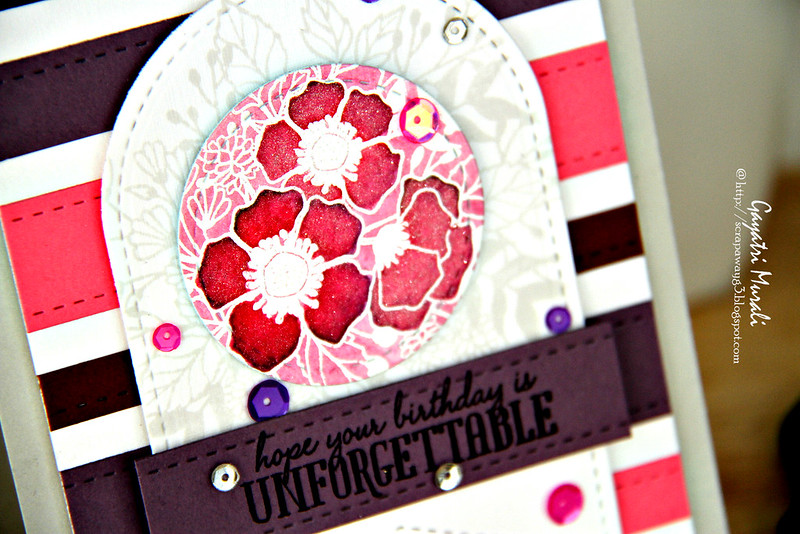
To participate in the sketch challenge, I picked Botanical Bunch stamp set from Wplus9 to use. Then I picked a technique to use. Watercolouring  it was, Of course! Then looking at the Stitched Banner Duo 2 die, there is the banner and the small circle. So I thought if I spotlight the flower cluster image with the circle, it will awesome. So I stamped the flower cluster from Wplus9 stamp set in grey on the banner die cut and white embossed on watercolour paper to watercolour. I then die cut the three flowers out of the cluster using the circle die. I watercoloured the flower shading the colours from the Enchanted Garden sequins mix. Then brushed Wink of Stella shimmer. I then foam mounted this circle on the banner die using foam adhesive. So just the three coloured flowers are spotlighted.
PPP May release closeup

For the background I used the double stitched strip die from the Stitched Borders 3 die set and die cut three different shades of pink and purple. I wanted varied heights for the strips. So I kept some of them as is and trimmed a few others down to two different heights. Then glued down the strips on a white panel which is about 1/2' smaller than the card front. I mounted the banner on the striped background panel using foam adhesives. Then mounted this entire panel on grey card base using foam adhesive again.

PPP May release 3

For the sentiment, I stamped the sentiment from Wplus9 Unforgettable stamp set on one of the purple die cut strip to match and adhered on the tag. Finally I have used Enchanted Garden mix and Strawberry iridescent sequins to bring everything together.  I am pretty pleased with how it turned out. Hope you do too. 

Now, Paulina is giving away two $25 gift certificates to two lucky winners. So please comment on all the blog in the hop because the winner will be chosen randomly from any of the blogs. Comemnts must be left bu 11.59PM PDT on 5/18/2015. Winner will be announced on Pretty Pink Posh's Blog.

Here is the list of designers participating in the blog hop.


You next stop in the hop is to the very talented Nicole Gavaldon's blog. 
Happy Hopping!

Thanks for stopping by my blog today!
My blog signature

Monday, May 11, 2015

Something exciting to share


Hello my dear craft friends,

I have something exciting to share with you today. I am over at Winnie & Walter Blog with a new regular feature called In Focus with Gayatri Murali


This is a fortnightly feature with focus on techniques. It is also a photo tutorial. 
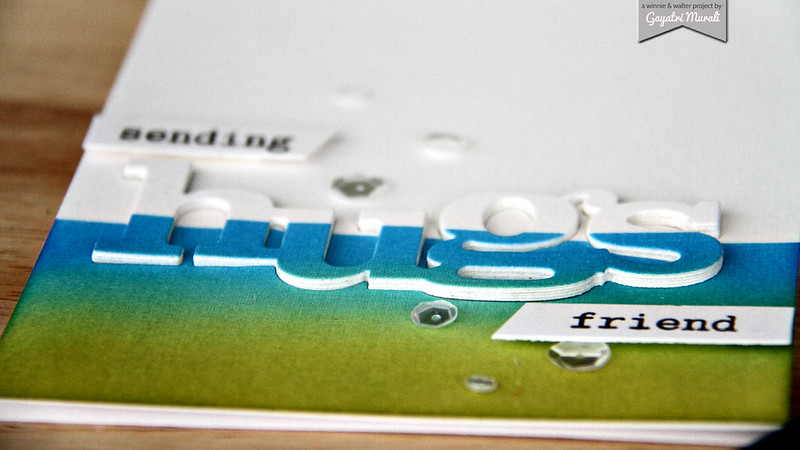
This is a sneak peek of my technique card on Winnie & Walter Blog.

Hugs card dimension

I am so excited about it. Check it out and hope you like it.
Thanks for sharing my excitment :)
My blog signature

Clean and Simple Challenge At A Blog Named Hero


It is time for a new challenge at A Blog Named Hero.
This is a Clean and Simple Challenge.


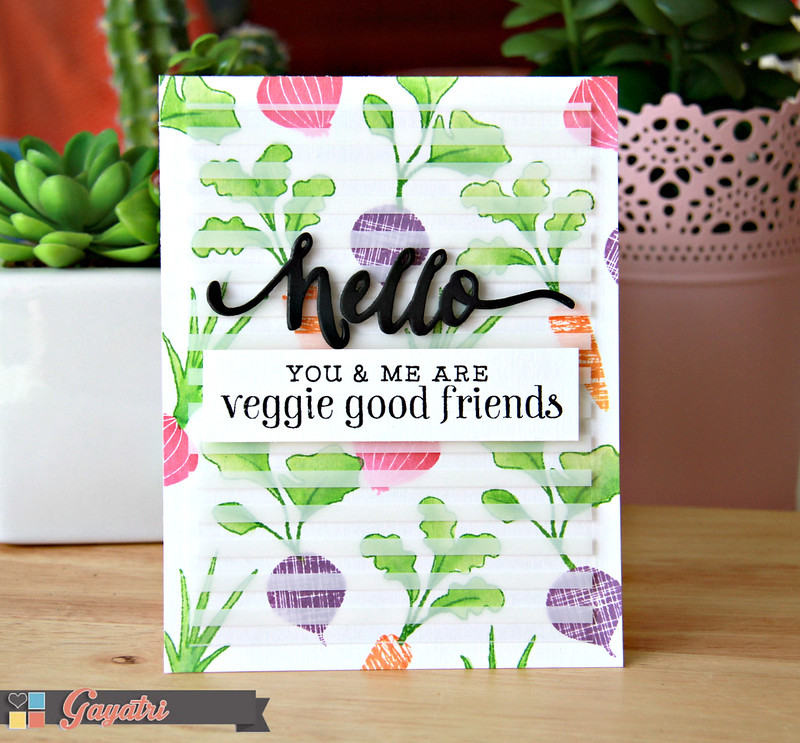
This is my take on the challenge.

veggie good friends2

I have used products from both Hero Arts and this month's collaborative partner Wplus9.
For the background, I have used Stamp Your Own Salad stamp set from Hero Arts. For the leaves of the carrots, beetroots and onions, I stamped with Mowed Lawn distress ink and then watercoloured using waterbrush. For the roots itself, I have used Hero Arts Ombre inks Pink and Orange and Cockleshell dye ink from Wplus9.

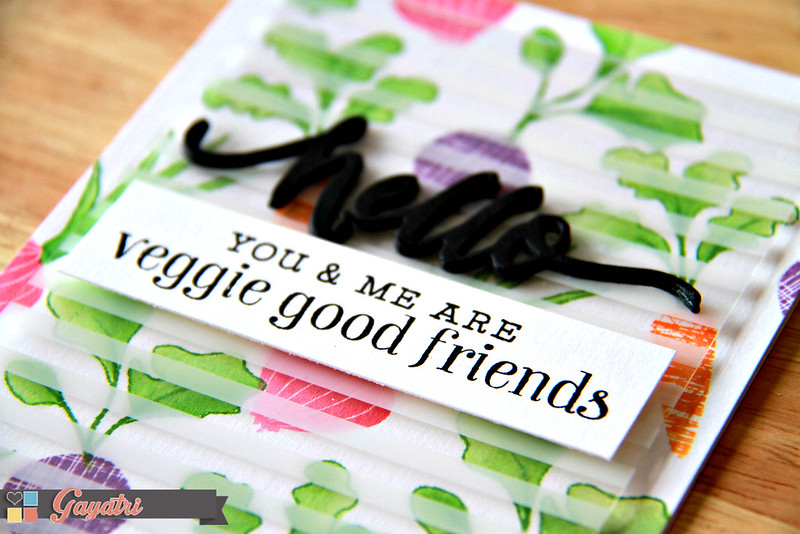
Veggie good friends closeup1

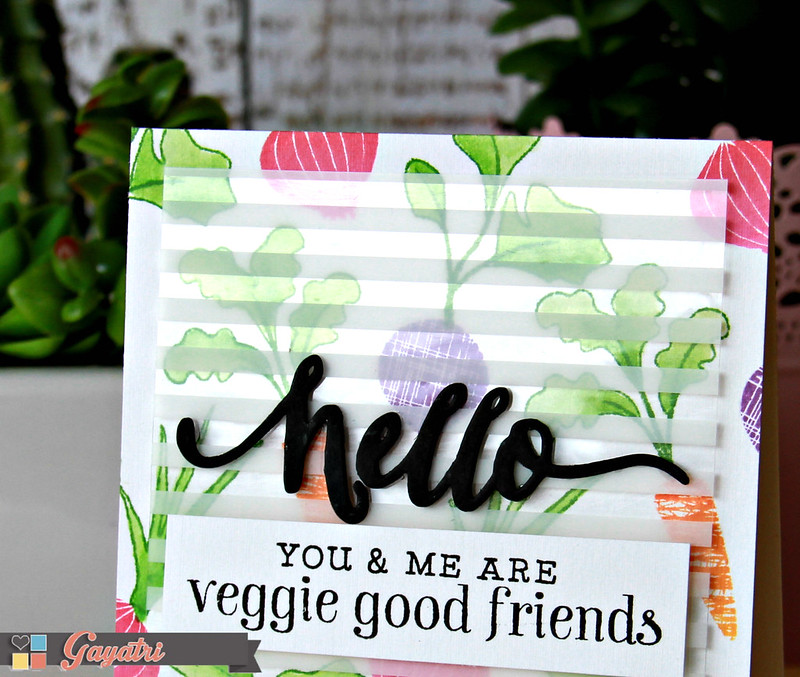
I then added a smaller panel of white striped acetate paper from We're Memory Keepers. The Hello die is from Wplus9 which I die cut a few out of black cardstock and stacked glued them to get dimension.

The sentiment is from Stamp Your Own Salad stamp set which is stamped on a strip of white cardstock and adhered using foam. 

Veggie good friends closeup

There is a lot of white space and dimensions yet, this is a clean and simple card.
Head over to A Blog Named Hero blog for more DT inspiration.

Come and play long the challenge. One lucky winner get a

http://www.shareasale.com/r.cfm?u=634982&b=199868&m=24698&afftrack=&urllink=www%2Esimonsaysstamp%2Ecom

from our fabulous sponsor

http://www.shareasale.com/r.cfm?u=634982&b=199868&m=24698&afftrack=&urllink=www%2Esimonsaysstamp%2Ecom

Thanks for stopping by!
My blog signature

Saturday, May 9, 2015

More new projects for Taylored Expressions


Hello everyone,

Happy weekend! My Saturday is almost coming to an end for me. Weekends always go faster than the weekdays. Not happy!  Anyway, today I am sharing with you more Taylored Expressions projects using the May new release products. These products are now available to purchase from Taylored Expressions Store.
Without any further delay, here are my cards.

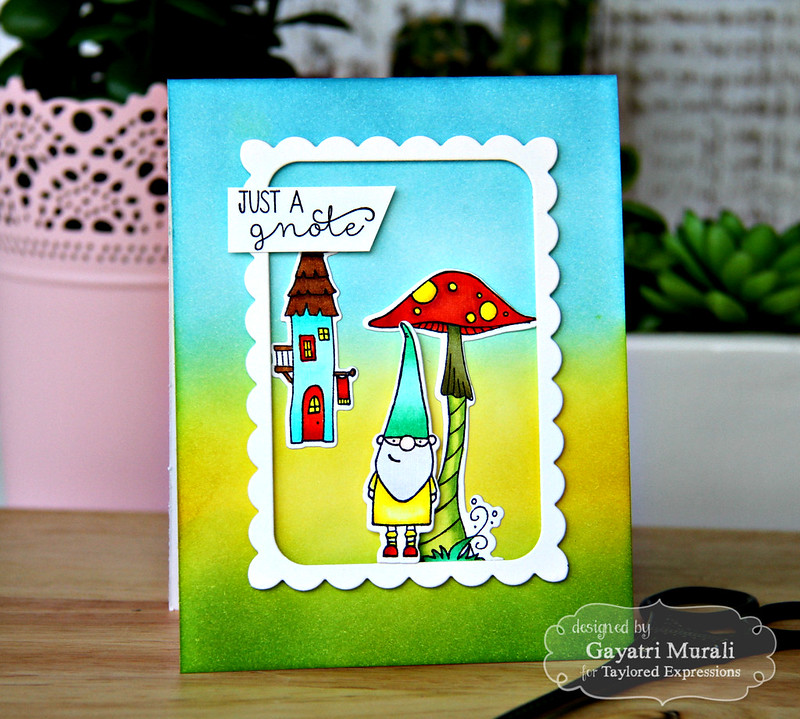
Just a gnote

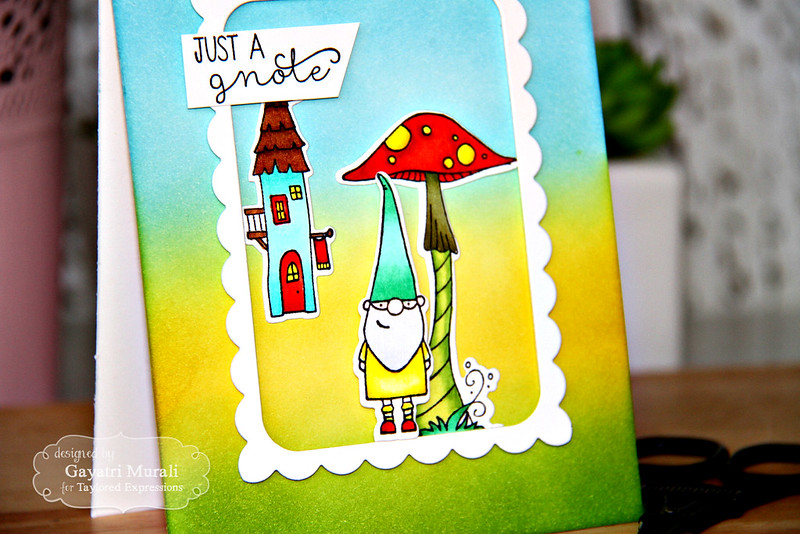
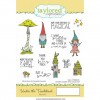
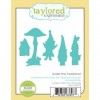
This card uses images from Under the Toadstool stamp set and coordinating die along with scallop frame from Frame to Frame die. I sponged the background with distress inks Tumbled Glass, Salty Ocean, Crushed Olive and Mowed Lawn. The stamped, copic coloured the images from Under the Toadstool stamp set and die cut them using their coordinating die. I then added a white scallop frame from Frame to Frame die set using foam adhesives to give dimension. Adhered the coloured die cuts images inside the frame. Stamped the sentiment on a strip of white cardstock, trimmed and added to the top left of the frame using foam adhesives. Love the colourful background and the images and frame just pop right out of it. Here is a closeup!

just a gnote closeup

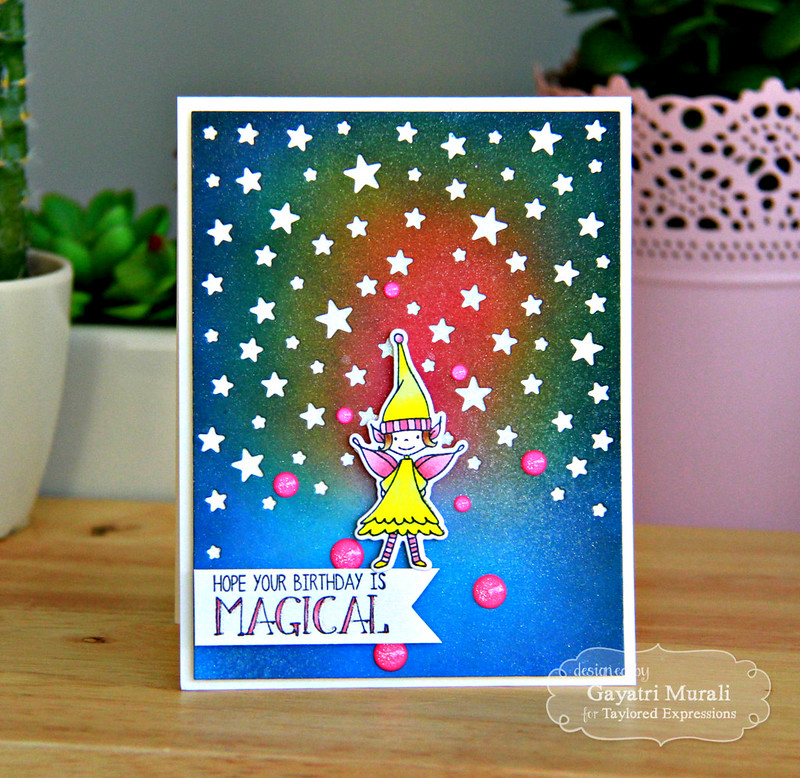
Second card uses Starry Night cutting plate and the fairy form Under the Toadstool stamp set.

Magical Birthday

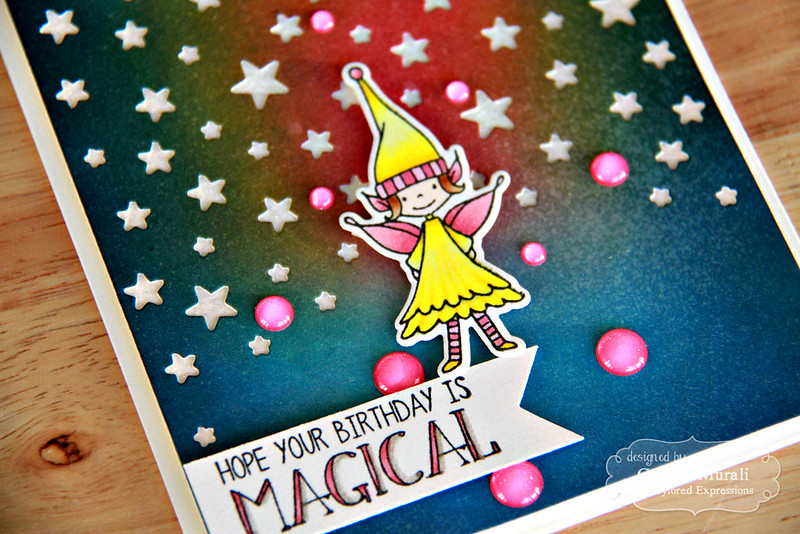
I sponged Picked Raspberry , Curshed Olive, Mustard Seed, Salty Ocean and Chipped Sapphire distress inks on a white cardstock then die cut the cardstock using Starry Night cutting plate. To make the stars sparkle, I mounted die cut panel on a white glitter paper.Adhered this panel to the card front.

The fairy from the Under the Toadstool stamp set is copic coloured and die cut using the coordinating die and adhered on the card front using foam adhesive. The sentiment is also from the same stamp set, stamped and coloured. Finally embellished with sparkly pink enamel dots form Doodlebug.

Magical card closeup2

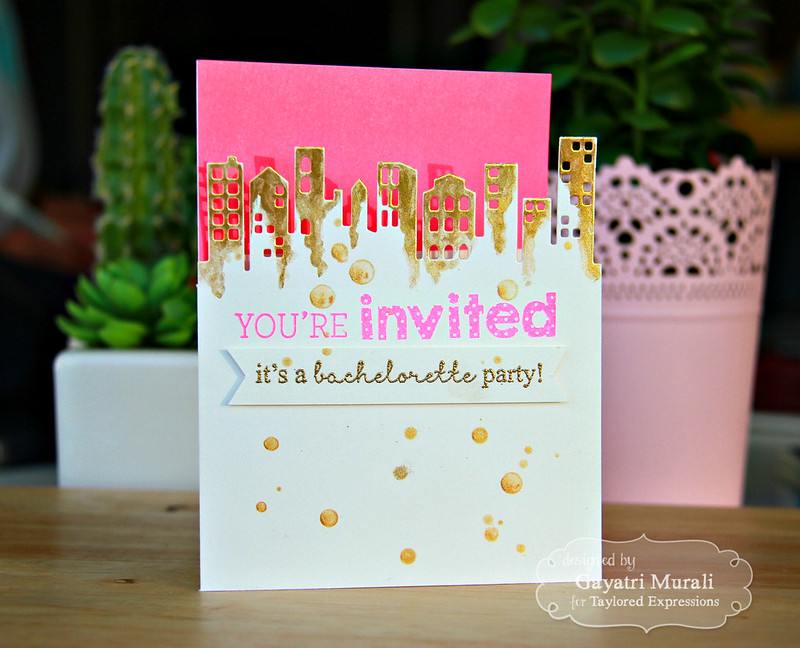
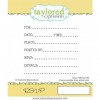
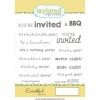
My last card using Downtown border die with Eventful and RSVP stamp sets.

Bachelorette party card 1

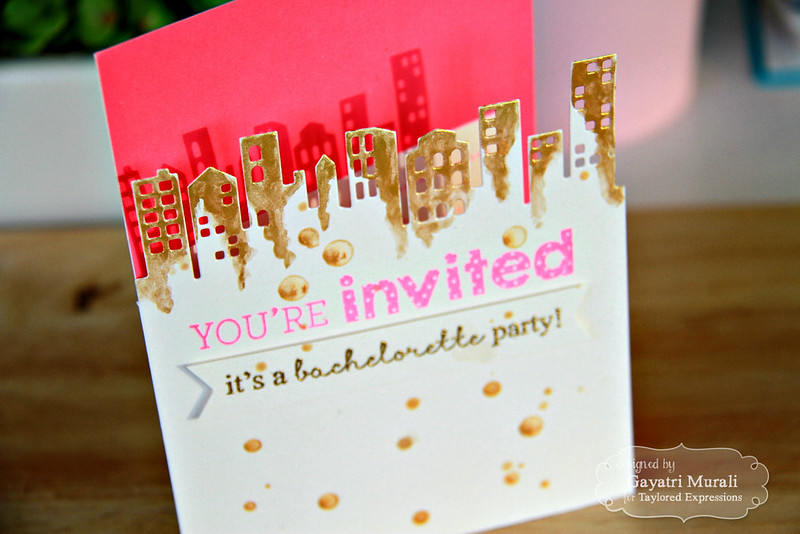
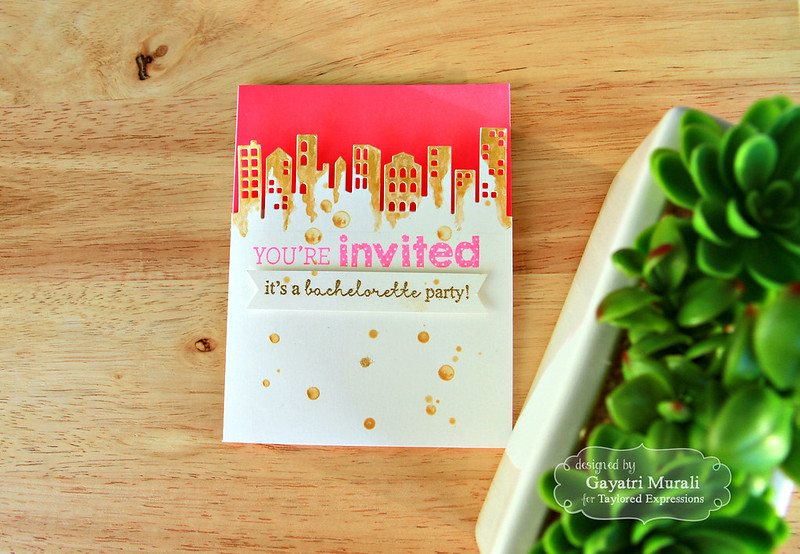
This is an invitation card for a Bachelorette party This die is awesome in the sense that it does not die cut at the bottom of the die. So when I ran through the top of the card, I only had to trim the scored fold edges. I love the partial die cut the card front. I added some gold mica watercolour on the top of the buildings of the die cut. Then did some gold spatter as well.

The sentiment "you're Invited" is stamped using neon pink ink and the smaller sentiment also from Evenful stamp set is stamped in Delicata gold pigment ink and gold heat embossed on a strip fo white cardstock. I then cut out fishtails on the sides and adhered on using foam.

Bachelorette party closeup

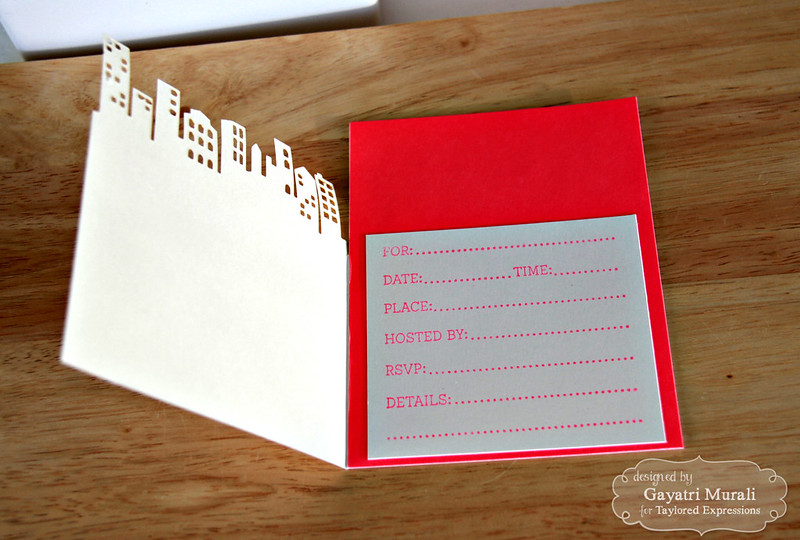
On the inside, I adhered a pink neon panel, then stamped the rsvp stamp on white cardstock, trimmed and adhered inside.

Bachelerotte party inside

Absolutely LOVE LOVE neon pink, gold and white combination. Just so pretty and trendy.

Bachelorette party flat 1

 For more inspirations using Taylored Expressions new release products, check out TE Gallery.

Thanks for stopping by my blog today.
My blog signature

Supplies: