Showing posts with label Watercolour technique. Show all posts

Wednesday, April 27, 2016

Simon Says Anything Goes!

wed-newchallenge-header
Hi all and welcome to another week on the Simon Says Stamp Wednesday Challenge
Thank you for joining us for our Make It Girlie Challenge and we hope you will join in with our new theme!
We will be back soon with the names of the lucky winner of the $50 Voucher.
This week the challenge is

ANYTHING GOES

We are showcasing STAMPENDOUS PRODUCTS this week. You don't have to use them to join in with the challenge, but if you have them we would love to see them used!
As always Simon Says Stamp will be giving away $50 voucher to shop at the fabulous Simon Says Stamp Store
50dollar_voucher_600px
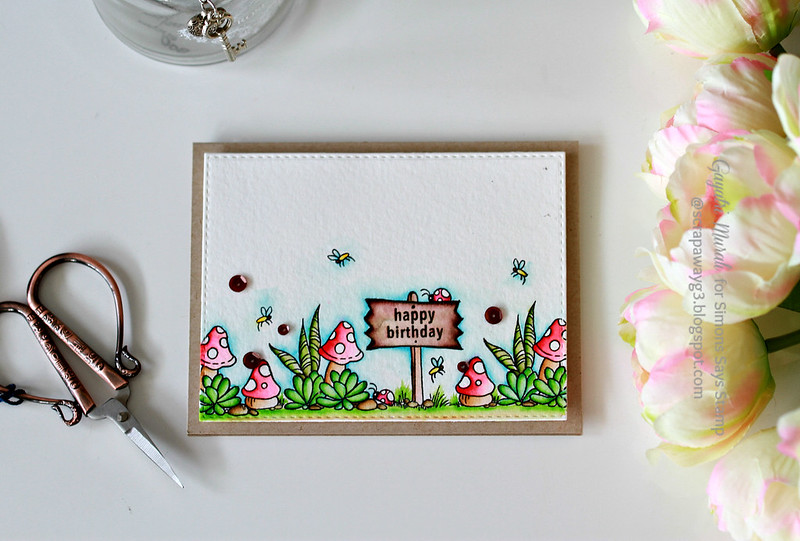
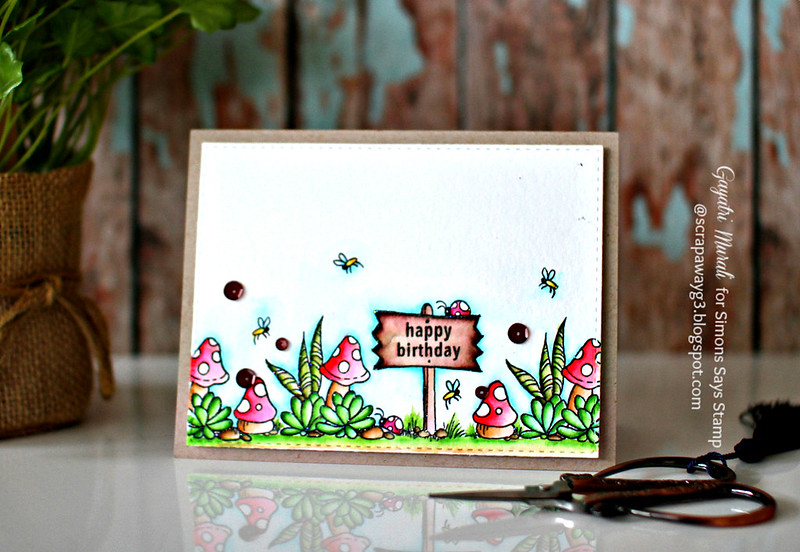
I used Stampendous Terrarium stamp set to make my card. I love this stamp set for its big mason jar and the smaller tank. Unfortunately I did not use both of the images. Instead I decided to use the smaller stamps in the set, heat emboss them and watercolour. I love colouring flora images and that is what I did. Here is my card.
Happy Birthday flat

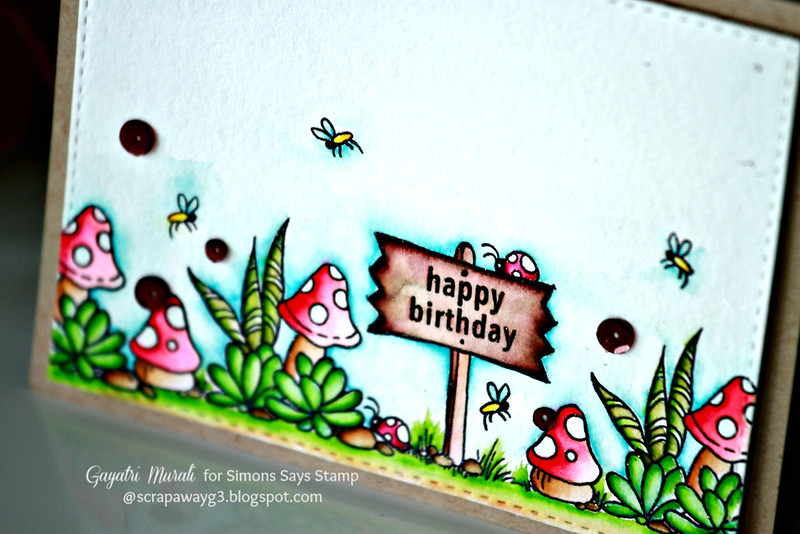
After colouring all the heat embossed images and background with Zig markers, I die cut the water colour panel using Simon Says Stamp stitched rectangle die. The sentiment is from Simon Says Stamp stamp set called Ice Cream Dream also heat embossed. I adhered this panel on to Kraft card base and embellished with Pretty Pink Posh Espresso 6mm and 4mm sequins.
Happy Birthday vertical

Here is a closeup of the watercoloured images.
Happy Birthday closeup

So now it's YOUR turn.  Happy Crafting
Do you use Instagram ?  If so please add  #ssswchallenge to your challenge entry uploads so we can see them on there too !
There are fabulous Give Aways and inspiration from fabulous designers on a daily basis over on the Simon Says Stamp Blog , if you haven't subscribed by email you may want to so you don't miss out

Simon Says Stamp

You have until Wed  8am Ohio time. 1pm UK time, 2 pm CET to join in
No backlinking allowed, Only 5 new creations will be eligible in the prize draw

word-verif
Thanks for stopping by my blog today!

My blog signature

Wednesday, January 20, 2016

Simon Says Create with Critters!


Hi all and welcome to another week on the Simon Says Stamp Wednesday Challenge. Thank you for joining us for the  Ombre Challenge and we hope you will all join us again this week too

wed-newchallenge-header

This week the challenge is Create with Critters!

We are showcasing Lawn Fawn Products this week. You don't have to use them to join in but if you have some we would love to see them used

As always Simon Says Stamp will be giving away $50 voucher to shop at the fabulous Simon Says Stamp Store
50dollar_voucher_600px

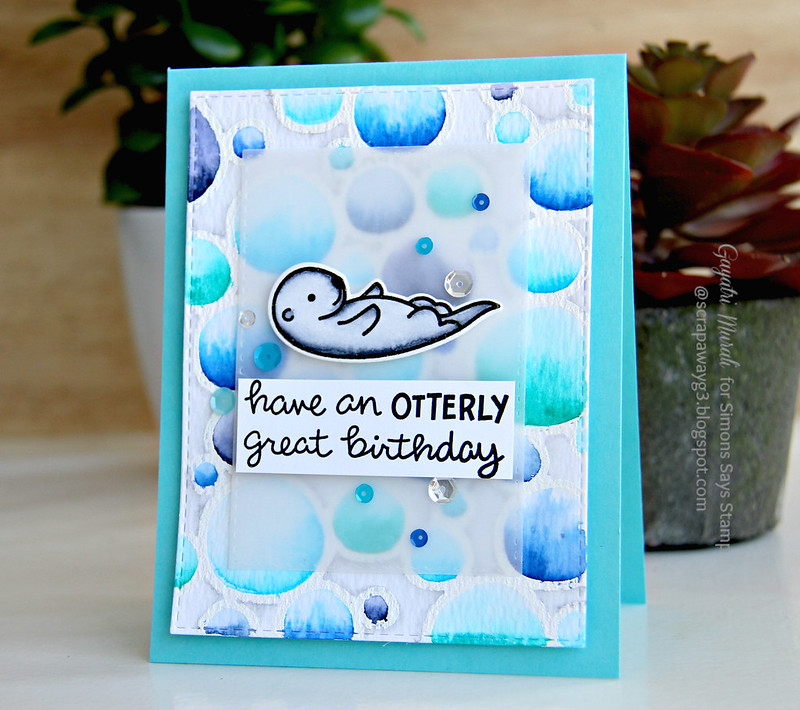
I love the cuteness of Lawn Fawn stamp sets. And I really adore the cute otter in the Otterly Great Birthday stamp set and dies. This is my card using the adorable otter image from Lawn Fawn!

Create with critter card #1


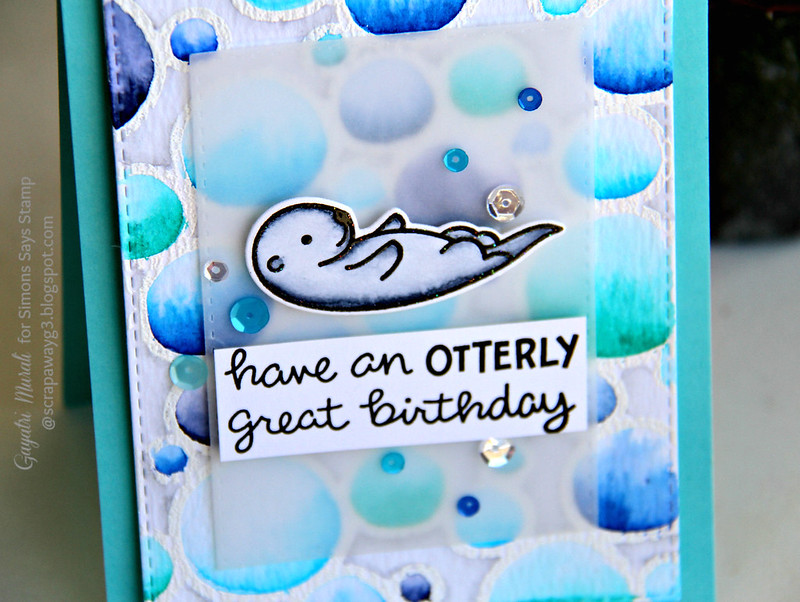
I black embossed the otter and watercoloured using Zig Clean Brush watercolour pen. Then I die cut the otter using the coordinating die. Then stamped the sentiment on a strip of white cardstock and trimmed the edges.

For the background, I stamped the new Stepping Stone background stamp from You have  my Heart collection from Simon Says Stamp in versamark and white heat embossed the image on watercolour paper. Then I coloured the inside of the stones in various shades of blue and aqua using Zig Clean Brush Watercolour pens. The background I shaded in grey. Once dry, I used the largest Stitched rectangle die from Simon Says Stamp Stitched Rectangle die set to die cut the watercoloured background. I adhered this panel to Audrey Blue card base using craft foam. Then added a layer of vellum which I die cut using the third largest stitched rectangle die. On top of the vellum panel, I adhered the die cut otter and the sentiment using foam adhesives. To bring the card together, I used Pretty Pink Posh's Cobalt,  Sea Breeze and Sparkly Clear sequins. 
Create with critter closeup


The shades of blue watercolour on Stepping Stone background give the look of water on the background. Love that stamp set. Just change the colour and you have brand new background every time. Must have background stamp set. Hope you like my critter card!

So now it's YOUR turn, Happy Crafting

Instagram

If you use instagram add  #ssswchallenge to your challenge entry uploads so we can see them on there too!


You have until Wed  8am Ohio time. 1pm UK time, 2 pm CET to join in
No backlinking allowed, Only 5 new creations will be eligible in the prize draw

word-verif
Thanks for stopping by my blog today!
My blog signature

Monday, May 4, 2015

I am over at A Blog Named Hero


Good morning everyone,

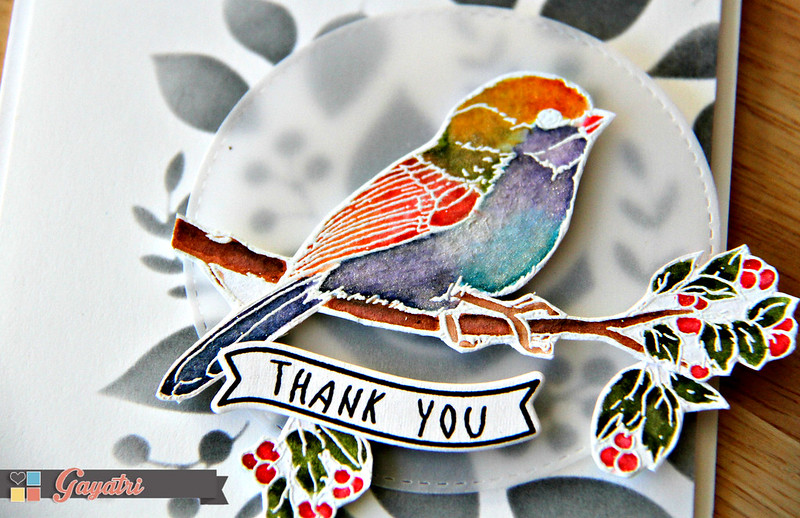
I am over at  A Blog Named Hero today. We are collaborating with the amazing Wplus9 this month and I have a card share using both Wplus9 and Hero Arts products.
Here is a sneak peek!

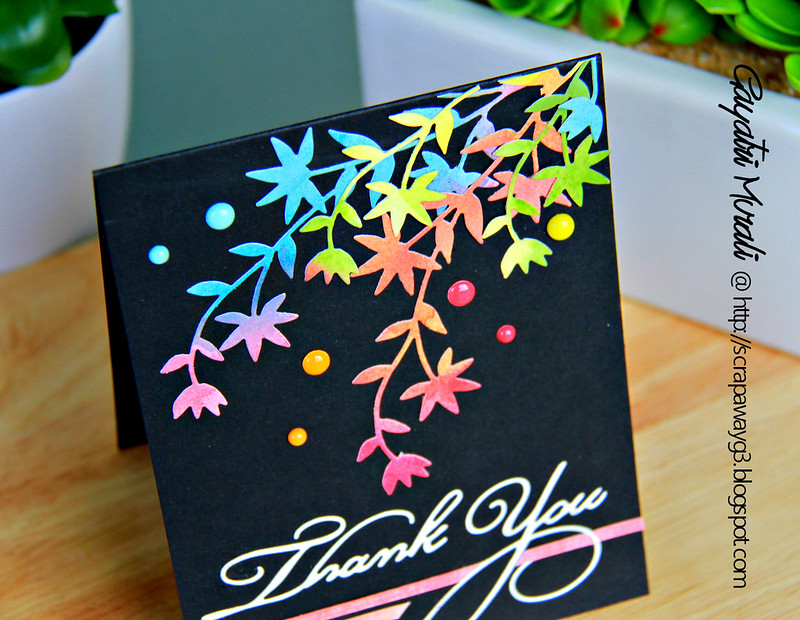
Thank you closeup

Check out details at A Blog Named Hero Blog.

Thanks for stopping by!

My blog signature

Saturday, April 18, 2015

Sparkle & Shine!


Hello folks,

After more than a week, I finally was able to spend some time in my craft room. Obviously lacking in creativity, I wanted to try a challenge to bring back my mojo. That is when I saw the new Pin - Sights Challenge at Ellen Hutson. I decided to play the challenge because I found it challenging with my lack of creativity.

It is a mood board challenge.

F266caab27787a3e6cad086a2041b5ba

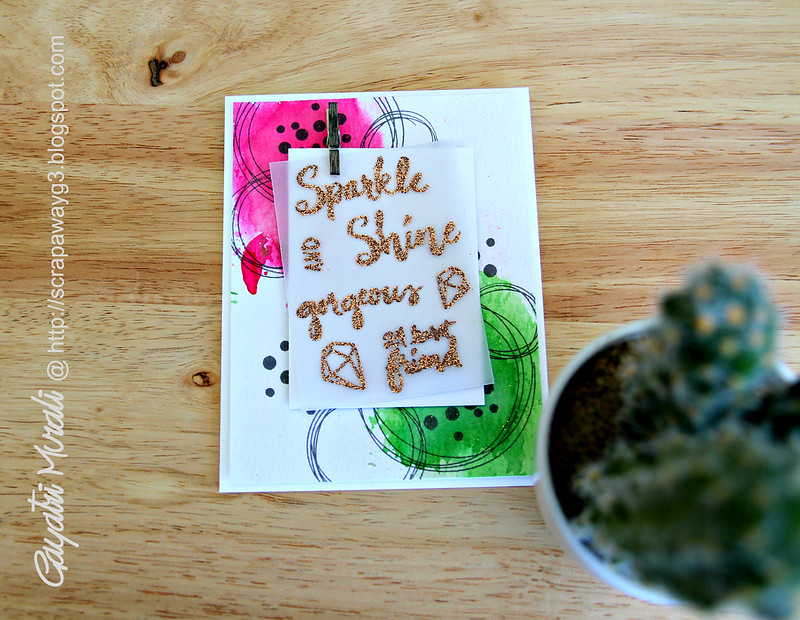
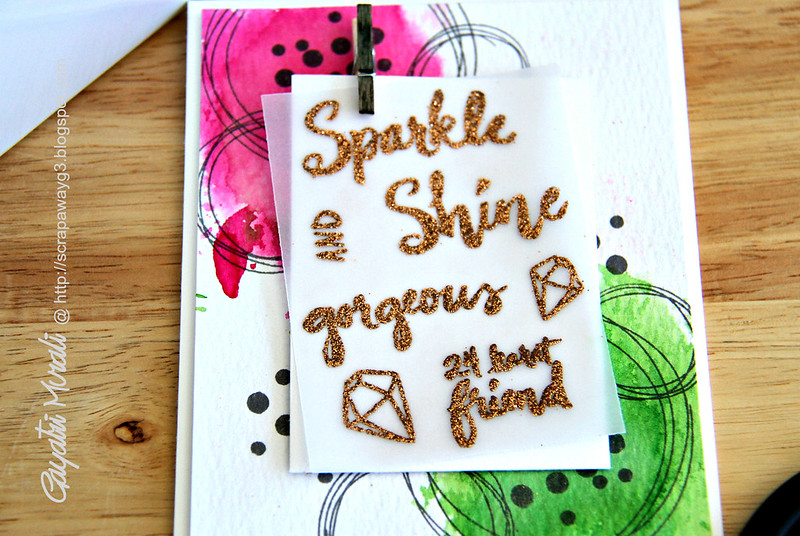
Love the colour combination. But I did not have any bronze paper or embellishments. After searching through my stash, I found bronze Zing sparkly embossing powder. Hooray! I can use it to emboss or make my own embellishements. I decided to emboss the sentiments on vellum cardstock using the Bronze Sparkly embossing powder.

Here is my finished card.

Sparkle & Shine

For the background, I did layered colour wash of Picked Raspberry and Mowed Lawn distress inks. Then stamped with images from the Bokeh Dots stamp set from Essentials By Ellen in charcoal ink by Hero Arts.

Sparkle & Shine flat

The sentiment is from Hello Gorgeous stamp set also from Essentials by Ellen which I have arranged and bronze heat embossed on vellum cardstock. I trimmed the vellum cardstock, layered with white cardstock and added a tiny peg which I coloured with Charcoal ink.

Sparkle & Shine closeup

Now, I should says after making this card, I did have a few more ideas popping in my head. That is exactly what I wanted. Creativity to start flowing. Such a thrill to have mojo back and thank you to the gorgeous mood board from Ellen Hutson and Laurel. If time permits I will put some of the ideas into paper and share it.

Thanks for stopping by!

My blog signature

Friday, March 20, 2015

Watercoloured Die Cut - Card #2

Afternoon everyone,

Sharing with you another watercoloured die cut card using Penny Black dies.

Thanks you card 1

For this card I have used Flower Frolic die and Stylish Gratitude die from Penny Black

flower frolic picture stylish gratitude picture

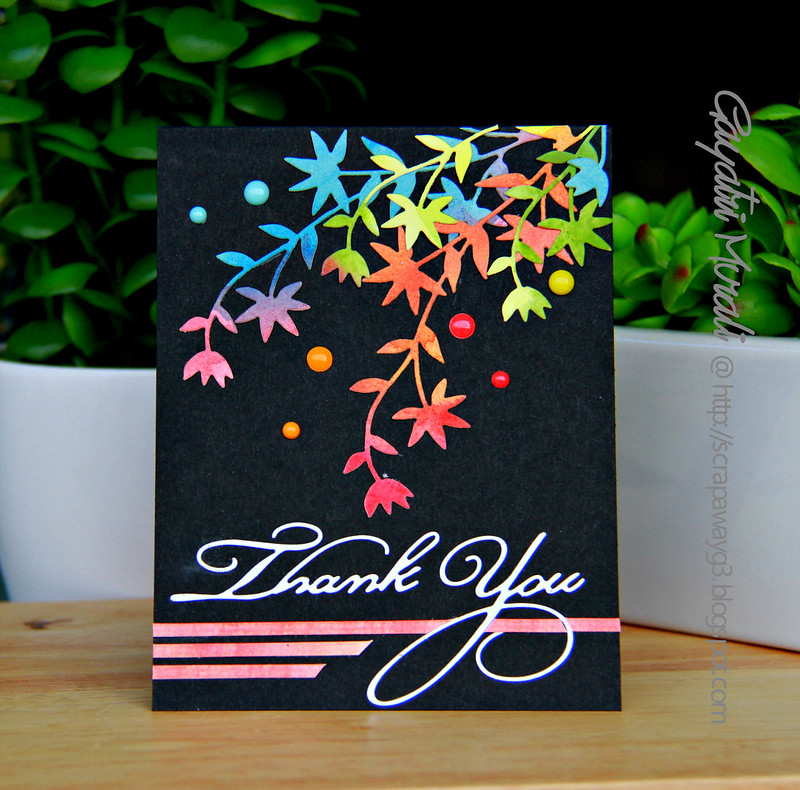
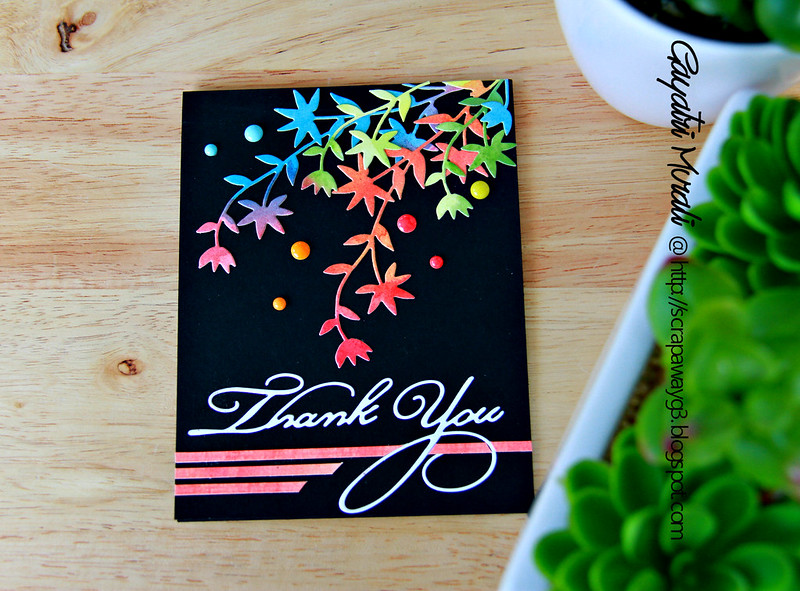
I did the exact same process as my previous card HERE. I love how I have a rainbow of colours against black. I layered them one over the other to get some dimension. I then die cut the Thank You die out of white cardstock and adhered towards the bottom of the card. I also added some thin strips of watercolour cardstock to anchor the sentiment die cut.

Thank you card flat

I added some glossy enamel dots to complement the rainbow colours of the die cut. Here is a closeup of the die cuts.

Thanks you closeup

Thanks for stopping by!

My blog signature

Wednesday, March 18, 2015

Watercoloured diecuts!


Hello dear friends,

I have been playing with Penny Black's new dies over the weekend. I love them especially the flower dies. They are so versatile. Watercolouring them was so addictive that  I made three cards. Today I am sharing the one of the cards.

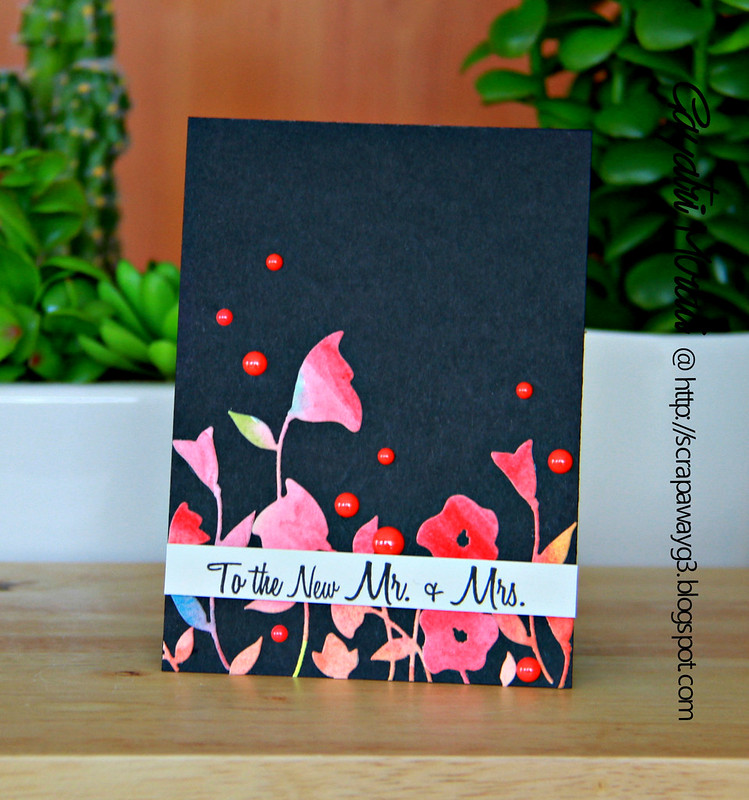
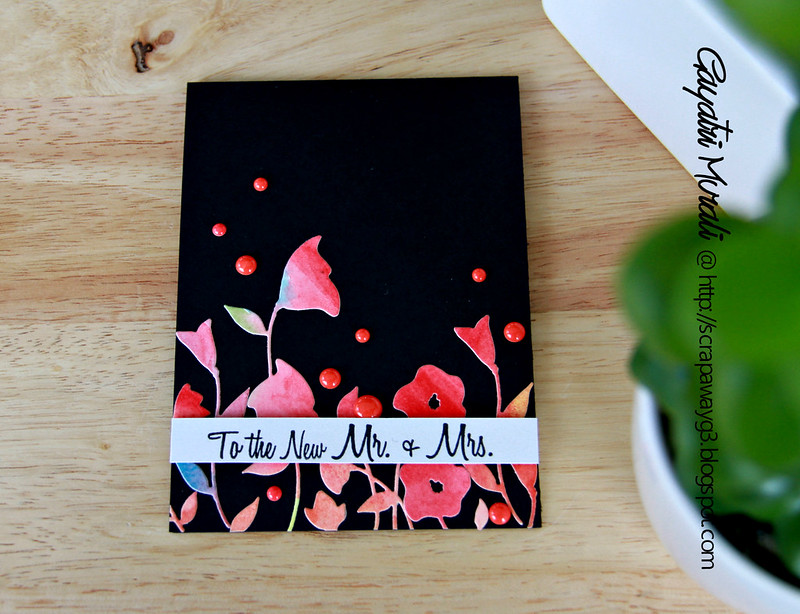
To the new Mr. & Mrs.

For this card I have used Playful Posies die set from Penny Black

playful posies picture

Normally, I die cut and then watercolour. Then I can control my watercolouring and also choose what colour goes where. But for this card, I watercoloured the cardstock first with different colours then die cut the die out. I love the colour variation on the die cuts due to this technique. This gives more of an abstract look to the die cuts instead of traditional colouring of green for the leaves and red, blue or pink for the flowers. Hope I make sense :) 

To the new Mr. & Mrs closeup

So I simply adhered the watercoloured die cut on to the black card base toward the bottom. Then stamped the sentiment from You & Me stamp set also from Penny Black on a strip grey cardstock and adhered using foam adhesives. Finally I added some glossy red enamel dots to accent the reds on the die cuts. 

to the new Mr. & Mrs. flat 

I simply love the high contrast on this card and the variation of colours on the die cut.

Thanks for stopping by!

My blog signature

Monday, February 16, 2015

Muse for a new CAS challenge.

Hello folks,

There is a new Clean and Simple challenge in town everyone!

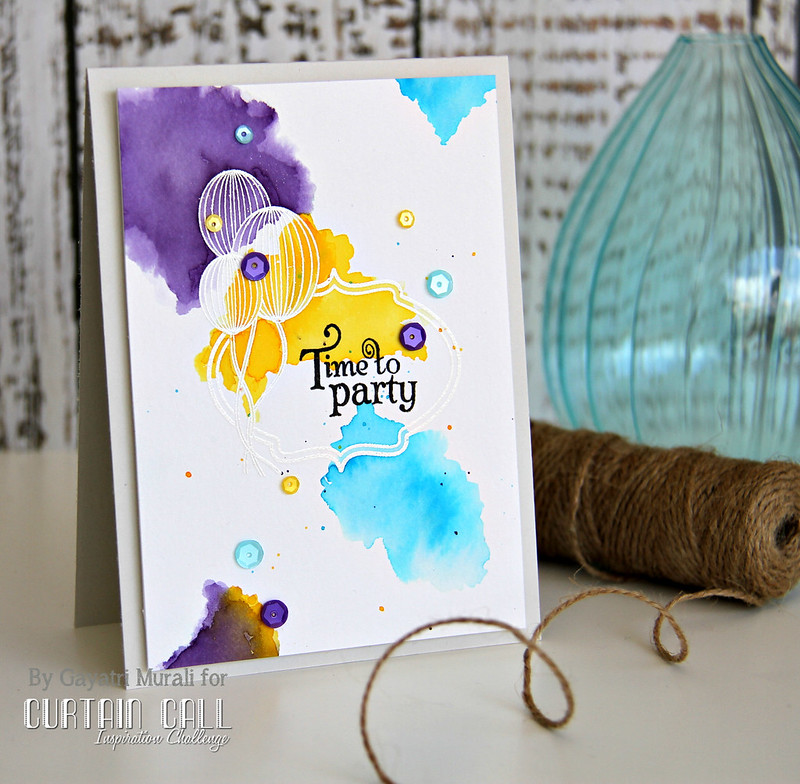
Ksenija from Sovushka Salvia Blog asked if she can use this card of mine as a muse for her new Clean and Simple challenge on her blog. Of course, I said yes! it is an honor to be featured and used as an inspiration. Thank you so much Ksenija :)

So here is my muse card.

Time to party 1

Here is my CASEd card.

Celebrate1

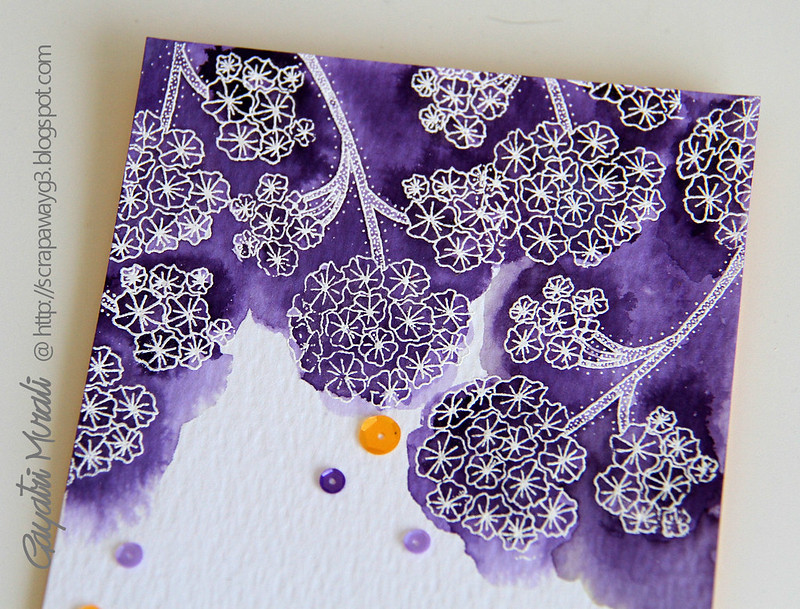
I have used the hydrangeas from Penny Black's Blooming Garden stamp set which I heat embossed on the watercolour cardstock. Then I colourwashed with Purple colour from Peerless Watercolour. I did this in layers starting with the lightest, drying then layering with another layer of purple with heaver shades in few places. This gives nice depth to the colour wash.

Celebrate closeup2

For the sentiment I colour washed the watercolour paper in orange colour and then die cut Celebrate die from Celebrations die set also from Penny Black for the top layer. I also die cut couple more using regular cardstock. I then stacked and glued them with the orange die cut on the top.

Celebrate closeup!

Finally embellished with Pretty Pink Posh's Amethyst 6 mm and Marigold 4mm sequins.

Check out Sovushka Salvia Clean and Simple Blog for more design team inspiration. They are very pretty and CAS. If CAS is your style, come and play along. There are prizes o be won too :)

Thanks for stopping by!

My blog signature

Wednesday, February 11, 2015

A Blog Named Hero Challenge - Small Scale!


Welcome to a new challenge from A Blog Named Hero - Small Scale!


What this means? we like you to use a small section of the card, smaller sized cards, using smaller embellishments and tags. So any thing smaller in scale.

Here is my card for the theme.

Happy Birthday card1

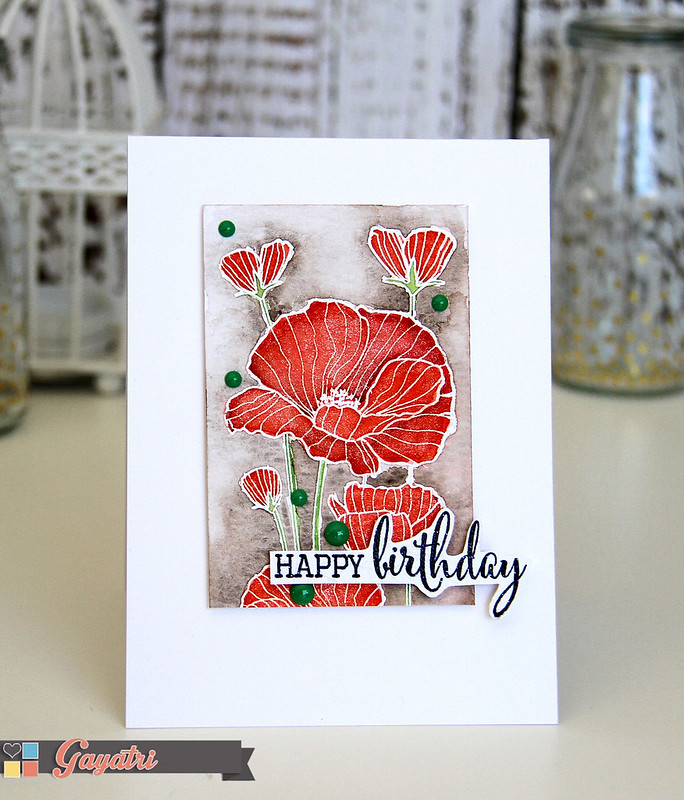
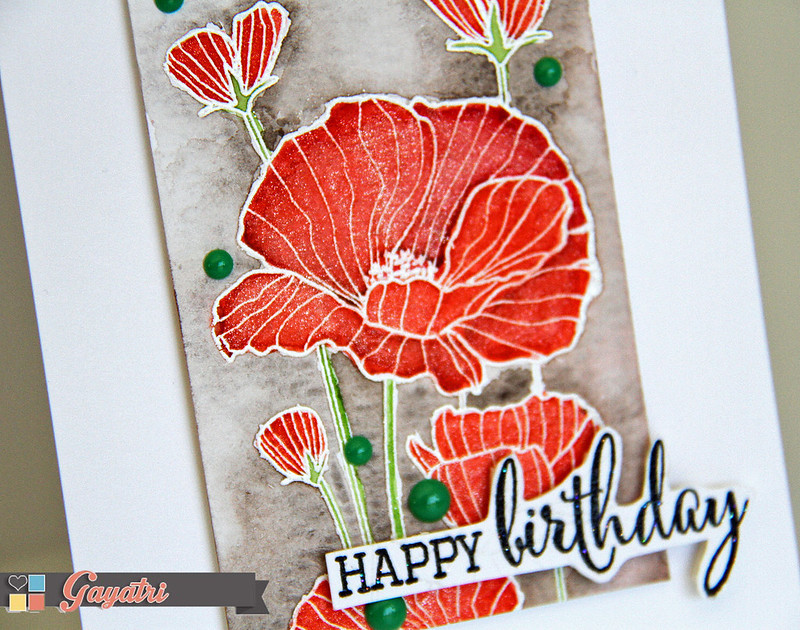
I have used a smaller section of my card to showcase the watercoloured poppies. I heat embossed the poppies from Hero Arts called Delicate Blossoms, then watercoloured using distress inks. Then trimmed the cardstock and adhered using foam adhesive on the card front. The sentiment is from Clearly Besotted stamp set called Fabulous Fushsias. Clearly Besotted is our collaborating partner for this month.

Here is a closeup of the watercoloured poppies

Happy Birthday closeup2

Come and play along the A Blog Named Hero challenge.
 You can win this

http://www.simonsaysstamp.com/

Thanks to our wonderful sponsor

http://www.simonsaysstamp.com/

Thanks for stopping by!

My blog signature

Thursday, September 4, 2014

CASE Study #207


Hiya, hello and hi dear friends,

After a month of celebrating the 4th anniversary with plenty of  prizes (Yay!) we are back to our routine muse challenge. This month's muse is my all time favourite designer - Debby Hughes! She is full of talent and I adore her designs. I am sure you will all agree with me :) Here is one of her recent card using Altenew Stamps as the muse.


How pretty is this card?  The colouring on the vellum makes the flower look soft and pretty. I love it this flower stamp set from Altenew. I have this set with me so I decided to use this set on my card too. I still wanted to use vellum and colour the flowers but did not want to CASE Debby's card paper for paper, colour for colour, flower for flower.... You know what I mean? I am lots for the right word here lol!
Here is my card inspired by Debby's muse card.

Fabulous as you are flat

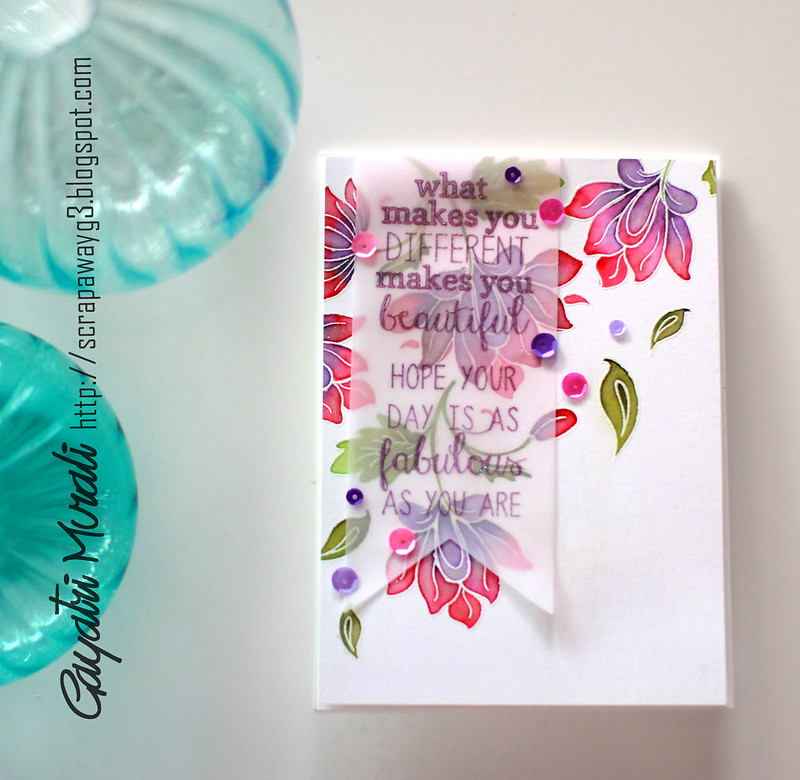
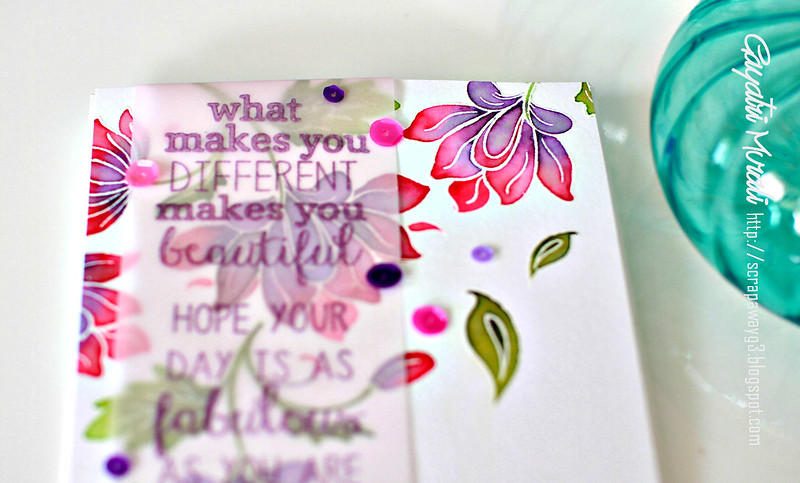
I used watercolour paper and white heat embossed the flowers from the Altenew called Persian Motif. I then used Peerless Watercolour and Ranger's Perfect Pearls to colour my flowers and leaves. I love how Peerless watercolour blends. So I have used purple and pink on the flowers and while wet I also added perfect pearls. This gives the shimmer on the petals as you can see below.

Fabulous as you are1

I then stamped the sentiment from Reverse Confetti on a vellum die cut banner using Memento Luxe Lilac pigment ink and heat embossed using clear embossing powder. They are two sentiments which I stamped and heat embossed one below the other because I think it goes really well together. I LOVE this sentiment. 

I then folded the vellum banner a bit on the top and adhered at the back of the watercolour paper using clear tape. I mounted the watercolour paper on the card front. Then Pretty Pink Posh's gorgeous gorgeous sequins Amethyst, Pansy Purple and Pink Peonies sequins. Here is a closeup!

Fabulous as you are closeup


Come and play along with us.

My blog signature