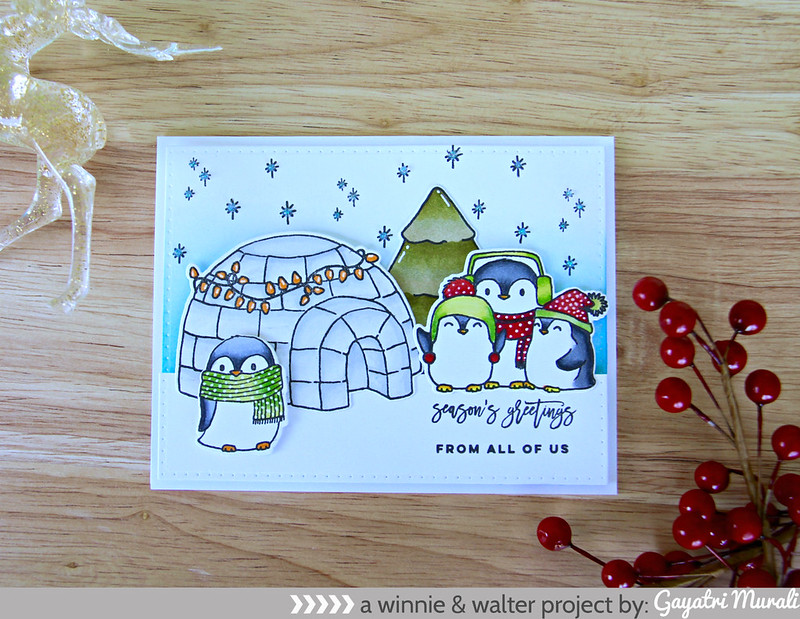
Hello and welcome back. This is my second post for the day. The first post is HERE.
Today is day #1 of Taylored Expressions December release sneak peeks. This is an awesome valentine themed release. So many fun and fabulous stamp sets, dies and embossing folders. Today I am sharing with you three cards using couple of new products.
First up I am showcasing this big and bold sentiment stamp called Brush Stroke Valentine! This stamp makes a big impact on its own but I combined this stamp with a gorgeous cutting plate called Floating Hearts cutting plate to make two cards.


The first card uses the negative die cuts from the Floating Heart cutting plate and the second card uses the positive die cut from the Floating Heart cutting plate. Both the cards uses Brushstroke Valentine stamp as the sentiment.
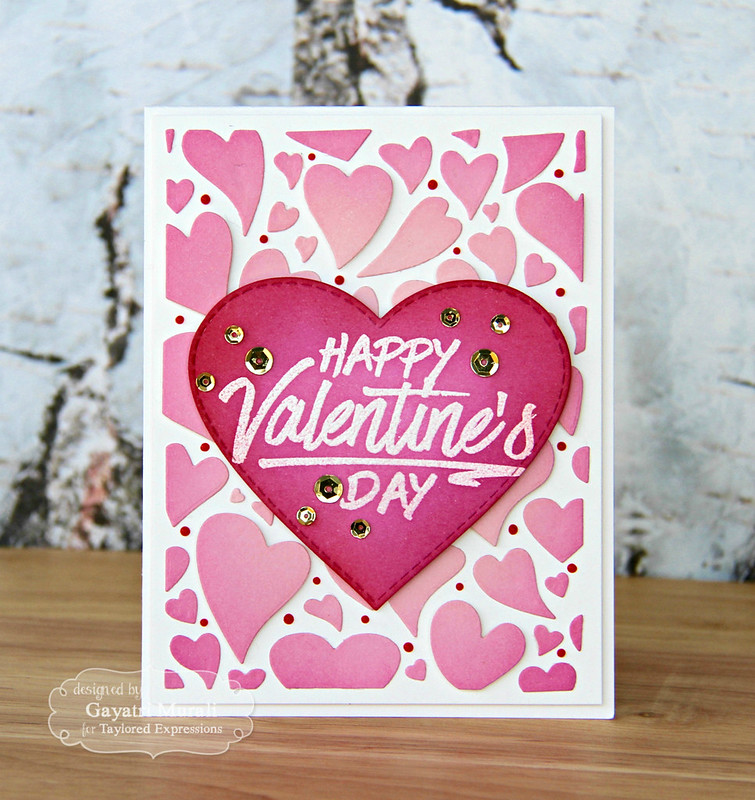
I started with a Sugar Cube cardstock panel and sponged Pink Champagne, Cupcake, Strawberry Milkshake and Lollipop TE dye ink starting with light pink on the centre of the card to darker pink on the edges. Then I die cut the panel using Floating Hearts cutting plate. I kept the die cuts inside the cutting plate carefully flipped the cutting plate to add glue to few of the hearts and foam adhesive on a few. I flipped the cutting plate again on a 4" x 5.25" Sugar Cube cardstock panel. I pressed on the heart die cuts so they adhere to the Sugar Cube panel. Then I removed the cutting plate and the positive die cut piece. Love the gorgeous pink shaded hearts against the white background. I adhered this panel on Sugar Cube card base.
The Brushstroke Valentine sentiment is white heat embossed on stitched heart die cut using Stitched Heart Stacklet die set. I used the second largest die. Then I sponged Strawberry Milkshake and Lollipop TE dye inks so the white embossed sentiment pop out against the pink background. I adhered this sentiment heart on the card front using foam adhesive for dimension. Then I added tiny drops of Carnation Pink Nuvo crystal drops on the background and gold sequins on the sentiment panel.
For the second card, I used the positive die cut left from making the first card.
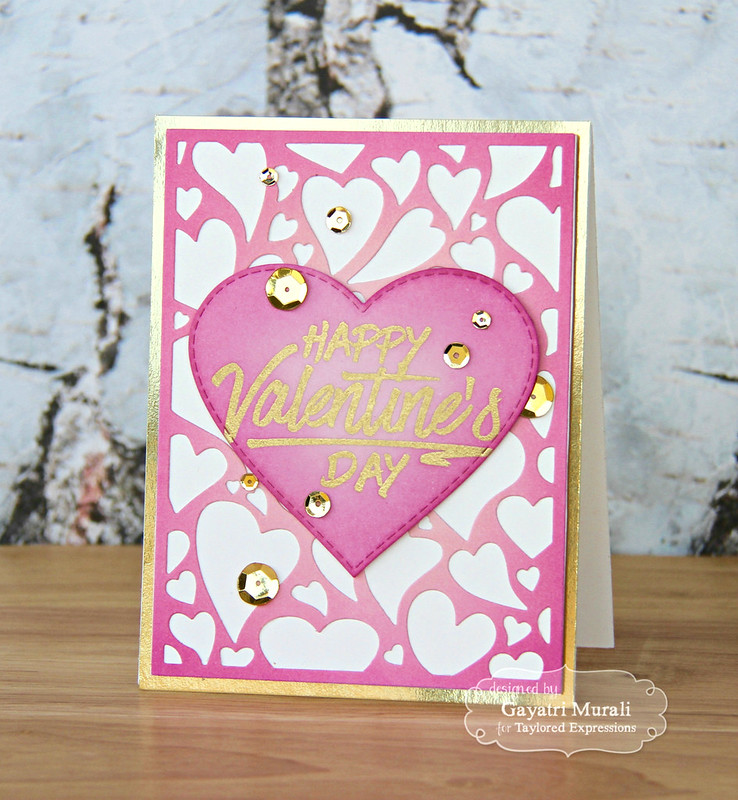
I adhered the positive die cut on the Sugar Cube panel using liquid glue. I then adhered this panel to a gold mirror cardstock trimmed to size of the card front. This entire panel is adhered on a Sugar Cube card front. For the sentiment I did exactly the same as the first card except I gold heat embossed the sentiment to tie with the gold mirror cardstock on the background. Then I added gold sequins to bring the card together. Simple, easy and use both the positive and negatives of this fabulous Floating Hearts cutting plate. And how perfect is the bold brushstroke sentiment is for the background.
All the supplies used to make this card are listed below.
Card Supplies:


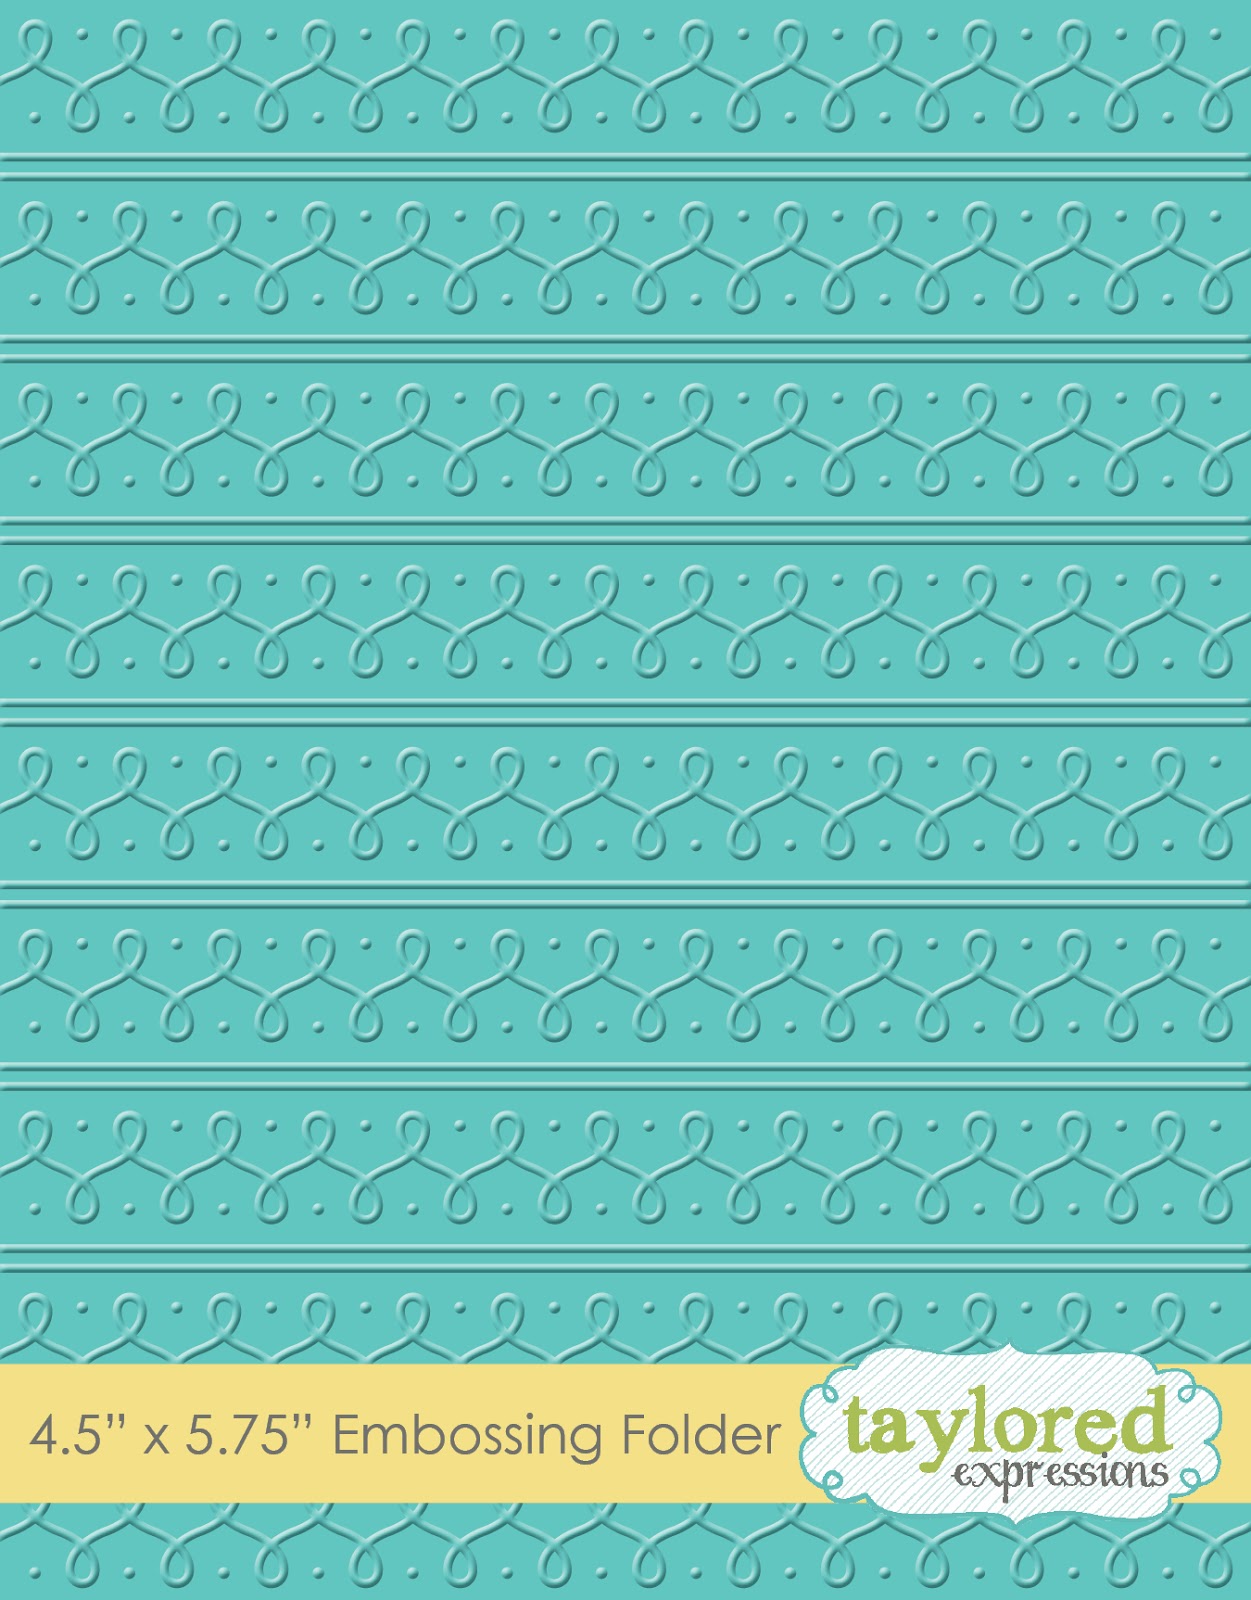
The second product I am showcasing is an embossing folder called Loopy Loop embossing folder. I have combined this embossing folder with an older TE stamp set and die called Mason Jar along with another new release stamp and die combo called Filled with Love.

And here is my card Filled with Love card.
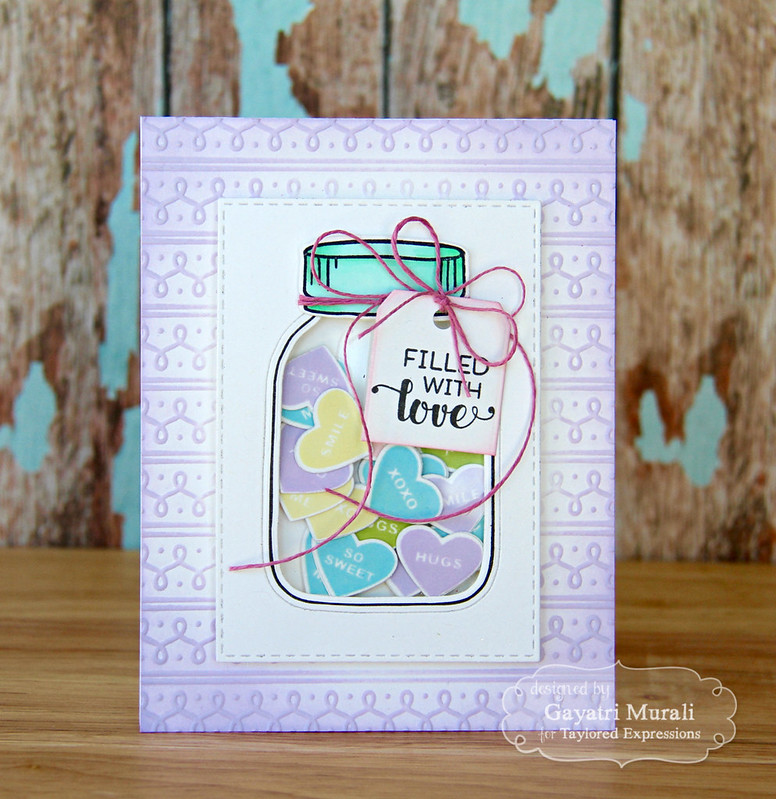
I embossed a Sugar Cube panel using the Loopy Loop embossing folder. Then I used a new TE ink colour called Lavender Glaze to sponge the edges of the embossed panel. Then adhered this panel on the card base.
The centre focal panel is made used stitched rectangle Sugar Cube panel, die cut in the middle using the Mason Jar die. Then I inlaid back the mason jar die cut after stamping the jar. I made a shaker element by adhering acetate at the back on the mason jar die cut. I filled the shaker jar with treats stamped and die cut using the new Filled with Love stamp and die combo. I used TE inks Granny Smith, new inks Lavender Glaze, Potato Chips and Cookie Monster. I adhered with a Sugar Cube panel on the back of the shaker element, before adhering on the card front. I then coloured the mason jar lid with copic markers BG11 BG13 and BG15. Then I wrapped some pink twine around the lid before adhered it on the top of the mason jar. The sentiment is from Filled with Love stamp and die combo stamped on smallest of the Tag Stacklet 2, trimmed and sponged with Pink Champagne TE ink.
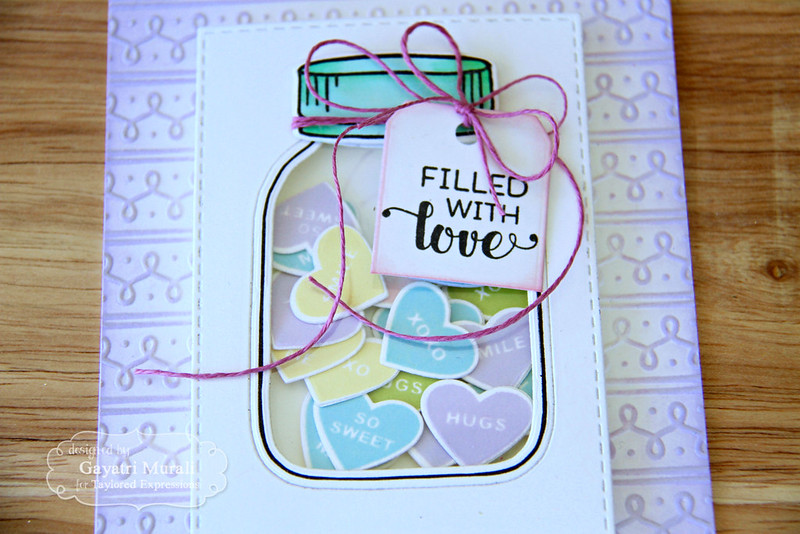
All the supplies used to make this card is listed below.
Card Supplies:


Taylored Expressions is celebrating Release Week with some fabulous giveaways! Visit Taylored Expressions Blog to answer Taylor's Question of the Day for a chance to win a prize from the latest release!

While you are there, check out gorgeous inspirations from the rest of the designers using the sneak peek products.

See you tomorrow with day #2 of the sneak peek.
Thanks for stopping by my blog today!