Saturday, March 14, 2015

Tag You're it challenge #17


Good morning everyone,

I am late in getting my Tag You're It Challenge on my blog. Two reasons: stomach bug and exhaustion from visiting you know where :( I am feeling better this morning. So far so good. a few tubs of yoghurt is helping. Anyway, here is my the new tag You're It Challenge #17


This tag card is my card and I think I made it for Tag You're It challenge last year. This is the challenge inspiration for this week's challenge.
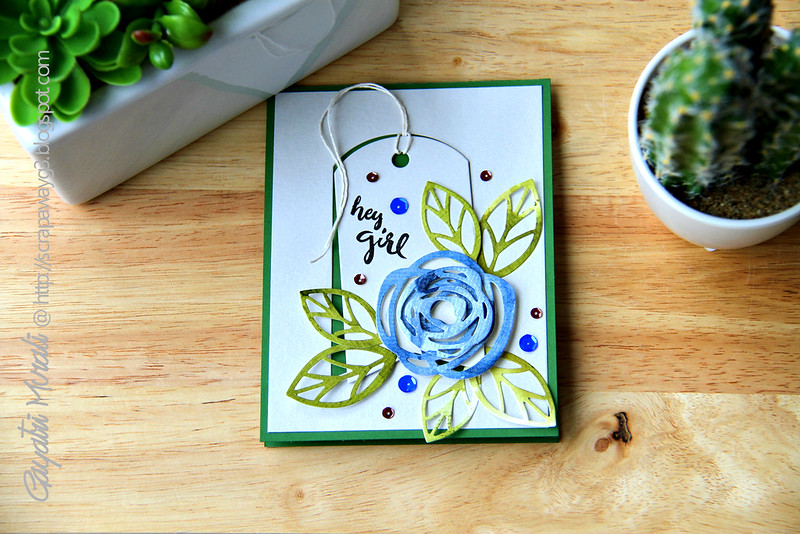
Here is my new tag card inspired by the one above.
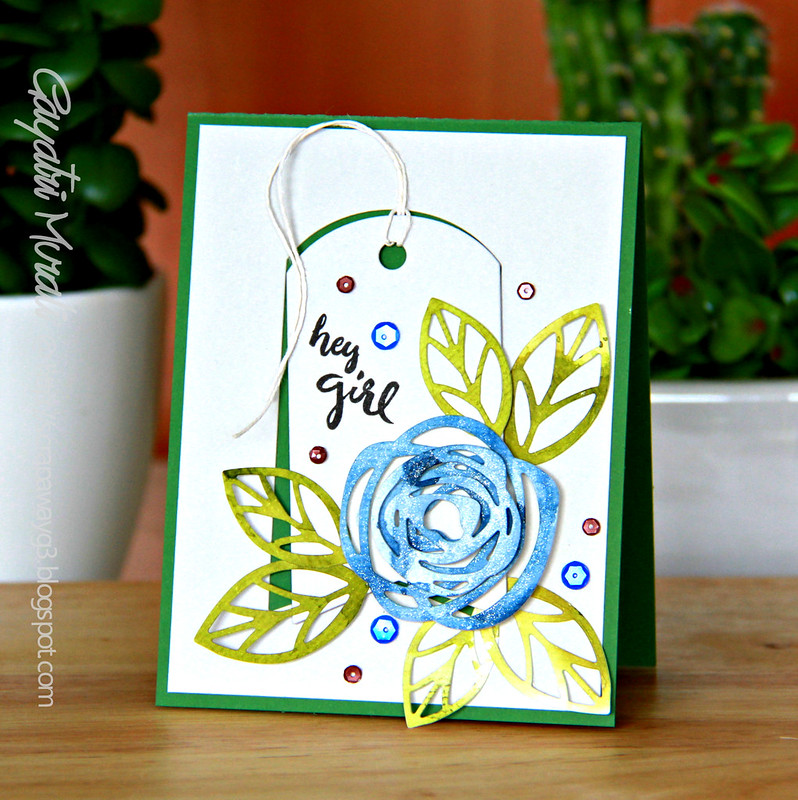
Hey girls card

For this card, I kept the layout the same. Infact I went for cleaner version than the one above. I wanted to do muter earthier tones. So my card base is a mute green with my inner panel in fog colour. The flowers are from Essentials By Ellen new release called Bold Blooms. I did watercolour smooshing technique using Storm Sky and Peeled Paint distress inks before die cutting the flowers and leaves respectively. I have layered the smaller flower die cut over the larger one. The flowers are brushed with Wink of Stella clear shimmer pen.  At this point I love the colour combination.
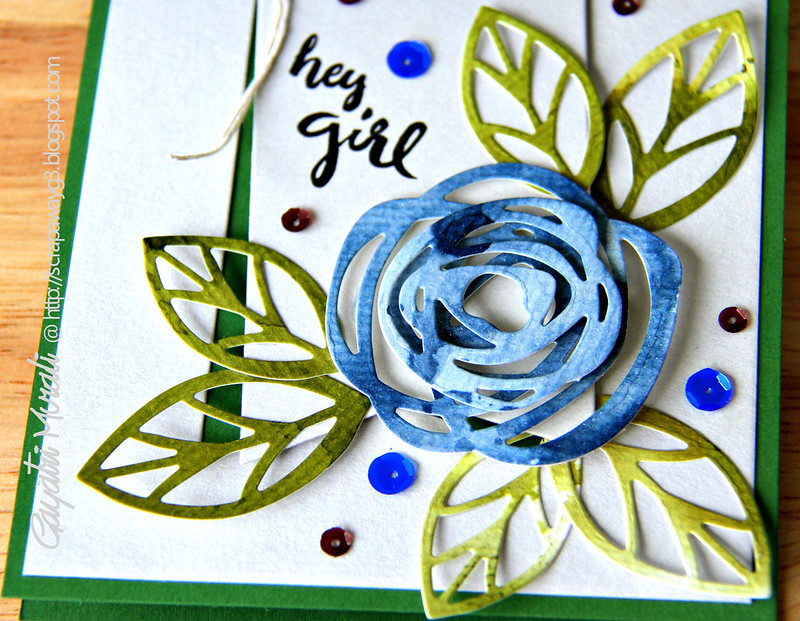
hey girl closeup flower

The sentiment is from another Essentials By Ellen stamp set called Hello Gorgeous. I love the brush stroke font sentiments in this set. Bold and casual. Finally I have used sequins in the colours of Cobalt and Espresso from Pretty Pink Posh.
Hey girl flat

Check out Tag You're It Challenge Blog for more inspirations from design team and linky for you to link your projects.

My blog signature

Friday, March 13, 2015

Best Wishes!

I have been playing with new Penny Black stamps and dies.
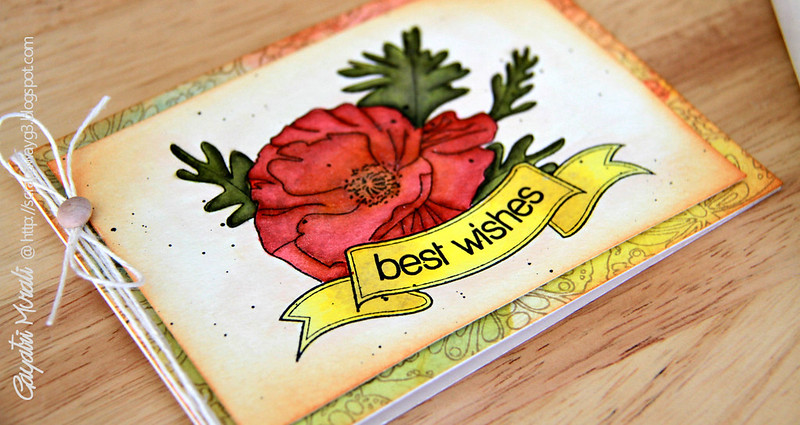
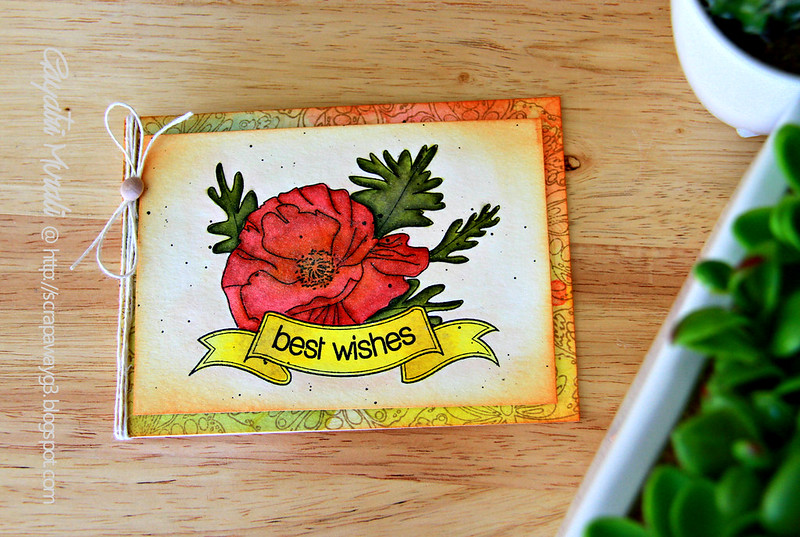
I am a big fan of her work especially watercolouring and creating backgrounds. So, I wanted to try out Jill Foster's style of card making. Here is my finished card

beast wishes card

I have used the flower and banner from Come Rain or Shine stamp set from Penny Black on my focal panel. Here is the Stamp Set for you.

come rain or shine picture

I stamped the banner first, then masked the banner then stamped the flower using Archival jet Black ink. Then coloured the flower, leaves and banner using distress markers then brushed with watercolour brush. I used distress marker for colouring because first I did not have enough time to use watercolour and I am afraid that I will mess up if I do free hand watercolouring without embossing the image. I need a practice a free hand watercolouring without heat embossing. Anyway, I left this panel to dry while I work on the card front. 

Best wishes closeup

I did using another watercolour paper on which I did the watercolour smooshing technique. Then I stamped the butterfly from the Come Rain or Shine stamp set on the edges with Toffee Crunch ink from Memento. Finally sponged Rustic Hinge distress ink around the edges. I also sponged the same ink to the inner panel edges and spattered Black Soot ink. I stamped the sentiment after all the inks have dried to get a crisp image. 

Best wishes flat

I mounted the flower panel on the background panel using foam adhesives. Then glued the background panel on the card front using double sided tape. To add some texture, I have used natural twine to the spine of the card and made bow with a woodgrain enamel dot at the centre.

This card is not my style. I normally don't do so much distressing. My style is clean and simple, bold and bright. But I love how this card turned out. So happy. Thank you Jill for being such an inspiration. Love your work and your videos are fantastic learning source. If you like to watch Jill video or Penny Black videos, here is the link to Penny Black Blog.

Thanks for stopping by!


My blog signature

Wednesday, March 11, 2015

Bright and Bold!

Good morning folks,

Welcome to new challenge at A Blog Named Hero.
Bring back the bright and bold after the dark and miserable winter.


Use any medium or pattern paper or bright cardstock to make a nice bright and bold card.
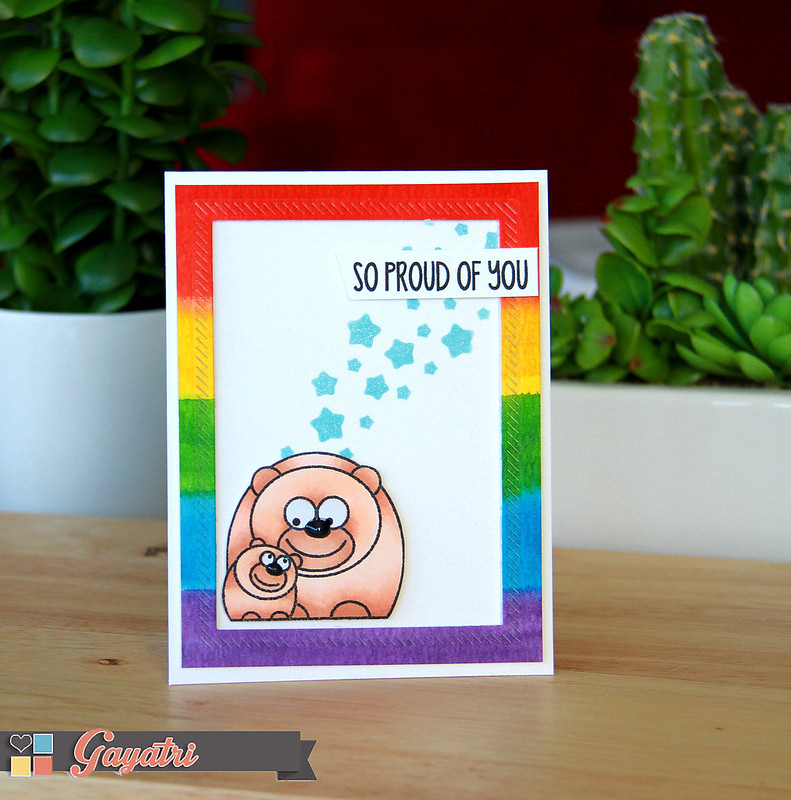
This challenge is right up my ally. My trade mark is bright and bold. So I had a great time making my project for this challenge. Here is my card.

So proud of you card

This month we are collaborating with Create A Smile designs. So I have combined  Hero Arts with Create A Smile products. I started with using watercolour paper upon which I used a wide brush to watercolour in rainbow colours. I then die cut a frame out of it.

So proud of you closeup1

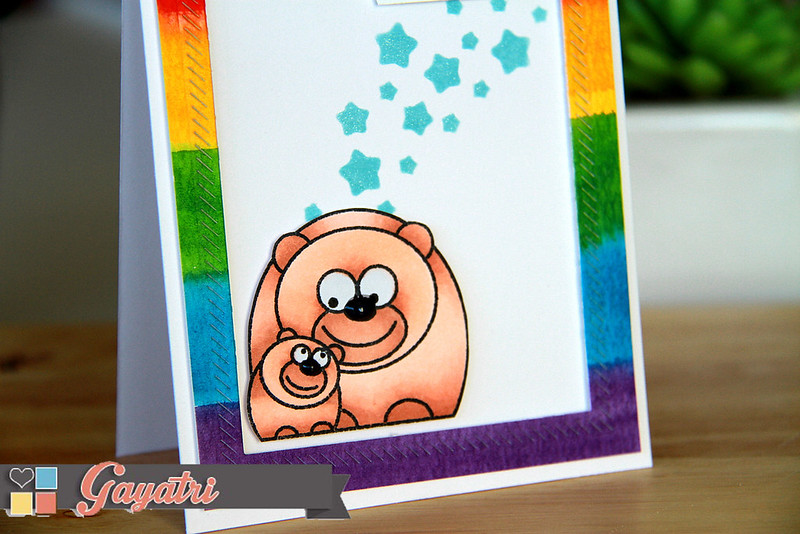
On the card front, I used the Wave of Stars stencil from Create A Smile and sponged some Tumbled Glass distress ink. I brushed Wink of Stella clear shimmer on the stars. I them adhered the rainbow frame on the card front using foam adhesives.

The bears are from Lil Hoot stamp set from Hero Arts. I stamped, copic coloured and cut the bear image out. I adhered this on the card front using foam adhesives.

I then stamped the sentiment on a strip of white card stock and adhered on the top right using foam adhesives. Finally added glossy accents on the noses of the bears.

Bring on the colour and make a bright and bold card.
Come and play the challenge with us at A Blog Named Hero.

Thanks for stopping by!

My blog signature

Tuesday, March 10, 2015

To the Perfect Pair!


Yesterday I received a big package of new stamp sets, dies and stencils from Penny Black. It felt like another Birthday :) With so many new goodies to play with, my mojo was at its best. I got to work with them the moment I saw them all. I LOVE the YOU & ME stamp set. Great set for making wedding and anniversary cards. With the sentiments in the stamp set, you can make serious or punny wedding and anniversary cards. I love such versatile set. Here is the You & Me stamp set.

you & me picture

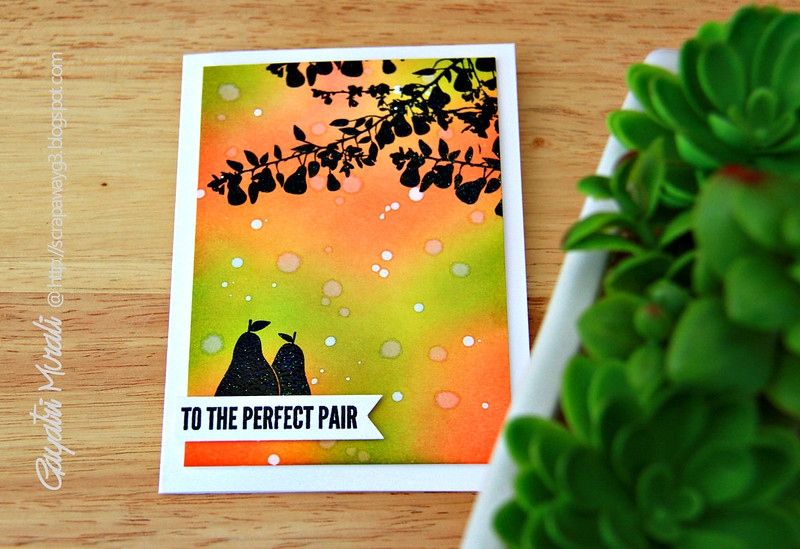
I decided to use the pears and the pear branch images to make my card. I wanted to use them as silhouette images yet have the pear colours on my card. This is my card.

To the perfect pair card

So I decided to sponge pear colours of green and orangish red on my card panel. Then I stamped the images on the panel using Versafine Black Ink and heat embossed them using clear embossing powder.

To the perfect pair closeup1

Then I spattered some white Mr. Huey and plain water on the panel. The water reacts with the inks and gives a subtle spatter and white spatter stands out. Love spatters on any card.

To the perfect pair closeup

I trimmed the panel and adhered on the white card base. The sentiment is simply stamped on a strip of white cardstock, trimmed and cut fish tail and adhered using foam adhesives as well.

To the perfect pair flat

I am in love with this stamp set. One of my favourite in the Penny Black new release.
You can see all the new release stamps, dies and stencils at Penny Black shop. 

Thanks for stopping by!

My blog signature

Monday, March 9, 2015

Happy Happy Birthday!


Hello dear friends,

It looks like a long time since I had blogged but it has been only three days lol! But it has been long since I spent time in the craft room creating something. So I did just that this morning and made a card using Penny Black stamp set and dies.

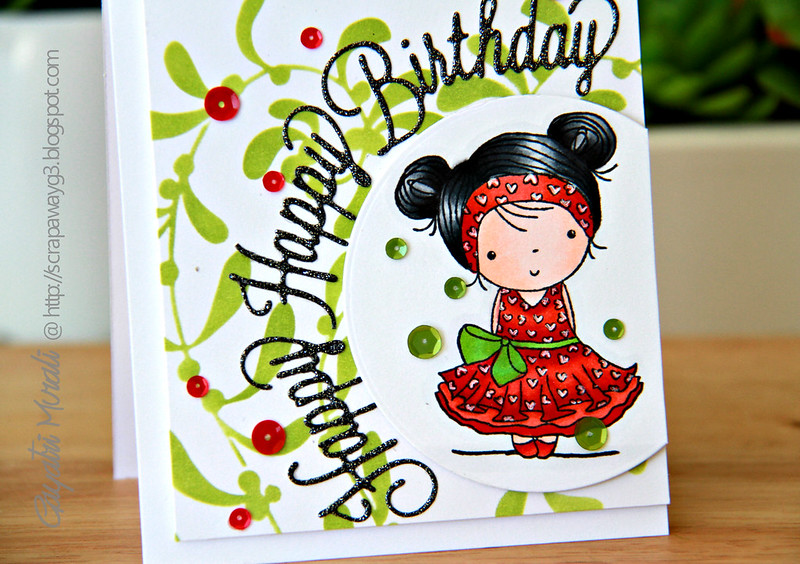
Happy Happy Birthday


I just wanted to relax after a very hectic weekend. So I decided to use copic markers and colour the cute and adorable Mimi from Mimi's Love Stamp Set from Penny Black. I then used a circle die and die cut her into the circle. For the background, I sponged some green ink using the Alluring stencil from Penny Black.

Happy Happy Birthday closeup

For the sentiment I die cut "Happy Birthday" using black glitter paper using Penny Black's Celebrations die set. I glued them around the circle die. Finally accented with Pretty Pink Posh's Raspberry and Mossy Green sequins.

I also have woot woot to share today. Two of my cards using Penny Black is published in the current Australian Cardmaking Stamping and Papercraft magazine.


You can see this card on the cover of the magazine. 


if you like to subscribe to the magazine, CLICK HERE

Thanks for stopping by!

My blog signature