Hello folks!
Hope you had a wicked Halloween! I cannot believe that it already November. How fast time flies? In one and half months school finishes for the year, then Christmas followed by NEW YEAR!!!! Unbelievable how time flies. I feel happy in a certain way although this year did bring me happiness, there was a LOT of stress with respect to illness and death in the extended family. It will all be over and hoping the next year will bring more joy and no stress. OK, enough of my rant! The thing is we were down with flu for the entire of last week. We are recovering now. Energy and hunger is back although there is still residual symptoms. With that comes a lot of emotions and philosophical thoughts as well lol! Cut to the chase, I did not have the energy and time to make a video for this set of Christmas cards. So I have a photo tutorial for you today.
This fourth set of cards in the Christmas Card Series is for my daughter's class mates. I went for simple and cutesy style cards. Plus I made them all the same because I did not want the kids to fight over who got the nice card and how they received a not so nice card. Trust me! it happened last year at school that my daughter was in tears by the end of it.
Here is the card front the set.
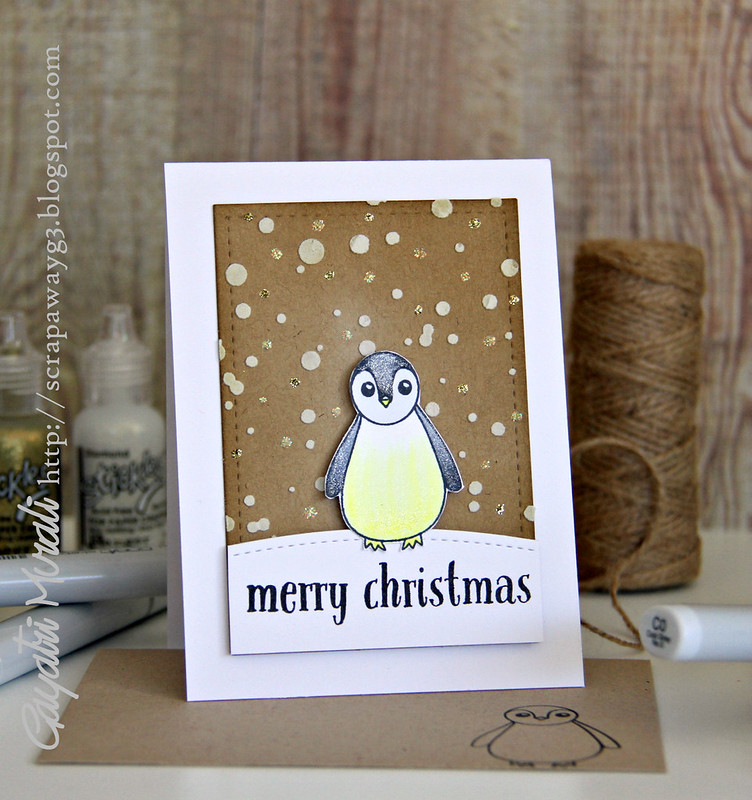
This is a note card which is smaller in size. I started with stamping the penguins from Stampets: Penguin from Winnie & Walter on white cardstock with Memento black ink.

Then coloured the penguins with copic markers. I also brushed the grey areas of the penguin with clear Wink of Stella shimmer pen. Then cut them all out by hand.

Now to create the kraft panel, I die cut the kraft cardstock using Pretty Pink Posh's stitched rectangle die from Stitched Duo 2 die set. Then sponged the edges using brushed corduroy distress ink

I then applied white embossing powder to the Big Bang Circle Creative Screening stencil over the kraft die cut to get the falling snow.

For the snow mound, I die cut a white cardstock using the curved die from Pretty Pink Posh's curved die from Stitched Borders 1 die set. Trimmed it to the width of the kraft panel and stamped the sentiment from Winter Woodland stamp set from Winnie & Walter using black ink,

These are all the preparations. Do it in multiples and you are ready to start assembling. Mount the snow mound to the kraft panel using foam adhesives.

Also adhere the penguin using foam adhesive and mount the panel to the note card using sticky tape.

Using diamond and gold stickles, I added more falling glitter snow for added festivity.

Finally stamped the penguin on the envelope as well. The card is finished. I love the stitched detail on the die cuts. They add interest to the card without having to add more embellishment.

I think this cutesy note card with a packet of shortbread biscuits will be perfect to give to the kids. Here are more pictures of the cards.

I just have 24 more to go. I have prepared all the bits and pieces. Only assembling is to be done.
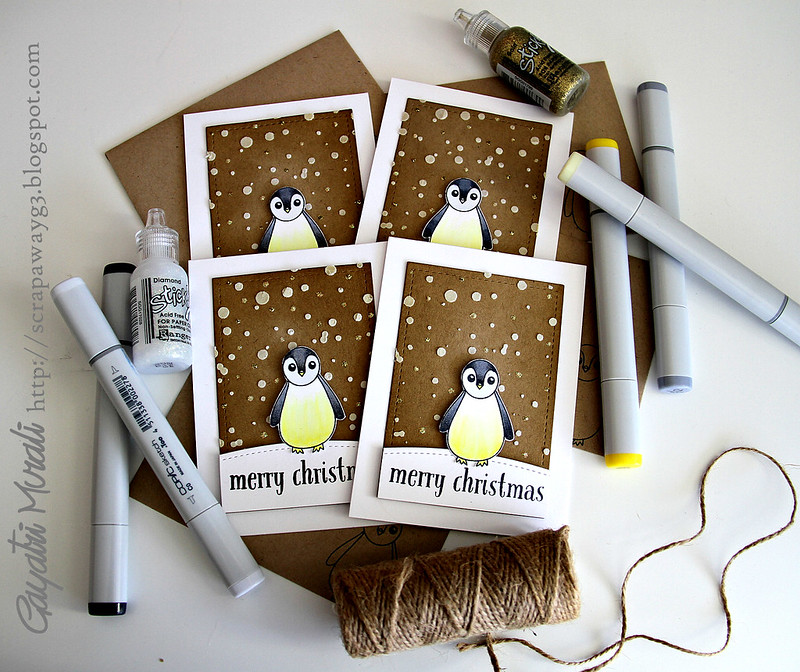
I just have 24 more to go. I have prepared all the bits and pieces. Only assembling is to be done.
Hoping I will get more done this week and get back into the routine. Don't like being sick.
Thanks for stopping by!
Thanks for stopping by!


11 comments:
Super cute! Thanks for sharing the creative process! :)
Love this cute penguin with Kraft BG and pictorial tutorial!
Its a great news that you recover now-Live Happy and Healthy Life!
a very gorgeous set Gayatri. So much effort has gone into them.
Super cute, Gayatri!!!
Those are adorable, I'm sure the kids will love them!
Oh these are so cute!Love these stamp sets!!!
Adorable card All the details make it very special.
Great x'mas card! Thank you for the step by step instructions
Brilliant card, envelope and tutorial, Gayatri! I am sure the kids will love it because I sure do!!!
Such a cute card Gayatri :D The penguin looks adorable with the snow backdrop!
thanks for sharing!:)
Adorable - thank you for all the inspiration and "how tos" ;-)
Post a Comment