Hello everyone,
Hope you are having a great weekend! Today I have two projects to share using alpha dies from Taylored Expressions.I am going to show how to use the positive die cuts as well as the negative die cut to make two cards. I will be using Sweet and Simple Alpha Lower dies from Taylored Expressions.

These dies come attached to each other and to use individual alphas, you have use a wire cutter to cut the individual alphas as you would with any other new die sets. I hope I make sense. But for my project, I did not want to cut out individual alphas. I left them all attached as they came in the packaging and am going to use them as is. Here is my first card where I have used the negative die cut and you will understand what I am talking about.
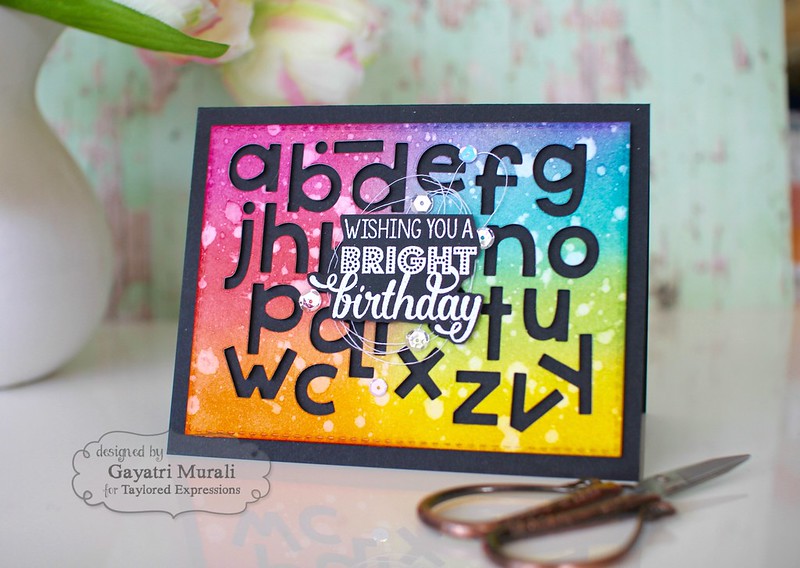
Here is how I made this card. I sponged distress inks in bright rainbow colours on watercolour panel die cut using the largest of stitched rectangle die from Stitched Rectangle Stacklets. Then I spattered some clean water as well as shimmer and left the panel to dry. In the mean time, I prepared my card base using Oreo cardstock. Then I also prepared my sentiment. The sentiment is from the new Bright Birthday stamp set which I white heat embossed on Oreo cardstock and hand cut out.
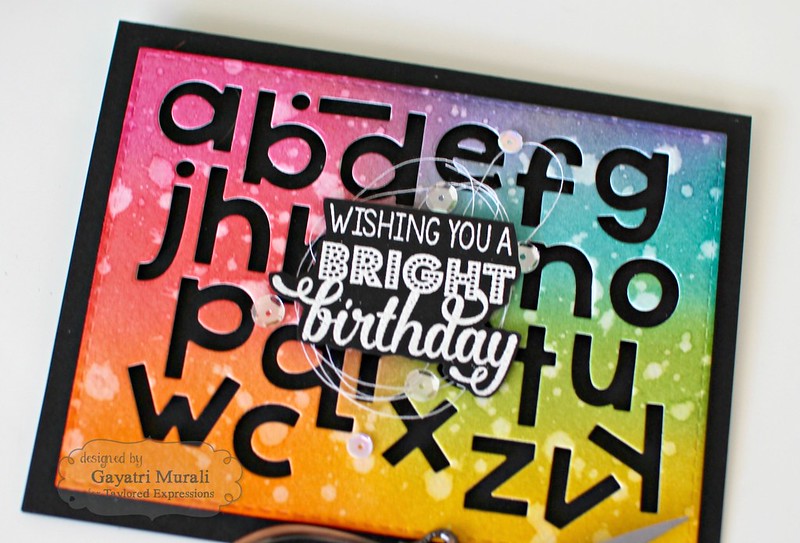
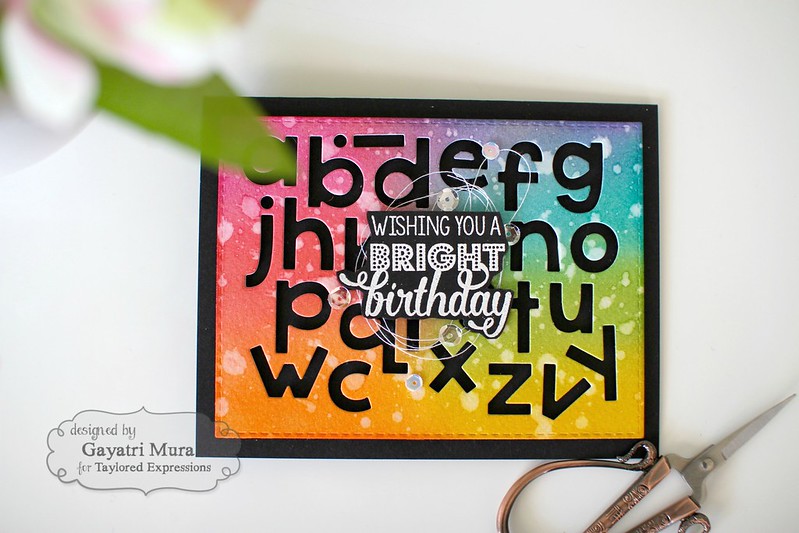
I went back to my rainbow panel and placed the alpha dies on the panel and ran through my die cutting machine. I saved all the positive alphas for another card. But for this card, I needed the negative panel. I foam mounted this negative die cut panel on the black card base, then foam mounted the sentiment with some bunched up thread behind it. Finally embellished with sequins from Build a Scene collection. Here is a full card. Love the rainbow colours pop against the black contrast background.
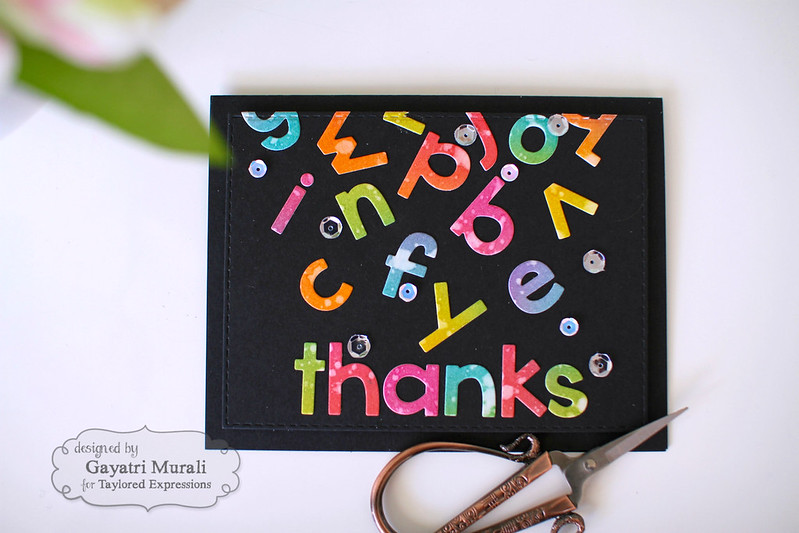
Now I have saved up the positive alphas from die cutting the panel. I have used those alphas to make another card.
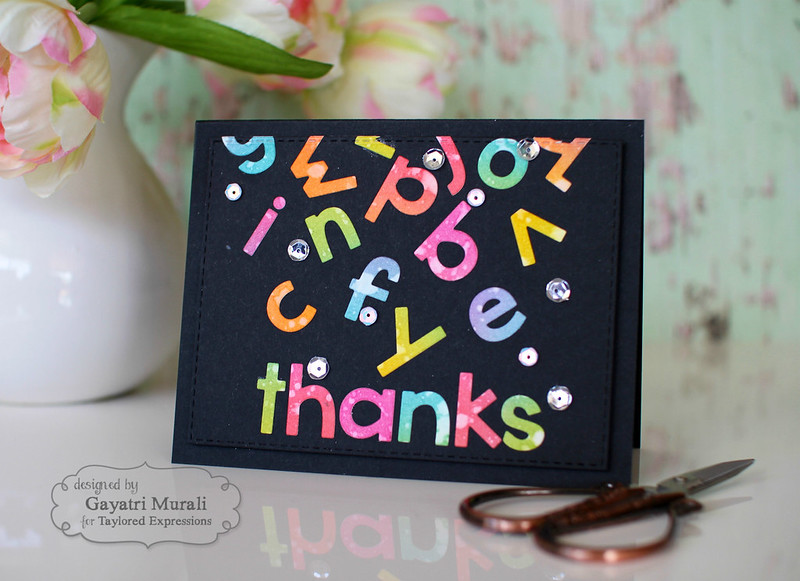
My card base is black which I made out of Oreo cardstock. I also die cut a stitched rectangle panel using the largest stitched rectangle die from the Stitched Rectangle Stacklets. I used the alphas to make the sentiment "thanks" and adhered it towards the bottom of the panel. The rest of the alphas I simply scattered and glued down as though they are falling from the top of the panel. I trimmed off the over hangs and adhered the panel to the card base using foam adhesives. Finally embellished with sequins from Build a Scene collection.
So here is a way to extend the dies by using the negative as well as the positives of the die cut. Hope you are inspired by my cards. As always I have listed all the supplies I have used to make these cards below.
Card Supplies:


Thanks for stopping by my blog today!


7 comments:
These are awesome, Gayatri! Such great ideas for using both the positive and the negative! I'd hate to see anything go to waste from your beautiful projects!
Great cards!
Theses are wonderful! What fun and creative ideas!! I am definitely going to have to look at dies more carefully before I start trimming them apart AND I am going to have to pick up this alphabet set!
You've created such a pretty coloured back panel and used it to make two wonderful cards, here.
Love the leftovers cascading down to form the word 'thanks'.
Inspired :)
Fabulous use of both the negative and positive - love all the weight colours :-)
Those bright rainbow colors pop beautifully on black ! Loved both the cards :)
So creative & fun! Love the beautiful, bright colors!
Post a Comment