Monday, August 31, 2015

Taylored Expressions 7th Birthday New Release - Sneak Peek!


Hello and welcome to the Taylored Expressions 7th Birthday New Release. 


Today is the start of the sneak peeks of the new Taylored Expressions new release. I am also excited to say it is the 7th birthday of Taylored Expressions. Yay!

Happy Birthday to Taylored Expressions!
Wishing Taylor all success now and in future. 

We are celebrating the birthday with sharing lots of inspiration using new soon to be released goodies and of course there are fabulous giveaways. Woohoo! I will give you details regarding the giveaways towards the end of the post.

But first, I have couple of cards to share using the new dies and stamp set to be released on Thursday 3rd September. 

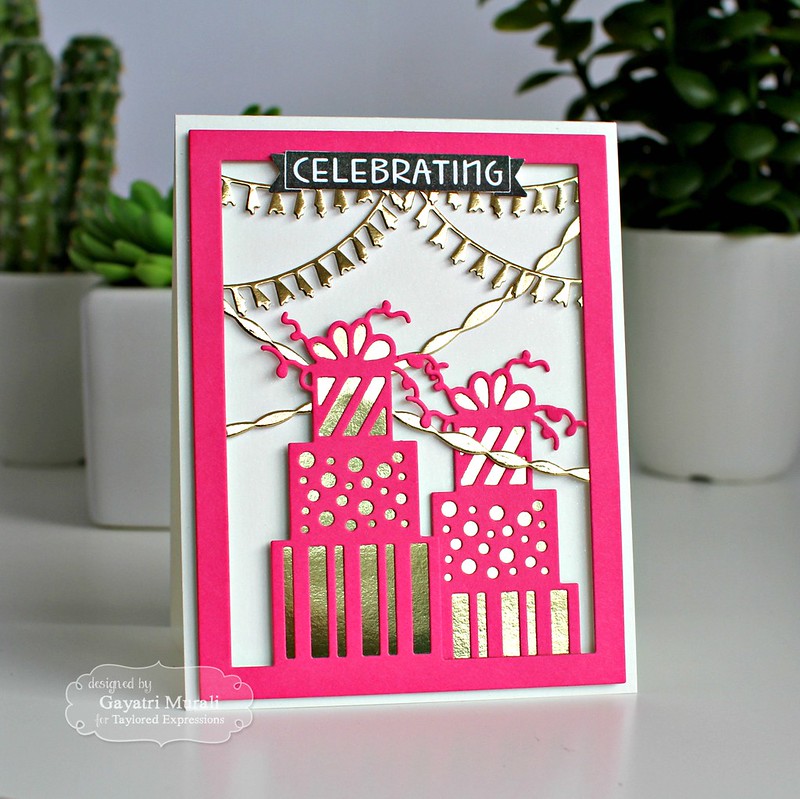
Celebrating card #1

This is my first card. I have used Presents Cutting plate to die cut using Lollipop cardstock twice. Then the backing for the present using gold foil cardstock. I trimmed the second Presents off the frame.. I also die cut Skinny Mini Party Borders die using gold foil cardstock and adhered at the back of the Presents die cut. I then adhered this die cut on the Shimmery White card front using foam adhesives. Now I added the second smaller presents stack next to the original using foam adhesives. The sentiment is from One & Only You stamp set. Simple yet makes an impact using the contrasting colours.

My second card is a shaker card.

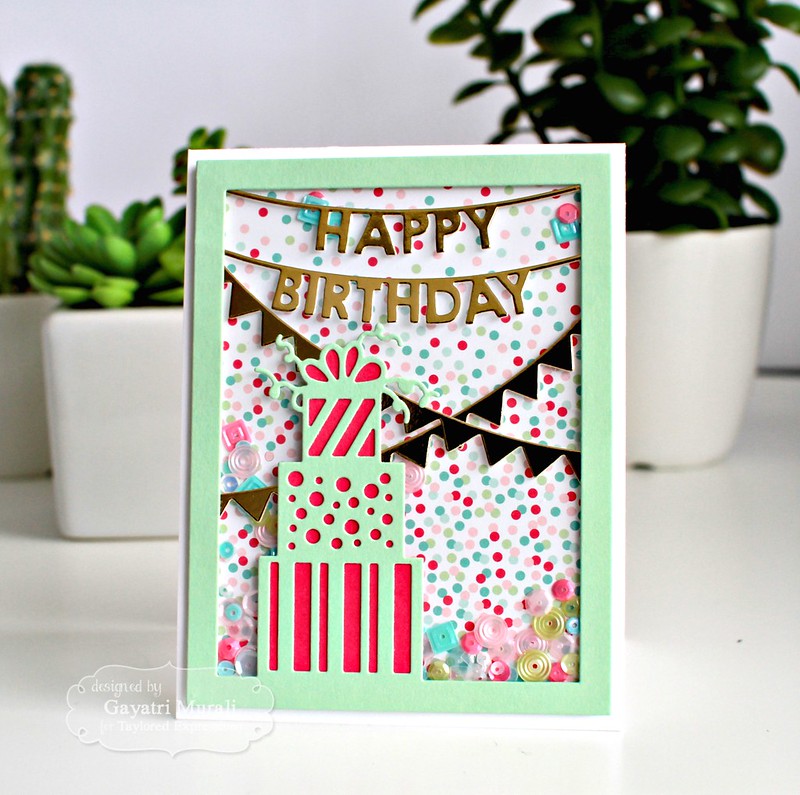
Happy Birthday shaker card 1

For this card, I die cut the Presents Cutting Plate using the new Mint Julep cardstock and the backing of the presents are from Lollipop cardstock. The banners are die cut using the new Skinny Mini Party Borders and Happy Birthday Banner dies using gold foil cardstock. I adhered them to the back of the Presents Cutting Plate facing down so the banners are facing the right side with the cutting plate. Hope I make sense! Then I adhered an acetate panel to seal the frame. I added Build a Scene: Hello Happiness sequins inside, the foam adhesives around and using the confetti pattern paper from Hello Happiness 6x6 pattern paper trimmed to size to close the shaker box.  Love the colours from the pattern paper and the sequins, complemented with the gold on the banners. I simply adhered this shaker box on the Sugar Cube card front. 

Absolutely love the Presents cutting plate, the Skinny Mini Party Border dies and Happy Birthday Banner dies. I think they make a good collection of dies to have to make a great birthday card whether it is a quick clean and simple card or an shaker card. 

Now to the fabulous giveaway. Comment to win prizes. One random lucky comment will win fabulous giveaway from Taylored Expressions.Visit Taylored Expressions blog for details. Also visit Keia-Shipp Smith's Blog and Shannon's Blog for more projects using new release products.

All the new goodies will be released on Thursday 3rd of September. 

I have list all the products I have used on my cards today below for you.

Thanks for stopping by my blog today.


My blog signature

Friday, August 28, 2015

I am over at Winnie & Walter today!


Hello everyone,

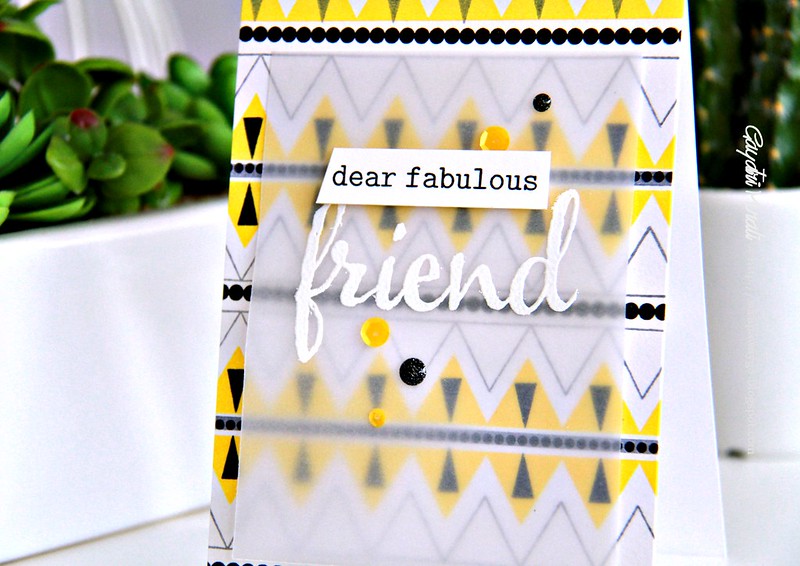
I am over at Winnie & Walter Blog today with a friendship themed card and custom stamped background. Here is a sneak peek of my card.

Dear fabulous friend closeup

Head over to Winnie & Walter Blog to read more details.

Thanks for stopping by!

My blog signature

Wednesday, August 26, 2015

Simon Says Anything Goes Challenge!

Hi all and welcome to another week on the Simon Says Stamp Challenge. Thank you for joining us for the  Back to School Challenge and we hope you will all join us again this week too.

wed-newchallenge-header

This week the challenge is Anything Goes!

We are showcasing Hero Arts Products this week. You don't have to use them to join in but if you have some we would love to see them used

As always Simon Says Stamp will be giving away $50 voucher to shop at the fabulous Simon Says Stamp Store
50dollar_voucher_600px

This is my take on the challenge using Hero Arts stamp sets and dies.

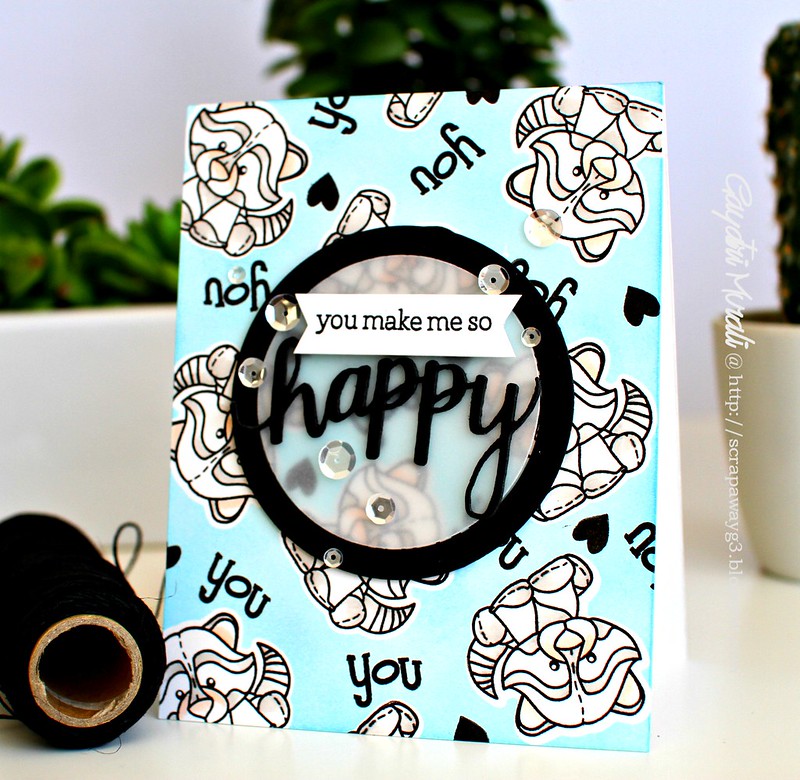
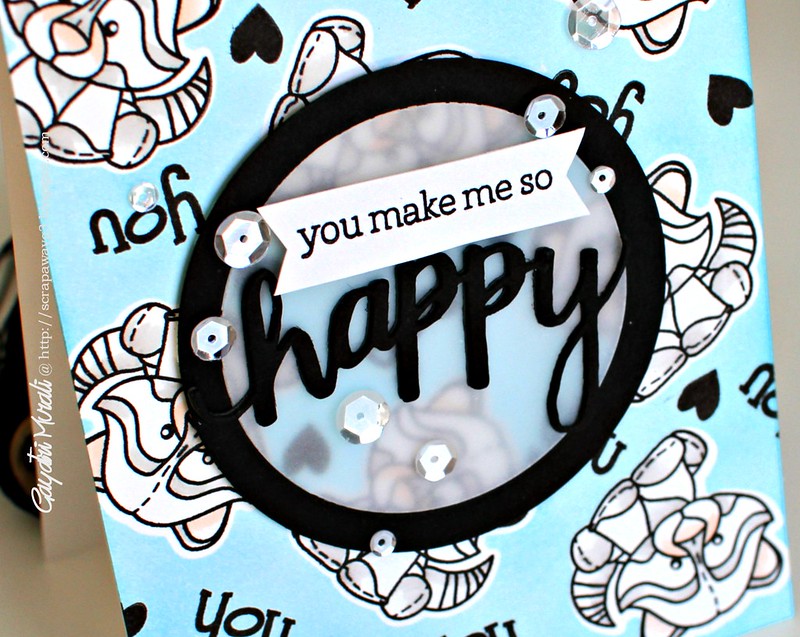
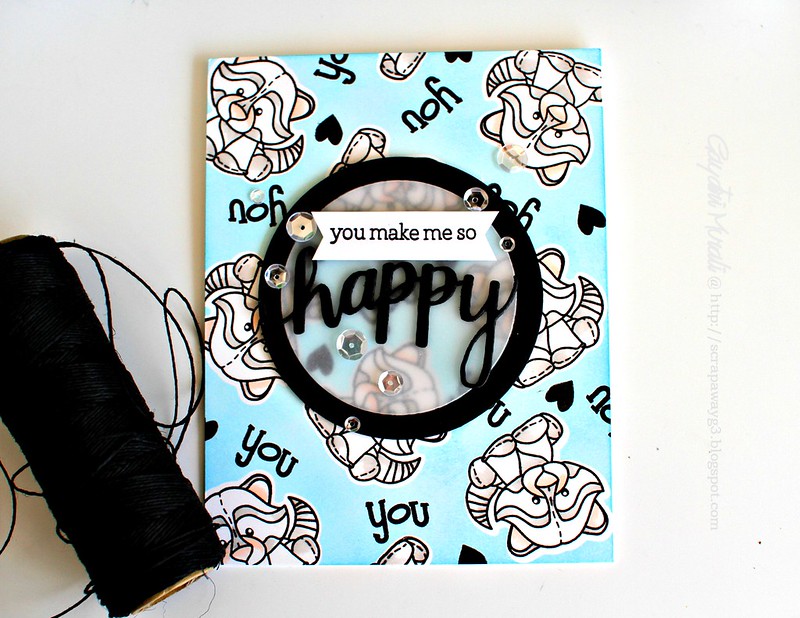
You make me happy


I started with die cutting some masking paper using the dog die from Cute Baby Animals Stamp and Cut from Hero Arts. I adhered these masking paper die cuts randomly on a white cardstock panel making sure I  burnish and smoothen the edges. Then I sponged Tumbled Glass distress ink over the entire cardstock panel. Once the distress ink was dry, I removed all the masking paper  die cuts. This left me with dog shaped spots on which I stamped the dog image also from the Cute Baby Animals stamp and cut from Hero Arts. I used versafine Onyx Black ink to stamp the dog images. Black ink gave me a nice contrast against the blue. I filled in the gaps by stamping the sentiment "you" and the heart shape also from the same stamp set. With the dog images, I was on the fence on whether to colour or nor to colour. I ended up colouring not the entire image but certain bits of it with neutral colours.

You make me happy angled

For the focal point, I die cut three "Happy" from Happy stamp and cut from Hero Arts. I stacked and glued them.  I stamped the smaller sentiment from the same stamp set on a strip of white cardstock, trimmed fish tail ends. I adhered the sentiments on a vellum circle which is framed with a black circular frame. Finally, embellishing with Sparkly Clear sequins from Pretty Pink Posh brought the card together.

You make me so happy flat

So now it's YOUR turn, Happy Crafting

Instagram

If you use instagram add  #ssswchallenge to your challenge entry uploads so we can see them on there too!


You have until Wed  8am Ohio time. 1pm UK time, 2 pm CET to join in
No backlinking allowed, Only 5 new creations will be eligible in the prize draw

word-verif


My blog signature

Monday, August 24, 2015

Positive and Negative!

Hey everyone,

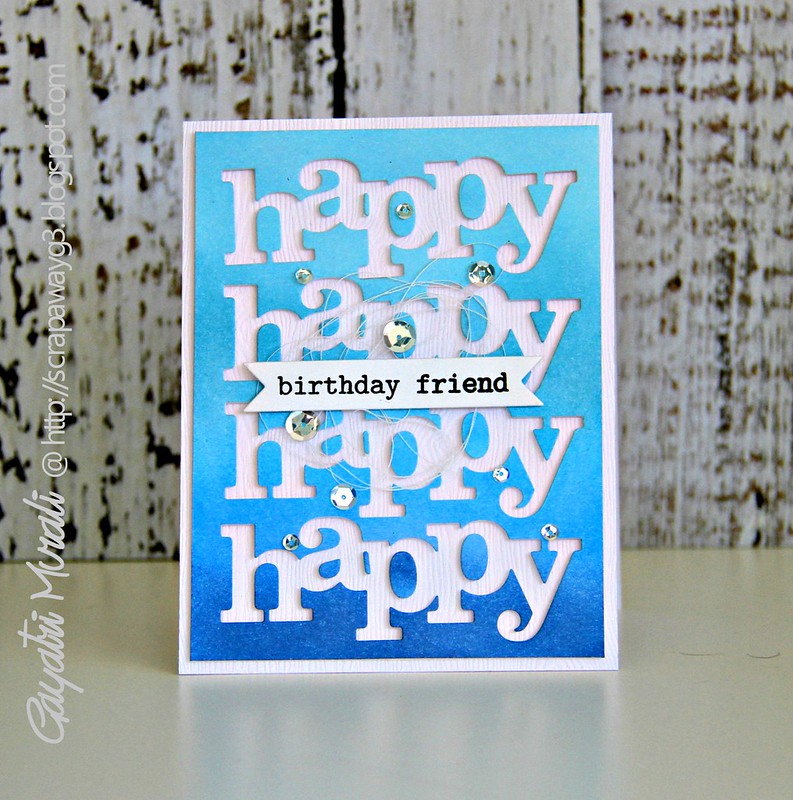
Stretching my supplies is something I love doing. Especially using a particular stamp set or a die in more than one way not only stretches my supplies but also makes crafting fun. It makes me think outside the box. In this post I am sharing a full card using the negative die cut and a sneak peek of the positive card. This is one of the easiest way to stretch your dies.

happy Birthday negative

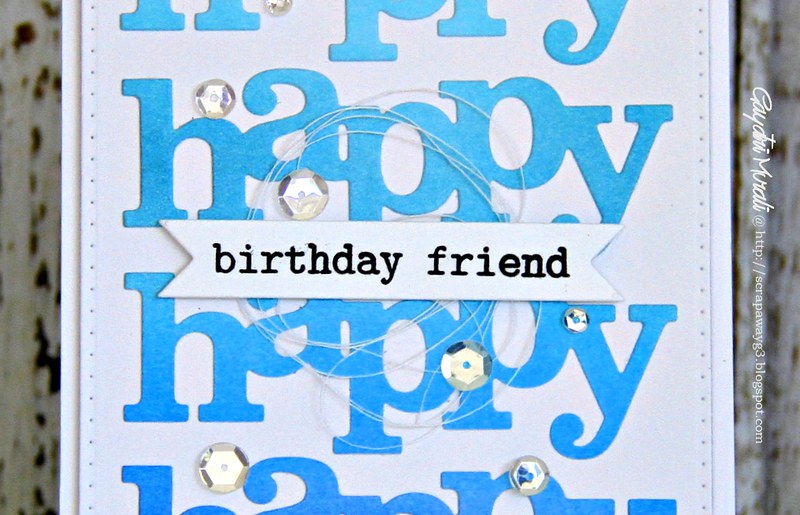
I have used In a Word: Happy cutaway from Winnie & Walter to die cut from a blue ombre sponged panel. I saved the positive words and used the negative panel on my card above. Then used the positive words to make another similar looking card. Here is a sneak peek of the positive card.

Happy Birthday friend closeup

If you want to know more about the cards, then check out the latest Australian Cardmaking Stamping and Papercraft magazine.You can see both the cards next to each other with the supplies and instructions to make them.


The magazine is now available to purchase from supermarkets and news agencies. If you like to subscribe to the magazine, then here is the link for you. 

Thanks for stopping by my blog today!

My blog signature

I am over at A blog Named Hero!


Hey everyone,

I am over at A Blog Named Hero today with my solo post today.
Here is a sneak peek of my card.

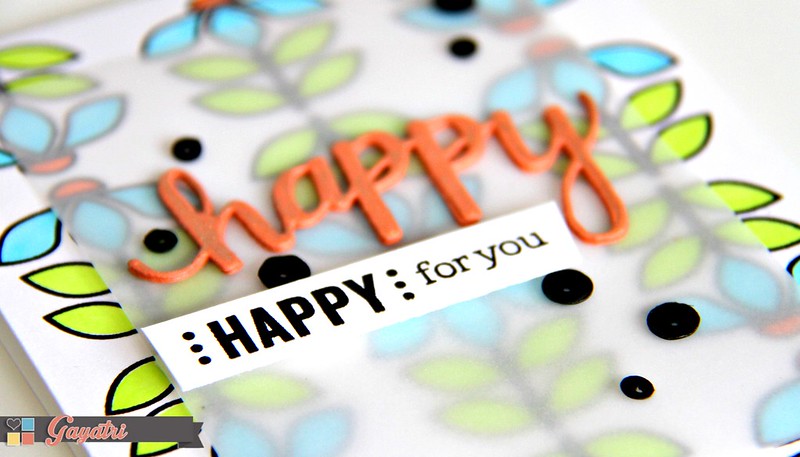
happy happy for you closeup angled

 I am pretty pleased with the background I did on this card which is inspired by patterns on fabrics.
Head over to A Blog Named Hero to learn more about how I made this card. Enjoy!

Thanks for stopping by my blog today!

My blog signature