Thank you for joining us for the Think Pink Challenge and we hope you will all join us again this week too.
We will be back soon with the name of the lucky winner of the $50 Voucher.
We are saying a sad farewell to our lovely teamie, Jennifer, this week. We will miss you, and your wicked sense of humour, lots but would like to wish you the very best of luck for the future xxx
This week the challenge is
Anything Goes
This week we are showcasing Lawn Fawn Products You don't have to use them for the challenge but if you have them we would love to see them used.
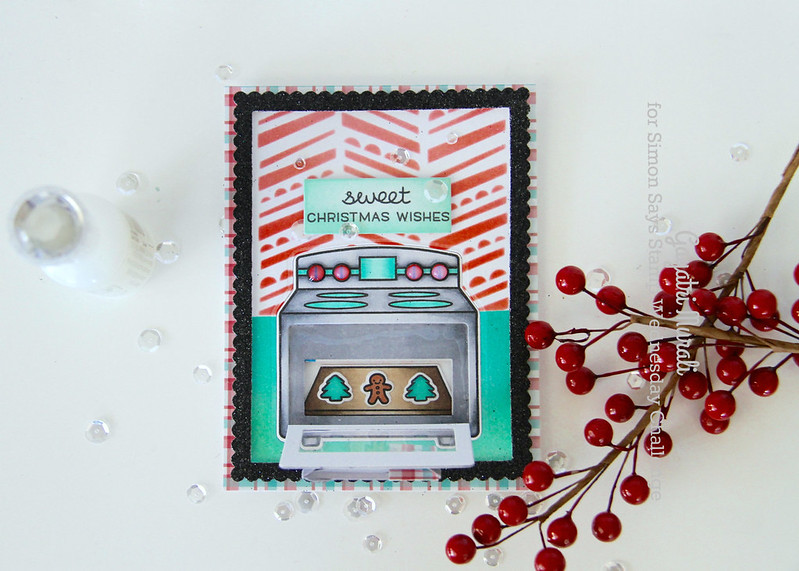
I fell in love with the Sprinkled with Joy stamp set and coordinating dies after I saw Kelly's video. LOVE how the oven opens and great to make interactive cards. I am usually not the one to make elaborate interactive cards as it take a lot of time engineering them. I am more of a quick and easy cardmaker. But this stamp set made me push outside my comfort zone and make an elaborate interactive card. Here is the card.
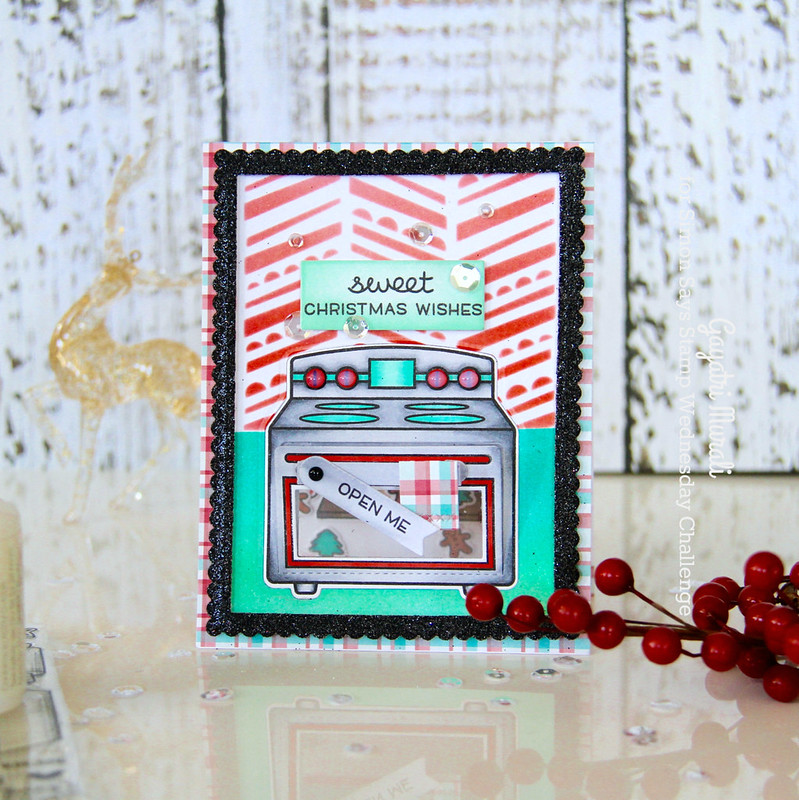
This card took me about four hours to make because I had a certain idea in my mind and wanted to put that on paper. I wanted the oven door to open from the card front and see the oven tray with cookies on the inside of the card. So essentially a window card. When I started making the card, I had a tradesman come in to fix the gyprock in my dining room after a waterleak. So I had to bring all the supplies down to the dining table so I can craft and keep an eye on the trades at work. I realised that I cannot multitask! I made so many mistakes, unnecessarily complicated the process and had to redo so many parts of the card. But I got there finally.
You can see in the photo below the oven on the front of the card and the tray with cookies and other accessories inside the card.
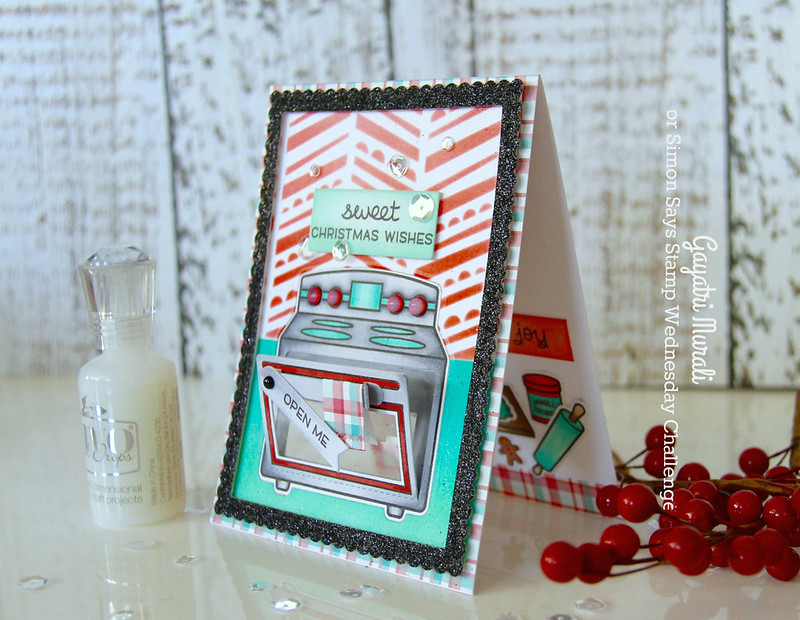
I stamped and coloured the oven and the accessories I needed using copic makers. Then die cut using the coordinating dies. I also die cut the card front and a white stitched panel using the oven die. I adhered an acetate sheet behind the panel after sponging ink using the stencil on top of the panel and ink on the bottom of the panel. Then inlaid coloured oven die on the panel. I also die cut a similar die without stamping the oven image and adhered on the other side of the panel. I adhered this panel on the card front with plaid pattern paper making sure I lined up the die cut openings. I added the towel and the open me tag to the oven on the front. Then I added a black glitter scalloped frame and stamped sentiment on a sponged strip of card. And finally embellished using sparkly clear sequins.
Here is the inside of the card.
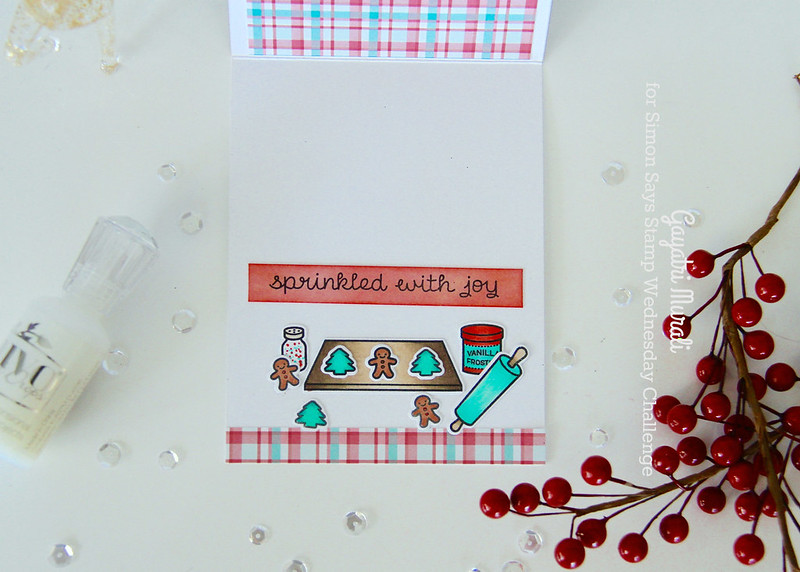
I aligned the tray such that you can see the tray inside the oven when the oven door is opened front the card front but inside the card as you see in the photo above, the tray with cookies and all the accessories next to it. I added a strip of the same plaid pattern paper from the card front to coordinate. Sentiment is from same stamp set is stamped on a strip of cardstock sponged with ink.
Here is the photo of the card from the front with the oven door open.
And the oven door closed.
I wish I was alone at home and had more pleasant experience making it. But hey I stuck to the process, never gave up despite the mistakes and love the result. How cute is the oven and the accessories? Adore the towel on it. I felt like I was playing with the miniature cooking set I used to have as a child. As always I have listed all the products I used to make this card below.
So now it's YOUR turn. Happy Crafting
Do you use Instagram ? If so please add #ssswchallenge to your challenge entry uploads so we can see them on there too !
There are fabulous Give Aways and inspiration from fabulous designers on a daily basis over on the Simon Says Stamp Blog , if you haven't subscribed by email you may want to so you don't miss out
You have until Wed 8am Ohio time. 1pm UK time, 2 pm CET to join in
No backlinking allowed, Only 5 new creations will be eligible in the prize draw.
Card Supplies:
Thank you for stopping by!
