Welcome back to Taylored Expressions October release sneak peeks. Today is day #2. Hope you enjoyed seeing all the gorgeous festive projects yesterday from all the designers and got inspired.
Today I am showcasing two new products. First is the stamp set called Ornamental and coordinating dies.
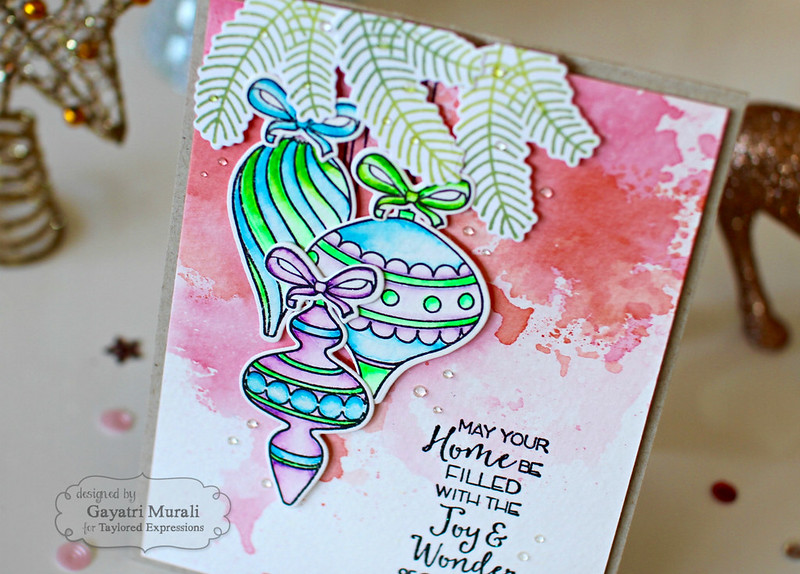
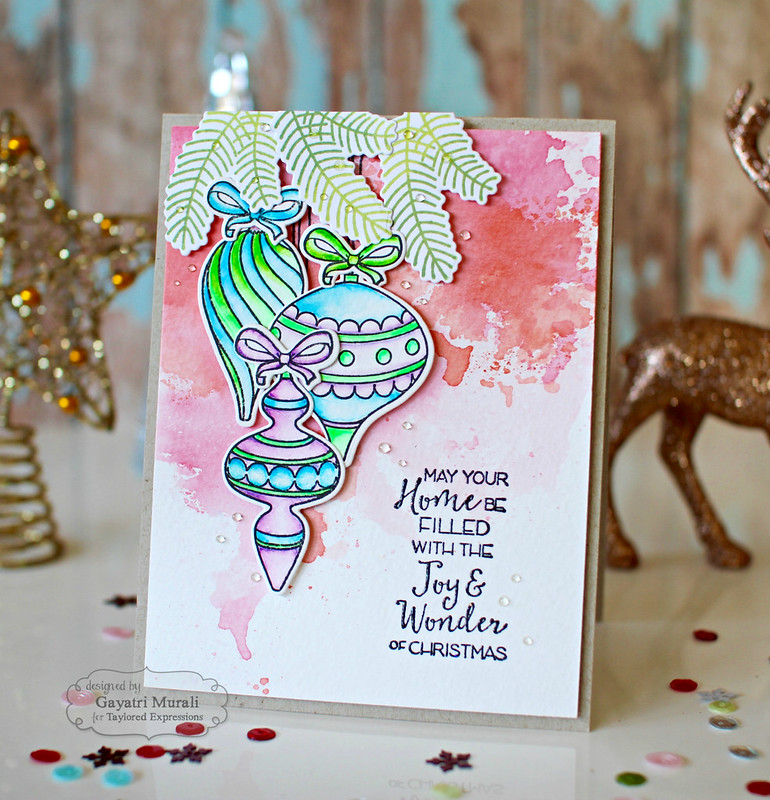
Love the details on the ornaments. Absolutely beautiful! That means one can get creative with the colouring. I had great fun with this set and made three cards. I am sharing one today and will share the other two later in the month.
I stamped the ornaments and bows on watercolour paper using Oreo hybrid ink and coloured them in non christmas colours using Zig clean brush pens. I then die cut them with the coordinating dies. I trimmed another watercolour paper to 4'x5.25' in size. I smooshed distress inks Spun Sugat, Worn Liptstick and Ripe Persimmon on the top three quarters of the panel and left to air dry. In the mean time, I stamped three foliage from Holiday Florals stamp set using Granny Smith and Peapod dye TE inks to get the nice ombre look. Then die cut them using the coordinating dies. To assemble the card, I stamped and heat embossed the sentiment from Ornamental stamp set on the watercolour washed panel. I stamped the strings from the stamp set on the top left corner, adhered the ornament die cuts using foam adhesives. Adhered the bows flush on the ornaments and the foliage on top of the panel using foam adhesives. I spattered some glossy accents all over the panel to add subtle dimension. Finally adhered the panel on Toffee card base.


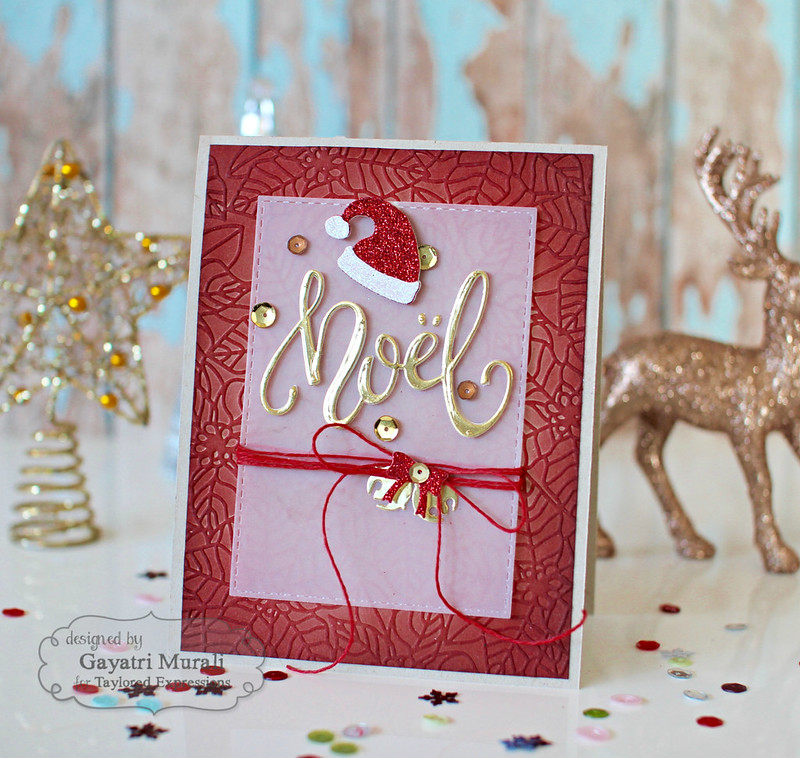
My second product I am showcasing today is an embossing folder called Peaceful Poinsettia. This is a gorgeous detailed embossing folder. Love it and great for background. I went a rich colour combination to showcase this product.

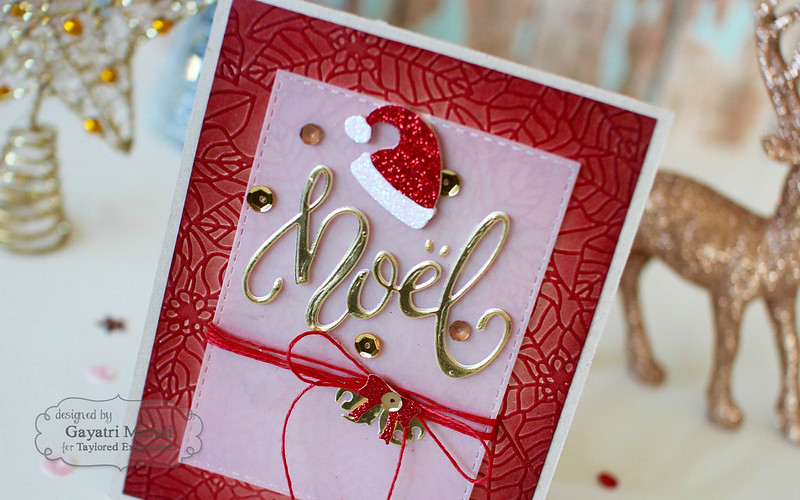
I ran a toffee cardstock panel through the Peaceful Poinsettia embossing folder to emboss the panel. Then sponged Cherry Pop TE dye ink on the panel keeping the inside of the panel lighter and darker and rich red on the edges. LOVE the rich dark red on the kraft cardstock. Just beautiful. I adhered this panel on Toffee card base. I die cut a vellum panel using one of the stitched rectangle die from Stitched Rectangle Stacklets. My focal elements are the sentiment die cut, the bells and the santa hat. These are die cut using the new dies. The sentiment is die cut using Noel Script die, the santa hat is die cut using Little Bits: Santa Hat and the bells are die cut using Little Bits: Jingle Bells. The bow on the bells is from By the Fireside - Holidays. I used gold foil cardstock and red & white glitter paper to die cut the elements. I then used red twine to wrap around the vellum panel and tie a bow, glued all the die cuts in place before adhering the vellum panel on the card front. Finally added some sequins from Wedding sequins collection.

Absolutely love love the rich red, kraft and gold colour combination. And I have listed all the supplies using to make this card below.
Card Supplies:
Taylored Expressions is celebrating Release Week with some fabulous giveaways!
Visit the TE Blog to answer Taylor’s Question of the Day for a chance to win a prize from the latest release! Also the TE Blog has links to other designers. Check them out for more inspirations.
Thanks for stopping by my blog today. Will see you tomorrow with day #3 sneak peeks


4 comments:
Your cards today are stunning Gayatri! I especially love the foiling of the noel die cut... it's just beautiful and your photo of it is stunning!
The gold foil on the Noel is beautiful. It really makes the card pop. Have a great day.
I love your Noel card. I already wanted this die cut and this card has just made it a must have! Thanks for showing us a wonderful way to use it!
stunning cards Gayatri. They are both fabulous
Post a Comment