Monday, September 19, 2016

Grateful!


Hey everyone,

Hope you had/have a wonderful weekend! I managed to make a card over the weekend using new STAMPtember® release from Simon Says Stamp.


I have used Birch Tree Window and Grateful die from the STAMPtember® release along with older die from Simon Says Stamp called Songbird Branch die to make this card.
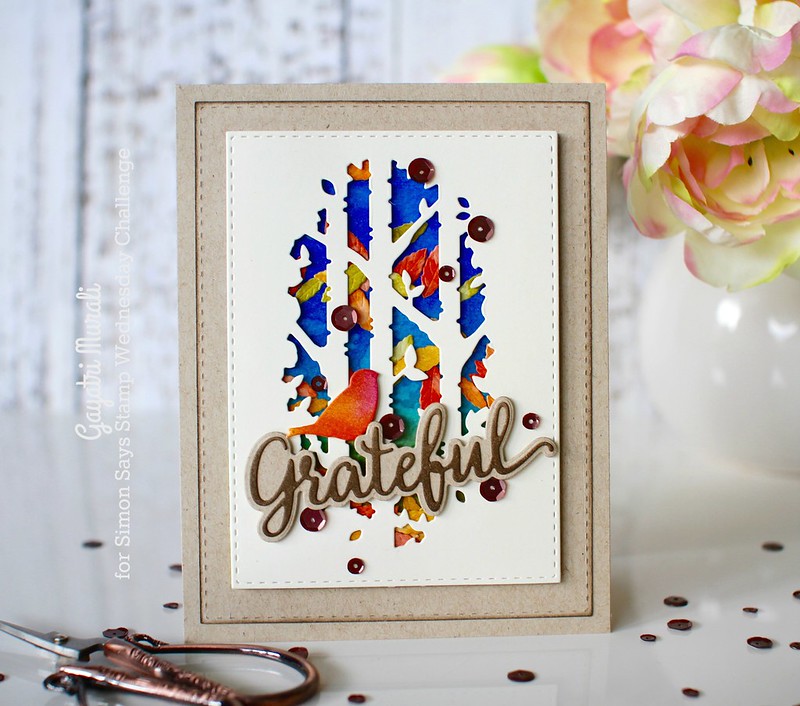
Grateful card #1

I die cut a small stitched panel using cream cardstock and Stitched Rectangle die set. Then I die cut the Birch Tree Window in the centre of the panel. I added acetate behind the panel. For the background, I sponged Blueprint Sketch, Mermaid Lagoon and Peeled Paint distress ink on watercolour paper. Then I spattered some water, dabbed the water and when dry, sponged some more of the inks. I repeated this process couple of times to build layers. I really wanted the bright ink blue on the background.
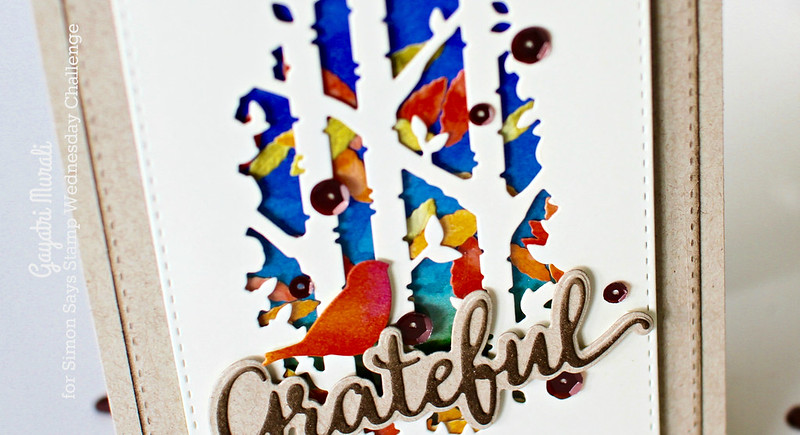
Grateful card closeup #1

I also sponged some autumn colour distress inks - Wild Honey, Craved Pumpkin, Ripe Persimmon and Crushed Olive distress inks on watercolour paper. Spattered with water and dabbed the excess out. Once dry, I used the leaves die from Songbird Branch die set to die cut several leaves from all these colours. I added these leaves on the blue sponged background panel and adhered the Brich Tree Window panel using foam adhesive to create a shaker element.
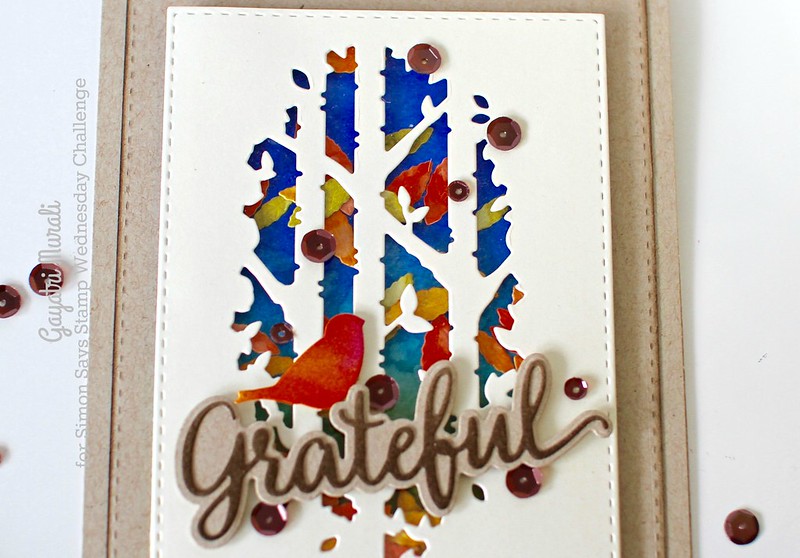
Grateful card closeup

I adhered this shaker panel on a stitched rectangle kraft panel which is adhered to the kraft cardbase. For the focal point, I die cut the bird from Songbird Branch die and sponged with distress inks Ricked Raspberry, Mustard Seed and Ripe Persimmon. I also sponged a cream scrap cardstock with Espresso Distress ink and die cut the sentiment Grateful. I also die cut the outline of the sentiment using kraft cardstock. I adhered the sentiment on the outline die cut to foam adhered the entire sentiment to the card front. The bird, I adhered using foam as shown. Finally embellished with Espresso sequins from Pretty Pink Posh.
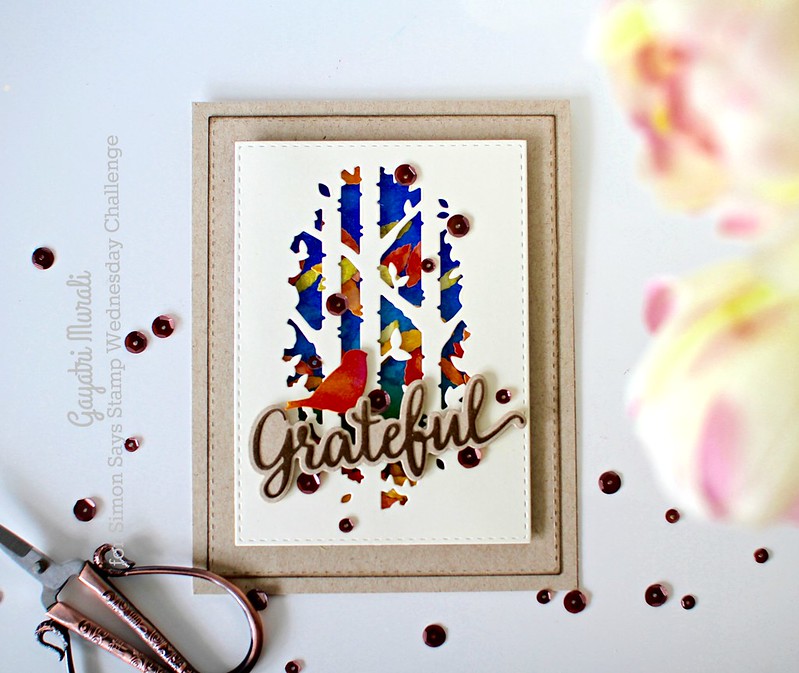
Grateful card flat

Love the colours on the card and CAS feel to it. Hope you like it too. As always I have listed all the supplies I used to make this card below.

Card Supplies:


Thanks for stopping by my blog today!
My blog signature

Saturday, September 17, 2016

Put another candle on your Birthday Cake!


Hey everyone,

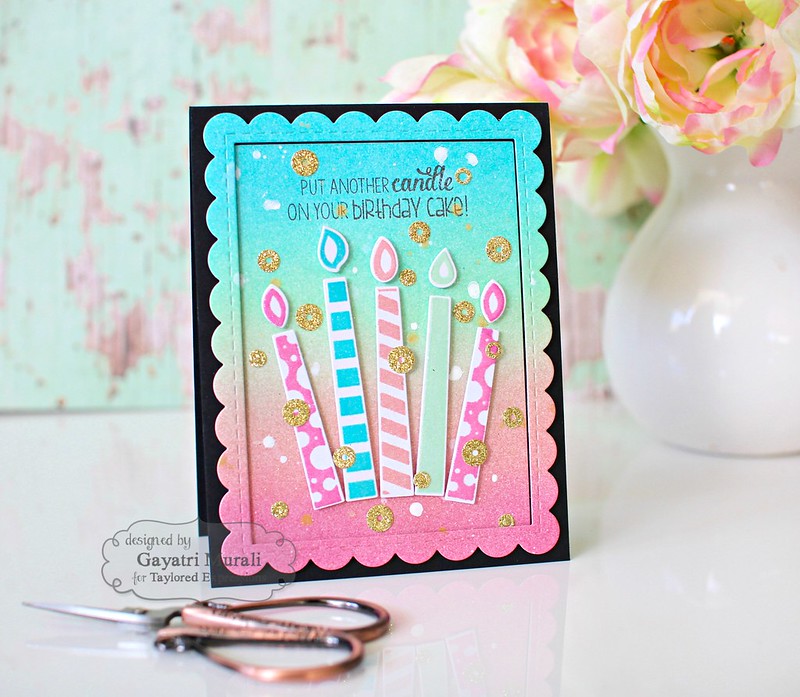
Happy weekend! I got to sleep in this morning to catch up on much lost sleep. Yesterday I had time to craft and I wanted to do my favourite technique of ink blending. I also played with couple of new release stamp sets and dies from Taylored Expressions to make this birthday card.

Birthday Candles #2

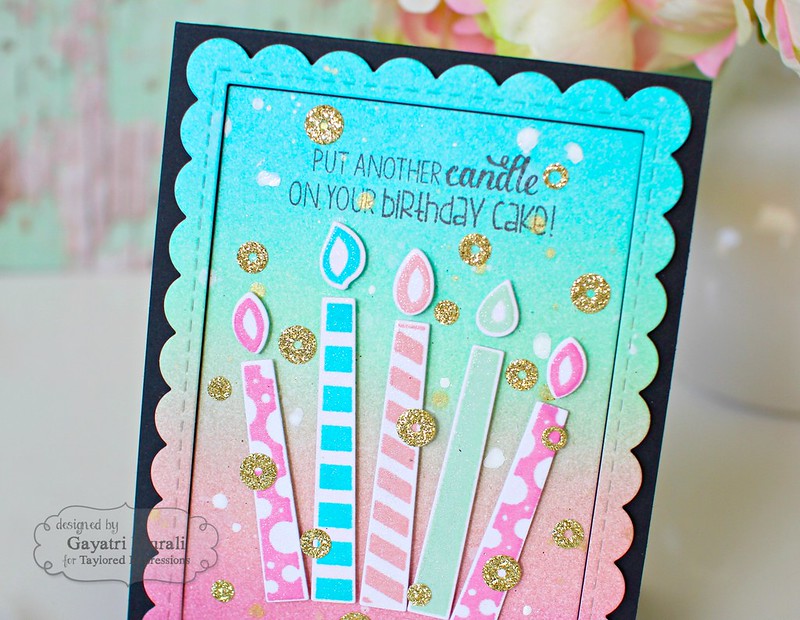
I have used Taylored Expressions dye inks to do ink blending for the background. The colours I used are Pink Champagne, Strawberry Milkshake, Mint Julep and Cookie Monster. A lot of back and forth blending to build up the colour intensity. I love taking that time to get beautiful coverage and blending. The result brings a sense of achievement and pride Lol! I then spatter the panel with white Mr. Huey and Gold Colorshine from Heidi Swapp and left it to dry.

Birthday Candle closeup

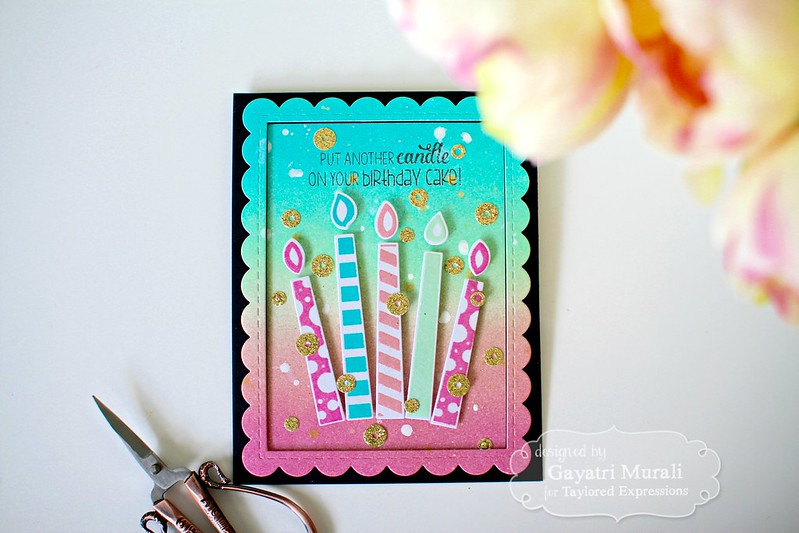
I then stamped the candles from Make a Wish Stamp set and Die combo using the same colour dye inks from Taylored Expressions and mini Misti. I did stamped them three times as I wanted them a bit darker than the background colour. They are all then die cut using the coordinating dies. I die cut the background using Frame in Frame 2 cutting plate. I used the largest die from the set. This is a frame die but I am using both the inner panel as well. I adhered the candles on the inner panel using foam adhesives and stamped the sentiment using Black Hybrid ink from Taylored Expressions. The sentiment is from Bright Birthday stamp set. I would heat emboss the sentiment next time as I felt the sentiment was not bright enough. Anyway, I adhered the scallop panel using foam adhesives on the Oreo card base and flush glued the inner panel.  I also die cut a few sequins using Little Bits: Sequins Confetti dies and gold glitter paper. I adhered them as shown in the picture.

Birthday candles flat

I love how this card turned out and the contrast against the back base. Hope you do too. I have listed all the products I have used on this card below.

Card Supplies:


Thanks for stopping by my blog today!

My blog signature

Thursday, September 15, 2016

Guest designing for Paru's Challenge Blog!


Hello everyone,

I am so happy to share that I am Guest Designing for Paru's Card Making Challenge Blog this month.


This month's challenge focuses on words.


And this is my take on the challenge. And I made both the card and coordinating tag.

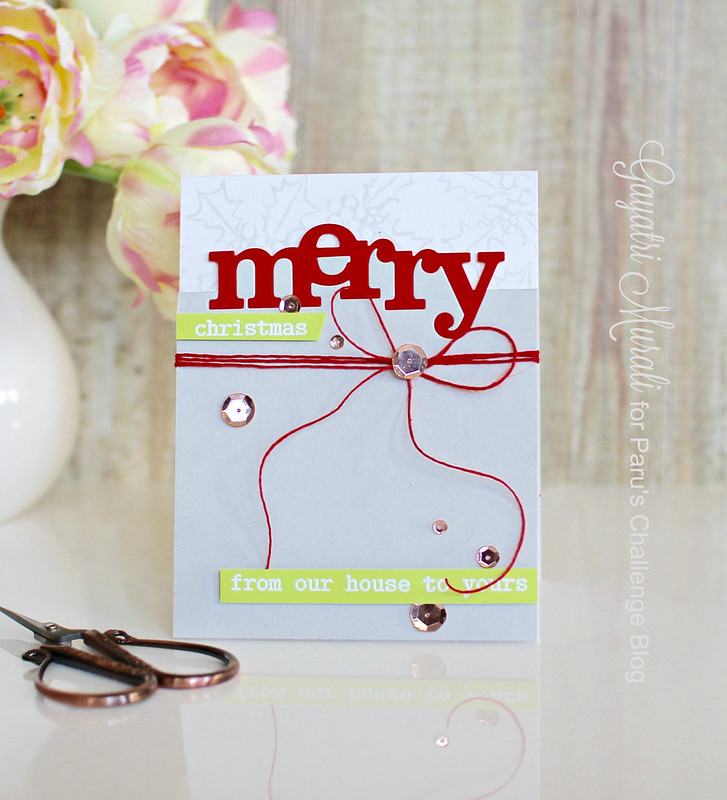
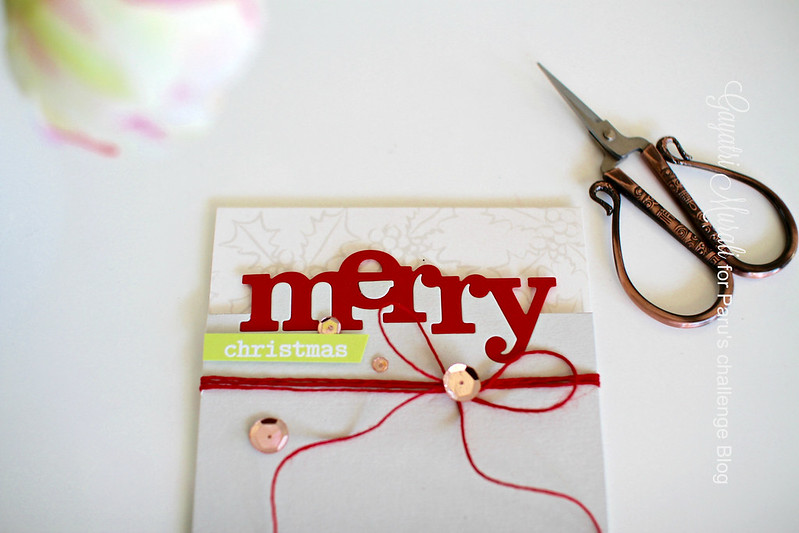
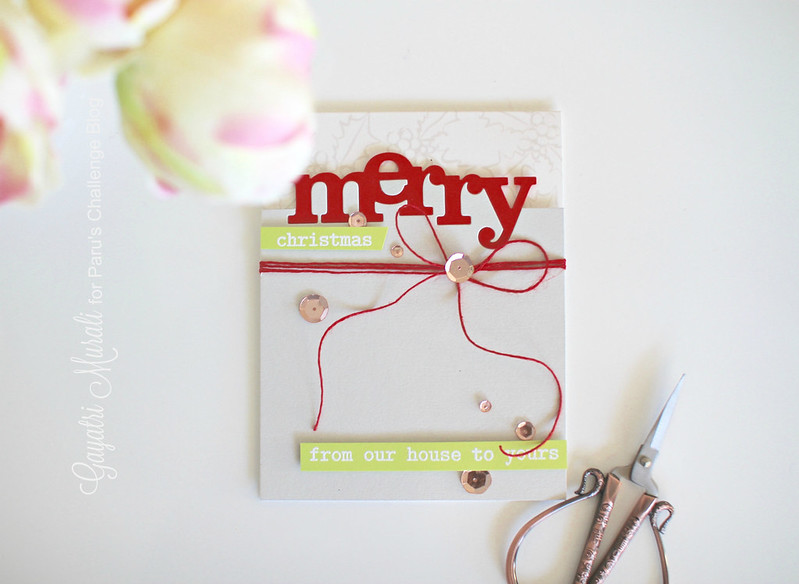
Merry Christmas

I have made Christmas card and tag with focus on the sentiment. My card base is white and I stamped Christmas image from Winnie & Walter's In Bloom: Elsa's Flora stamp set using Fog ink from Simon Says Stamp only on the top of the card front. Then I die cut the In a Word: Merry from Winnie & Walter on Fog cardstock panel. I saved the Merry die cut for the tag. On the negative of the panel, I trimmed the panel from half of the negative Merry to the top. Then I inlaid the die cut Merry die cut using red cardstock. I wrapped red twine around this panel and tied a bow. I adhered this panel on the card front using foam adhesives. 

Merry Christmas closeup

The secondary sentiment are from Winnie & Walter's The Big, the Bold and the Merry stamp set. I white heat embossed the sentiment on green card stock strip and adhered as shown in the picture. Rose gold sequins from Pretty Pink Posh completes the card.

Merry Christmas flat

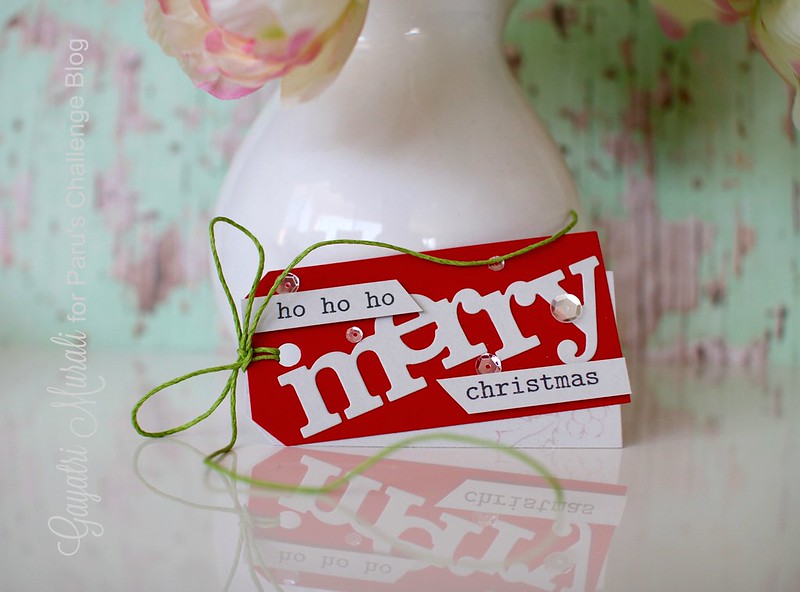
I used the saved up fog coloured Merry die cut to make coordinating tag for the card.

Focus on words tag

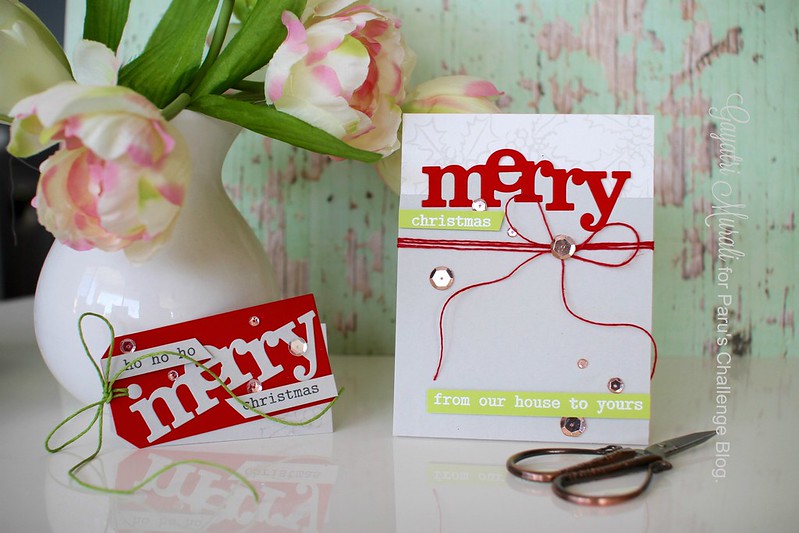
The tag is die cut using fog and red cardstocks. The tag die is from Winnie & Walter's Essentials: Katharine Cutaway. I stamped the same image I stamped on the card on the fog tag using Lipstick Red ink from Simon Says Stamp. I layered the red tag over the fog tag and used a green twine to tie them together. I adhered the fog coloured Merry die cut saved from the making of the card on the red tag at an angle. The secondary sentiments are again from Winnie & Walter's The Big, the Bold and the Merry stamp set. I simply stamped them on fog cardstock strips in black ink and adhered as shown in the picture. Finally, the Sparkly Clear sequins from Pretty Pink Posh completes the tag. Here is both the card and tag together.

Focus on words challenge

So this is my take on the challenge: Focus on Words!  The words and colours make this card a Perfect Christmas card in spite of not have a Christmas themed focal image on the card.

Hope you are inspired by my card. Now its your turn to play along. For more details on how to play the challenge, please visit Paru's Card Making Challenge Blog.

Thanks for stopping by!
My blog signature