Hello and welcome to Taylored Expressions August release! It is day #3 today. Here is the link to Day #1 and Day#2 of the sneak peek.
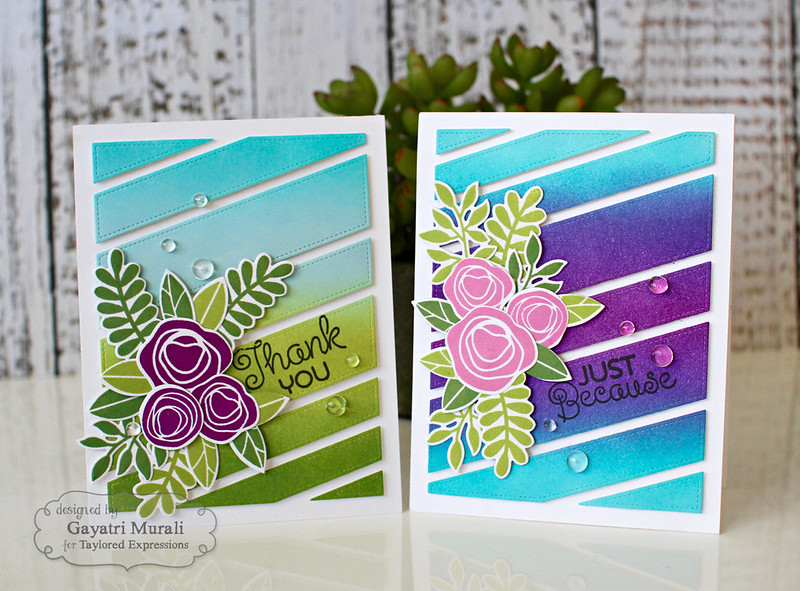
Today I am sharing with you a non halloween card and a tutorial of the card. And I am showcasing the new Diagonal Stripe cutting plate from Taylored Expressions.
I made this card first and for the tutorial I made a similar card but different colours. You will see as the tutorial progress, I made another one too :) That is me! This tutorial is photo heavy so grab a cuppa and enjoy!
Step #1
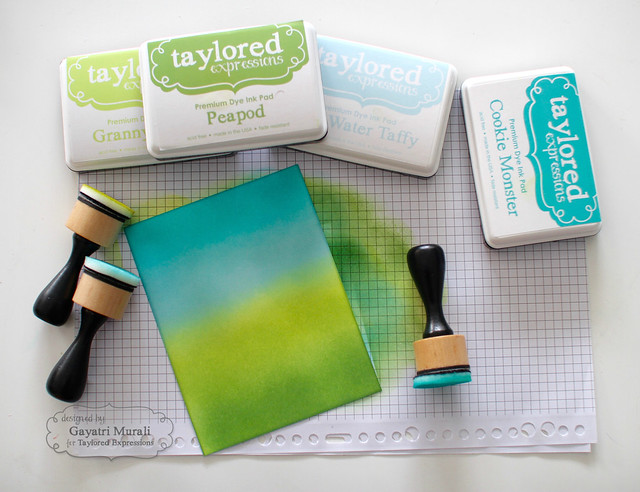
Trimmed Sugar Cube card stock to card front size and sponge TE inks Peapod, Granny Smith, Salt Water Taffy and Cookie Monster using mini round blending tool
Step#2
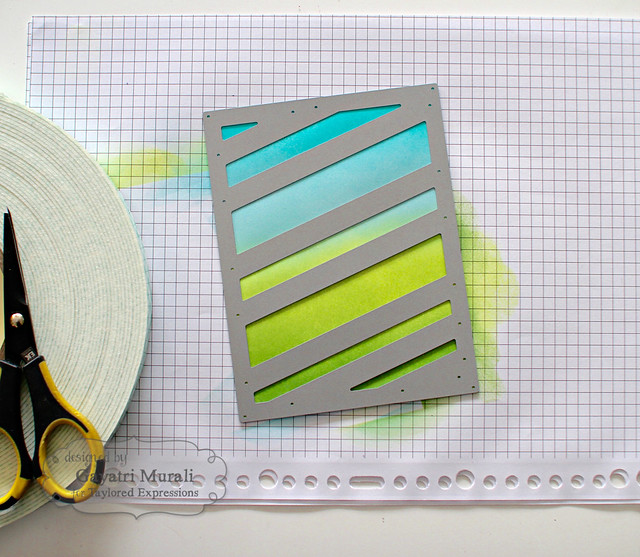
Die cut the sponged panel using the Diagonal Striped Cutting Plate.
Step#3
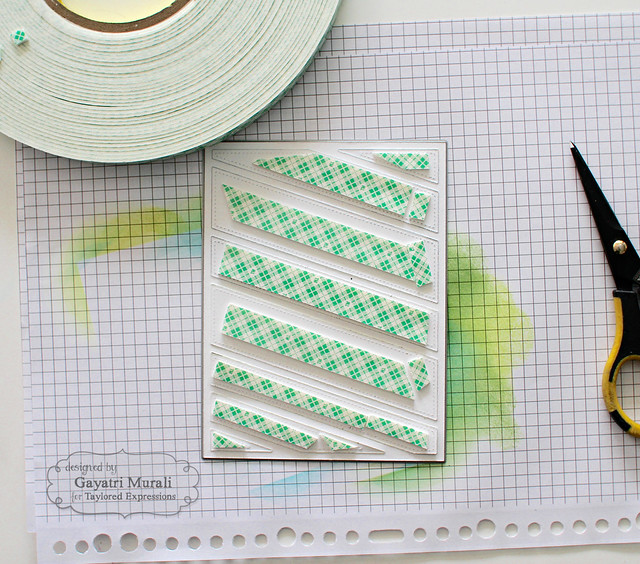
Leave the die cuts in place on the cutting plate with wash tape, flip the cutting plate over and add foam tapes to the stripes.
Step#4
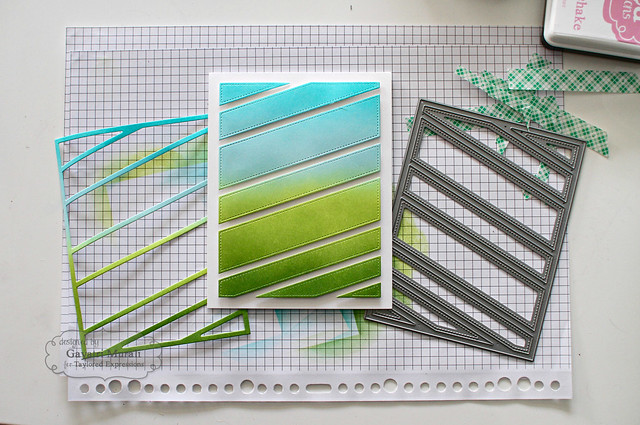
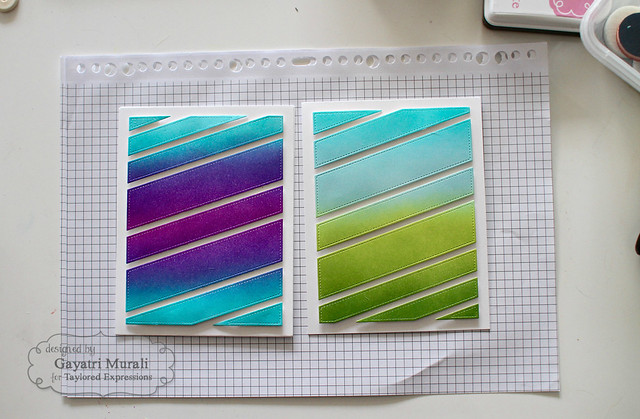
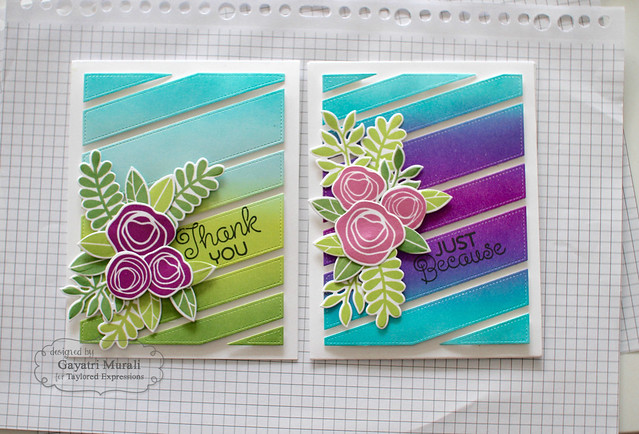
Flip the cutting plate after removing the covering from the foam tape on a Sugar Cube card base and press the die cuts firmly to the card front. Remove the cutting plate and the border die cut. I have shown two examples here.
Step#5
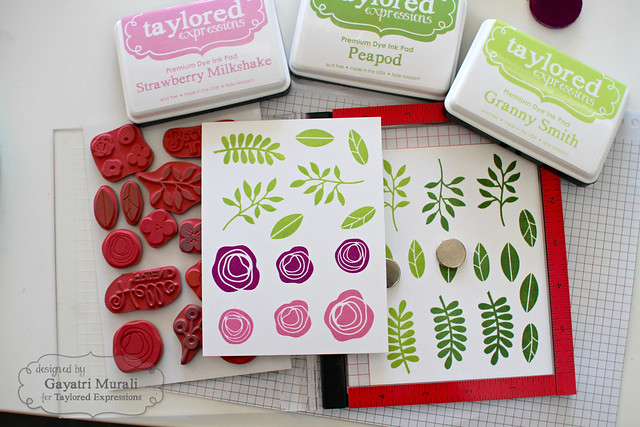
Stamp the images of leaves and flowers from Fresh Florals stamp set on Sugar Cube card panel using Peapod, Granny Smith, Plum Punch and Strawberry Milkshake TE Inks and MISTI mini tool.
Step#6
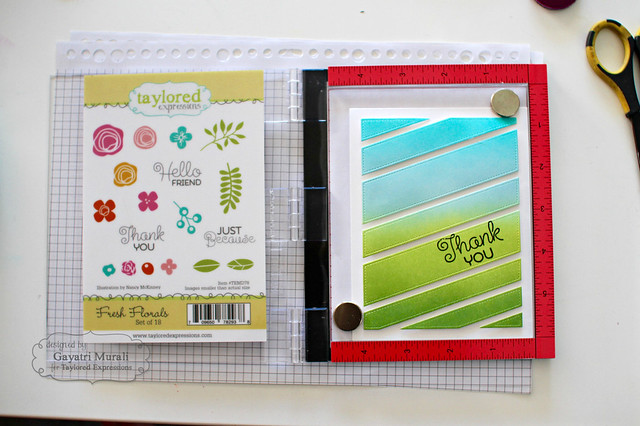
Stamp the sentiment from same stamp set on the sponged die cut diagonally using Oreo hybrid TE ink and Mini MISTI tool. since I have the foam tape at the back, it is easier to stamp the sentiment on the die cut after it is adhered to the card front.
Step#7
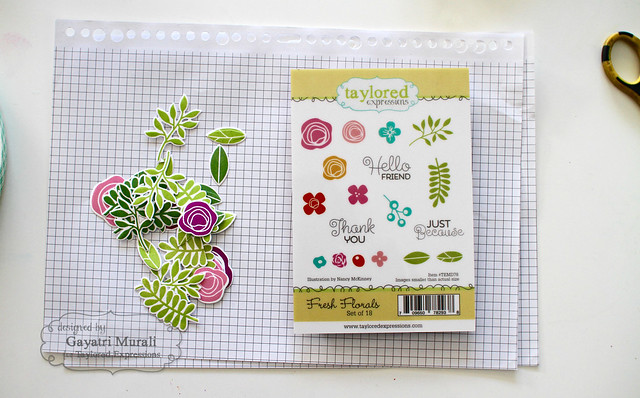
Die cut the Fresh Floral stamped images and cluster adhere them on the card front next to the stamped sentiment. Here I have shown the flower clusters on both the cards.
Step#8
Embellished with clear droplets and the card is finished.
And here are the cards individually!
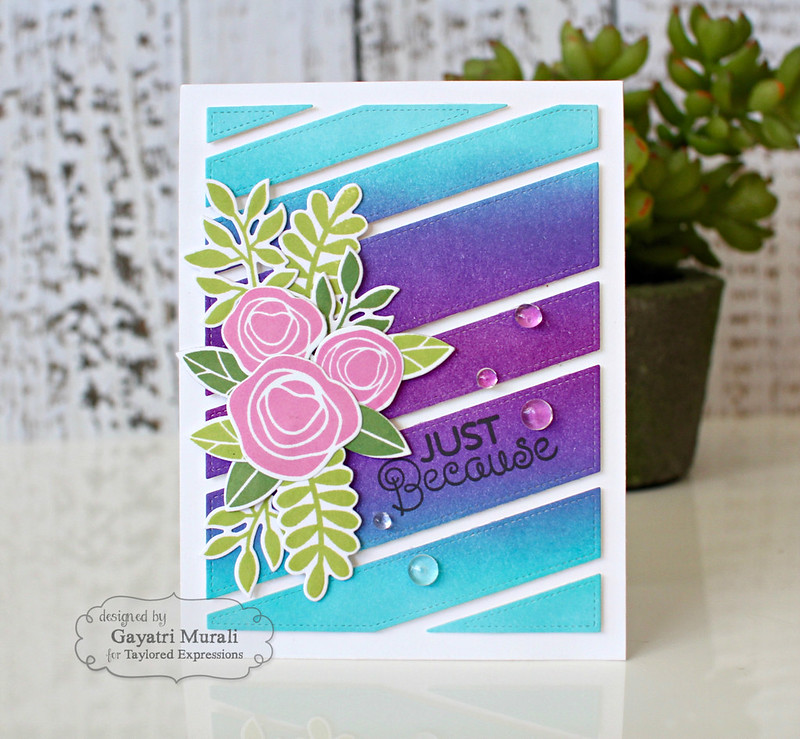
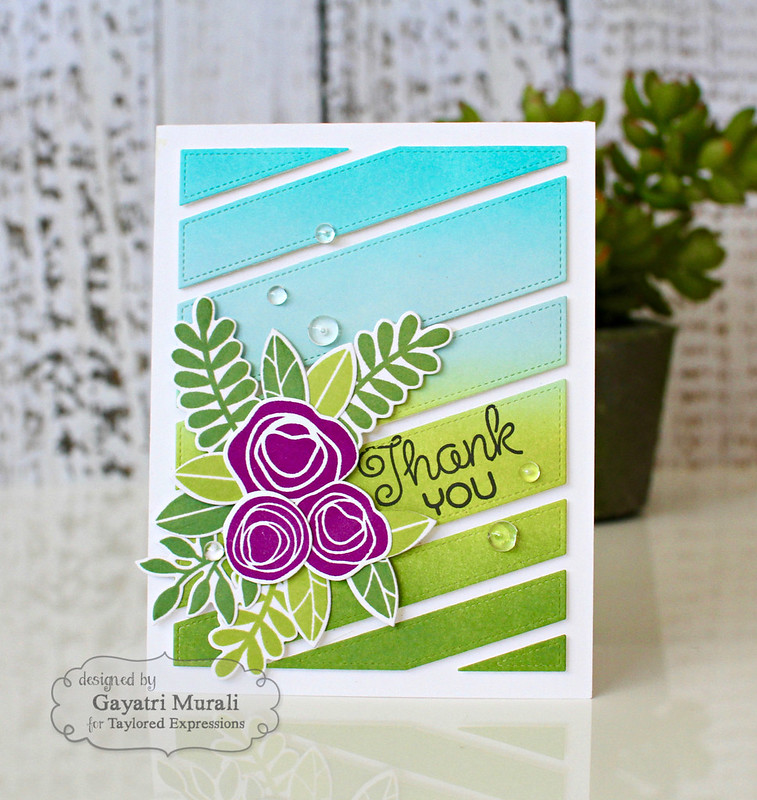
Card Supplies:
Hope you like my cards. The TE inks blend like butter. They look a bit blotchy when they are wet but will smooth out with even coverage and blend as they dry. The shades of colours like the Granny Smith and Peapod TE green inks are close enough that they transition from lighter to darker shades smoothly. I LOVE all TE inks. And this release we have four new colours that match the excisting cardstocks. Yay! All the new products are released on Thursday at 7AM PDT (that's tomorrow).
Head over to Taylored Expressions Blog for more details on today's sneak peek products and inspirational projects and tutorials from TE designers.
Taylored Expressions is celebrating Release Week with some fabulous giveaways! Visit the TE Blog to answer Taylor’s Question of the Day for a chance to win a prize from the latest release!
Thanks for stopping by my blog today. See you tomorrow with another TE project for the release day!


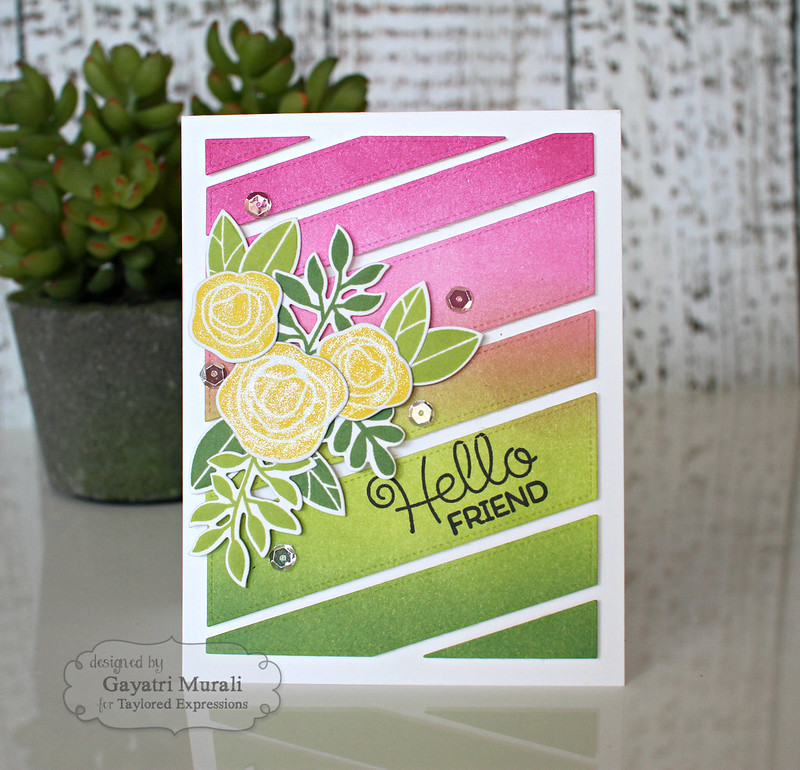
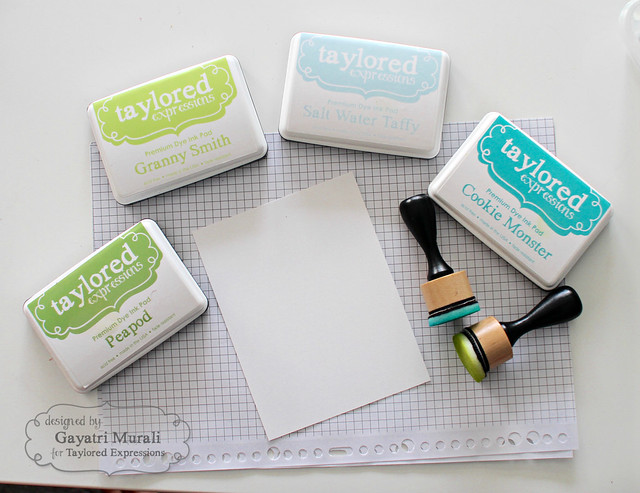


6 comments:
Two beautiful cards with vibrant colors ! Thanks a lot for sharing the tutorial ,I loved it !
These are just absolutely gorgeous cards - the combination of the inking and diagonal cutting plate is just fantastic!!
Fabulous cards Gayatri The colours of your backgrounds. That die looks amazing.
Fab cards Gayatri!! :)
Absolutely love your card Gayatri! The sponged background actually looked sparkly and I thought you added some shiny powder on it or something! Thanks for showing the step by step process and the video, its really helpful.
Your ink blending is absolutely gorgeous! I love these cards! (I've just added this die to my wish list.) :-)
Post a Comment