Hello and welcome back to my blog. I am sharing couple of more cards using Taylored Expressions February release die called In the Garden.

I LOVE this die. So detailed that all you need to do is create a background and add the die cut. But then if you want do some colouring, then you can die cut the die using watercolour paper and watercolour the details. The coloured die cut will look gorgeous against the white background. You can create a shaker box out of the die by putting the die on a rectangle or circular frame. In short, it is a beautiful detailed versatile die. Must have in your collection :)
I created two different cards by creating my own background and adding the die cut. Here is the first!
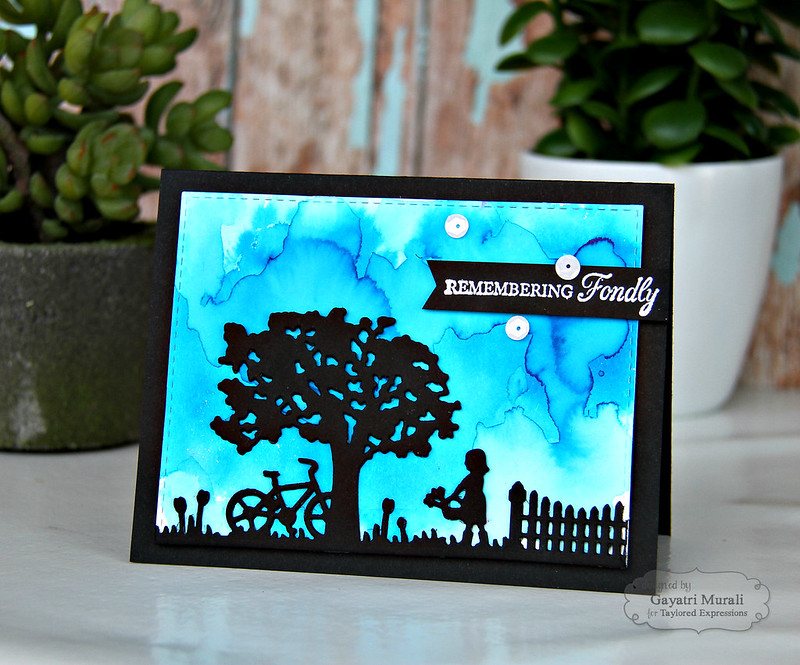
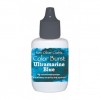
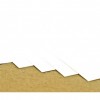
I have used Tim Hotlz watercolour paper with Color Burst pigments to create this background. I have used Color Burst Ultra Marine Blue pigment. I started with die cutting the watercolour panel using the largest of the Stitched Rectangle Stacklets. Then I sprayed water on the paper followed by a very slight dust of the blue pigment. This gave me a base colour wash. I did not cover my entire panel. I left some of white space. I left it to air dry. Then I came back again and did the same process - spray water, dust the pigment. The second time I dusted a bit more pigment to get a little more intense colour. Also this gives a bit more control for me using the pigment. I let the water do the work and left it to air dry. I prefer to air dry because the water mixes with the pigment and the paper absorbs the water and move the water while it dries. This gives a totally awesome effect to drying than with a heat gun. This method also give texture and some soft and hard edges. At the moment, I am in summer and above 40C. So air drying does not take very long. I repeated this process couple of more time each time adding more pigment. You can see how beautiful the layers are, the shades of blue and the edges gave the background clouds like effect.

All I did to assemble the card was to die cut three of the In the Garden die in black cardstock, Stacked and glued them and adhered to the bottom of the panel. Then I adhered this panel to a black card base. The sentiment is from Spring Tulips stamp set which is white heat embossed and die cut using the smallest of the Stitched Banner Stacklets. Finally added a few of white sequins from Build A Scene: Halloween!
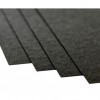
On my second card, I wanted to create twilight sky where there is still sun on the horizon but night sky with stars starting to appear on the other side.
On my second card, I wanted to create twilight sky where there is still sun on the horizon but night sky with stars starting to appear on the other side.

This time, I sponged distress inks. So I used Salty Ocean, Seedless Preserve, Milled Lavender, Mermaid Lagoon and Blueprint Sketch distress inks I went back and forth with the colours to get a good blend. Then I spattered large droplet of clean water. Followed by spray of clear shimmer. This gives a nice stary effect. Just beautiful in real!
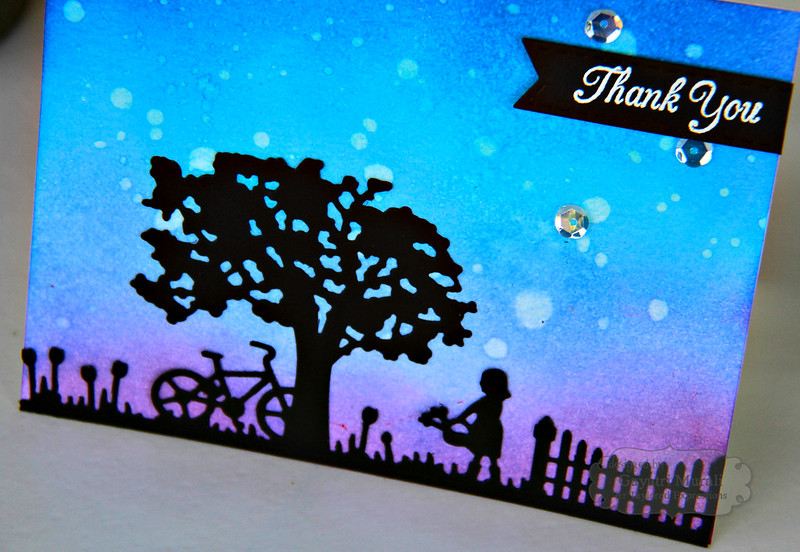
To assemble the card, I adhered this background on a white card base, and added the In the Garden die cut in black. The sentiment is from Spring Tulips stamp set white heat embossed on black strip cardstock trimmed with fish tail ends. Again embellished with some beautiful sparkling sequins from Wedding sequins collection.
In the Garden die and Spring Tulips stamp set are available along with other new release stamp sets and dies at the Taylored Expressions store. Check out Taylored Expressions Gallery for more inspirations using the In the Garden die.
In the Garden die and Spring Tulips stamp set are available along with other new release stamp sets and dies at the Taylored Expressions store. Check out Taylored Expressions Gallery for more inspirations using the In the Garden die.
Card Supplies:


Thanks for stopping by my blog. Have a lovely weekend!


4 comments:
What a beautiful background. I love the silhouette.
Gorgeous creations Gayatri! You've inspired me~
I love the Color Bursts, but the sponged background is gorgeous, too! Terrific cards!
Beautiful Gayatri. The backgrounds are so eye catching with the bold black silhouettes.
Post a Comment